How to Fix the Brown Patches in Your Lawn
Brown patches are unsightly sores in your lawn. They turn a perfect, green yard into a struggling one! Fear not, as these seven steps will turn a dying lawn into a thriving one. Learn how to reseed bare patches alongside landscaper Jerad Bryant.

Contents
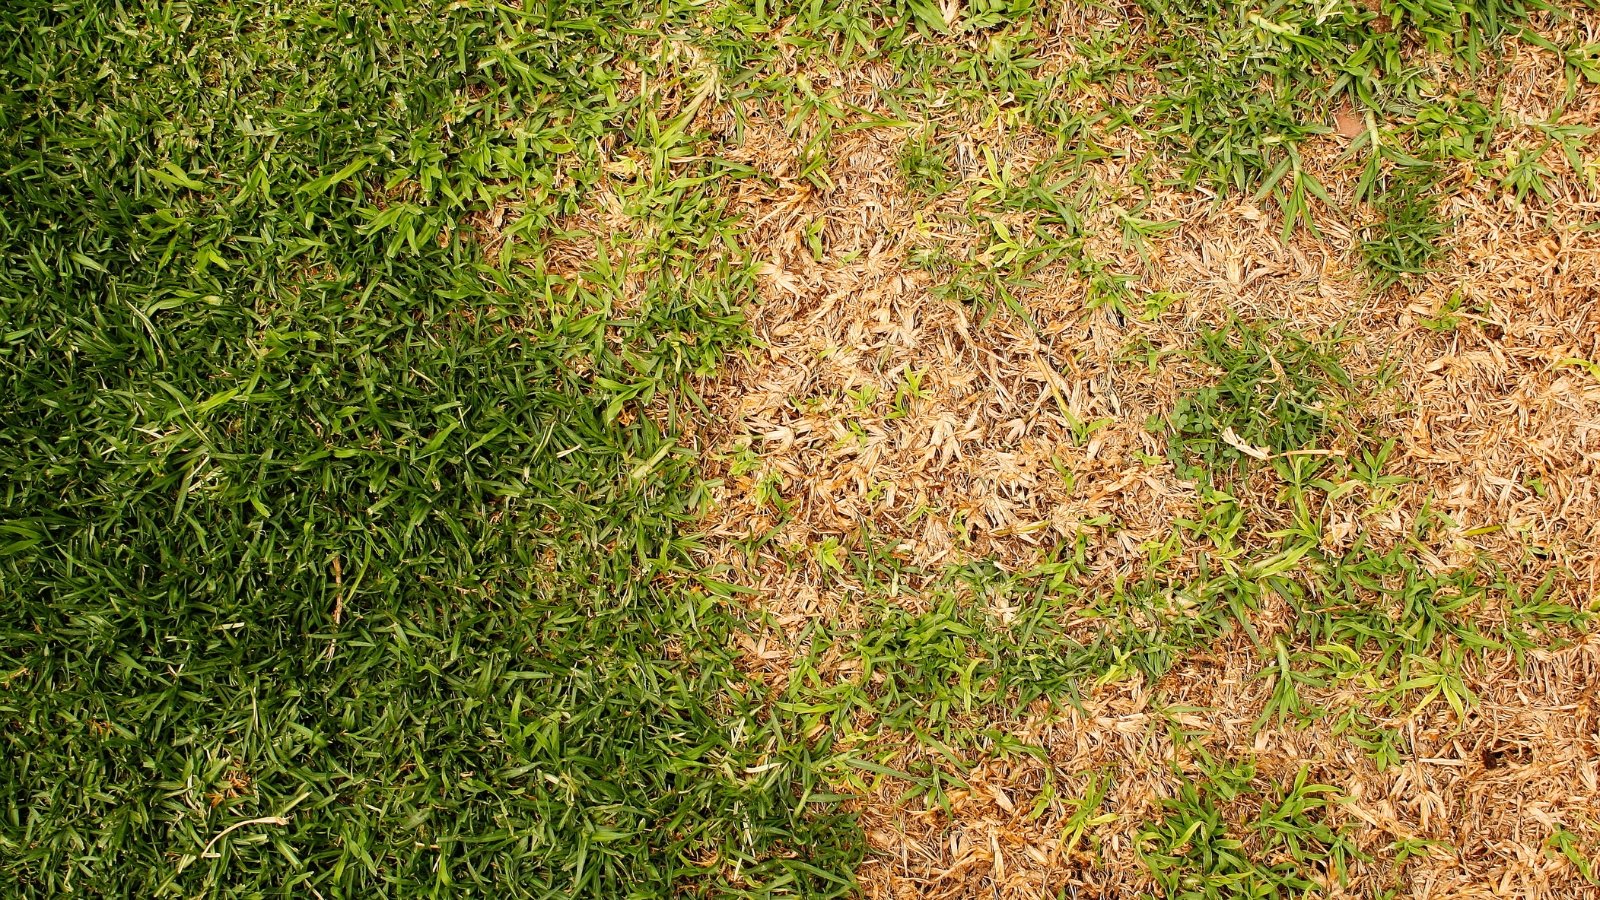
Lawns often get brown or bare patches, no matter their age or type. Both sod and seed can struggle under adverse conditions. High heat, extreme cold, and nutrient imbalances all lead to brown, crunchy grass blades.
Don’t fret, as you can fill in these bare spots with new grass seeds. The process takes a few weeks. New seedlings must sprout and fill the space with their lush, young growth. Though you don’t want to walk on the new seedlings when they’re young, they’ll tolerate foot traffic once they grow thick and strong.
Bare spots are common in the winter and summer when the weather is at its most extreme. Hot temperatures and low moisture levels cause grasses to wither, as do frosts and heavy ice or snow. The best time to fix brown patches in your lawn is in the fall or spring when temperatures are mild and cool. Here’s how!


7 Steps to Fix Brown Lawn Patches
Though it’s difficult, it’s not impossible to fix empty patches in the summer. Simply remove the dead growth, sow new seeds, and care for them while they germinate. You’ll have a spotless lawn in no time!
Step 1: Determine What’s Wrong
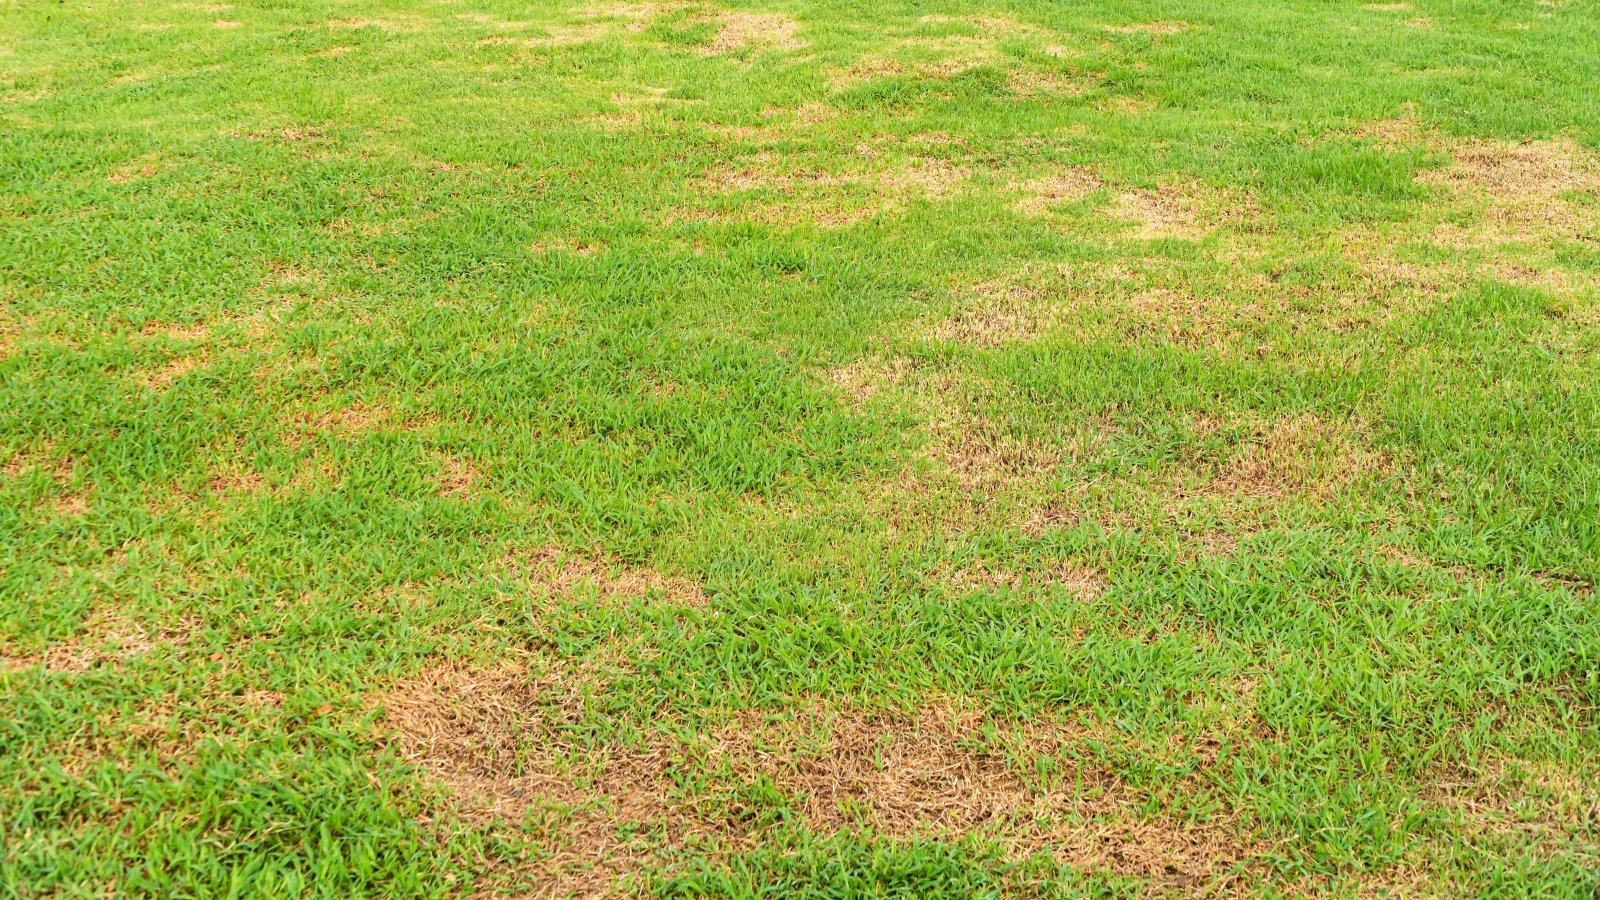
Many things lead to brown lawn patches. Dog urine, droughts, fungal conditions, pests, and frequent foot traffic cause green grasses to die out. Dog urine is often the cause, especially in suburban and urban conditions where dogs are regularly present.
Understanding the root issue of the problem will help you prevent it from occurring again. Short fences or hedges prevent dogs from coming onto your lawn. If fungi, pests, or diseases are causing the grasses to die out, it’s best to modify your care tactics to discourage them from thriving.
Sometimes, objects sitting on your lawn will cause dead patches. Simply remove the structures and proceed with the following steps to fill in the patches.
Foot traffic is another leading cause of dead grass. Consider making pathways in the lawn instead of fixing the brown spots. The spots will remain bare so long as you’re regularly walking on them. Convert them to paths to embrace their bareness rather than fighting against it.
Step 2: Remove Dead Thatch
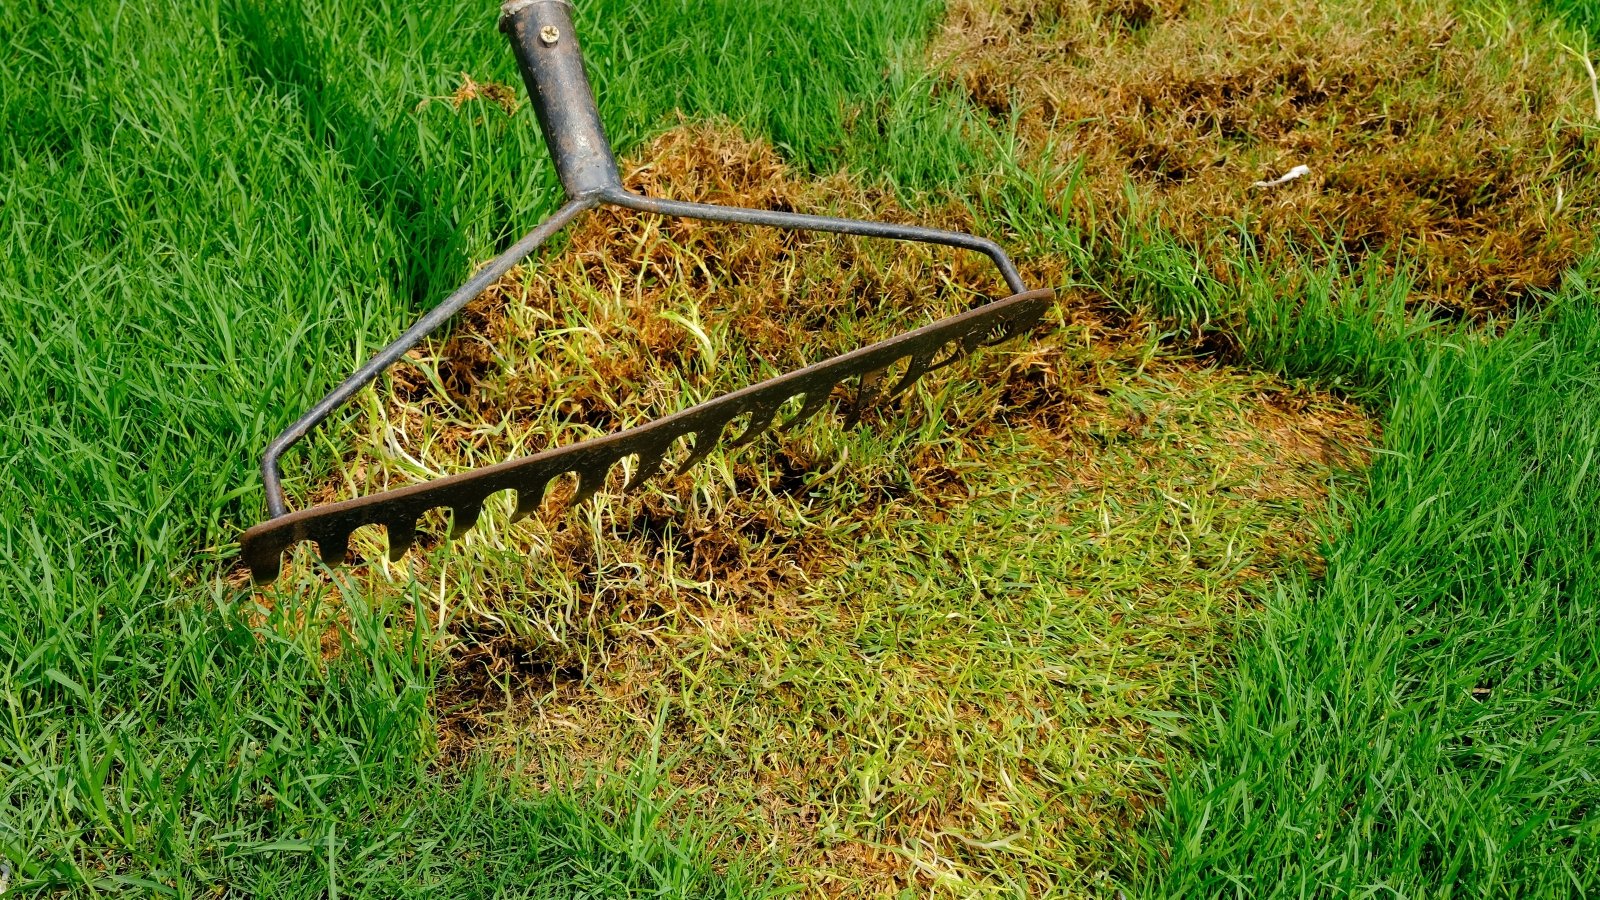
After solving the underlying issue, it’s time to repair the dead spots! Where green grasses once grew lie brown, dead blades that you must remove. A fine-toothed rake is a perfect tool for the job, though you can also use a dethatcher if you have one. Hand rakes work well for small spots.
Use your tool to comb through the brown grass blades. Dead grass turns into “thatch,” a layer of slowly decomposing organic matter. Thatch prevents seeds from sprouting because it gets in between them and the soil.
Comb the area with your raking tool to build the dead thatch into a pile. Remove this pile and continue combing until all the dead grass is gone from the area. Throw the debris onto your compost pile or dispose of it in your green waste bin.
Step 3: Make a Level Surface
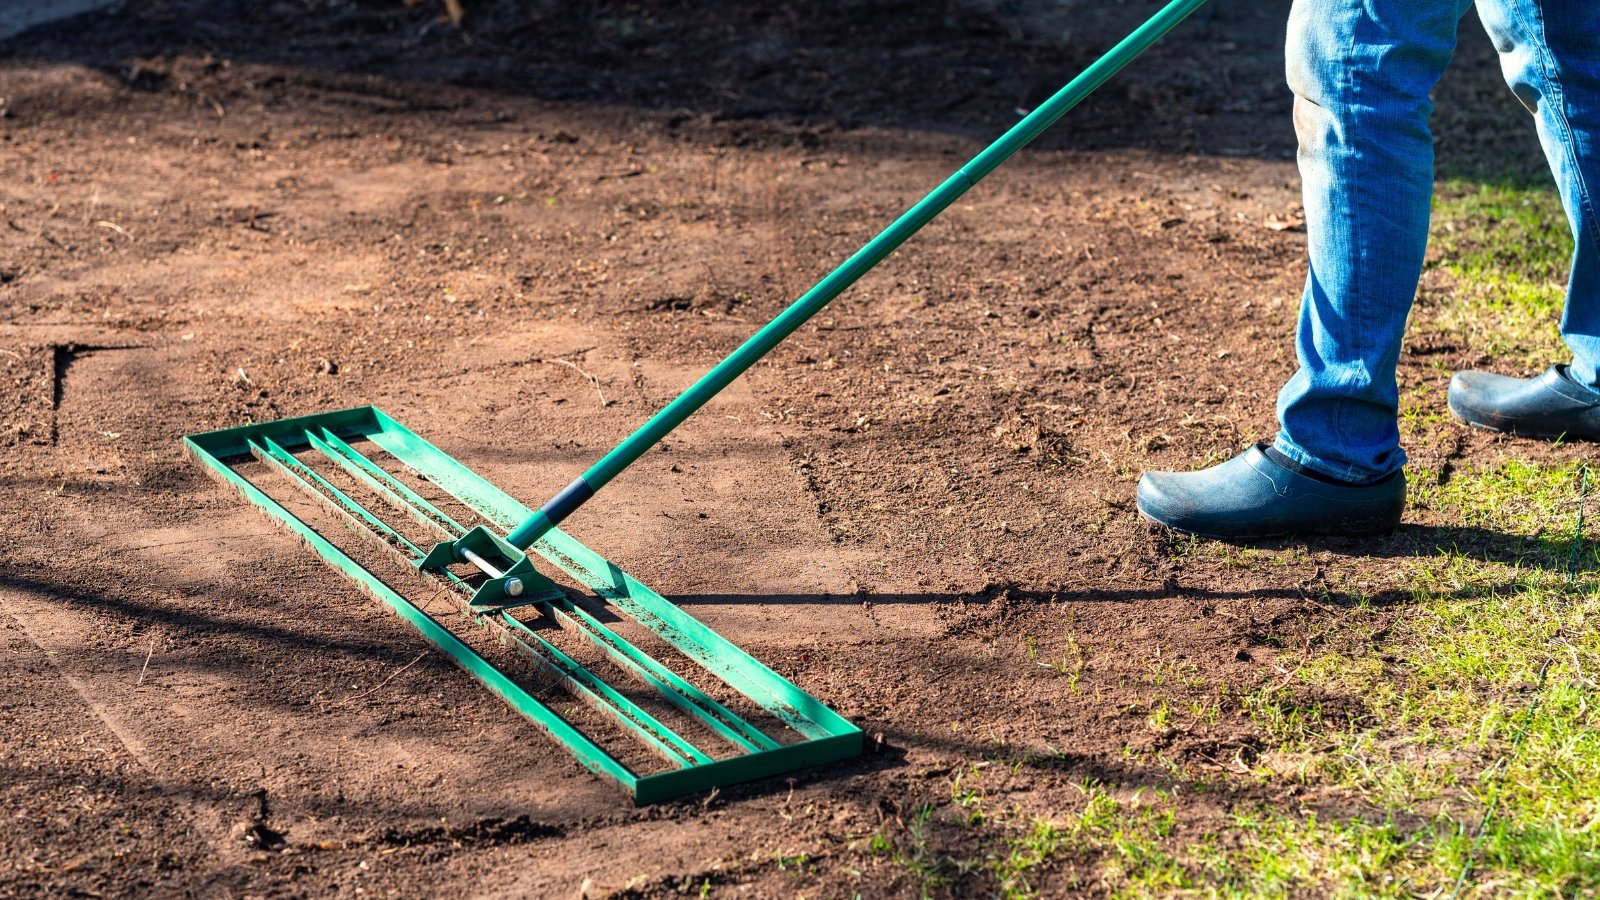
Before laying new grass down, leveling the surface creates an even spot for it to grow. You don’t want to trip over hills or sunken spots. An even, level lawn makes for easy traversing. You’ll need potting soil for this step.
Start by filling in the empty patches with fresh soil. Pat down the soil so that it sits slightly above ground level. It’ll compact over time with repeated waterings as the new grass seedlings grow roots.
Rake the fresh soil so it’s even and level. An even surface encourages healthy new growth and high germination rates. Use the same rake you used to remove the thatch to level out the soil.
Potting soil works well for this step, though you can use any bagged soil mix from a garden center or plant nursery. Look for a mix with small particles and even chunks, as large ones can cause spotty sprouting rates.
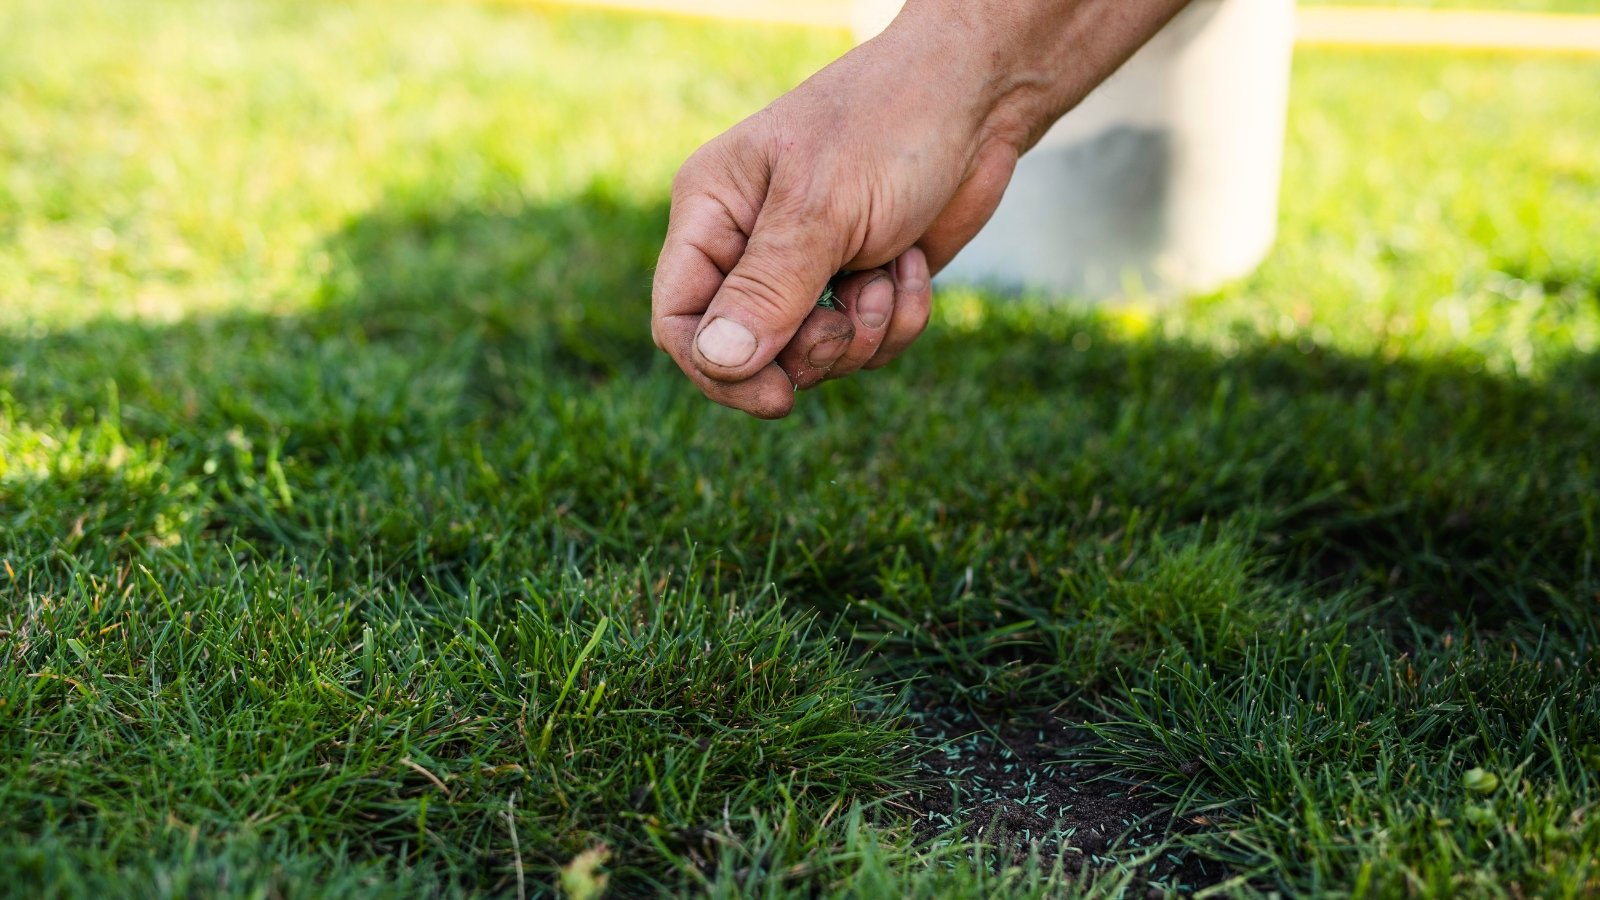
Step 4: Sow Grass Seeds
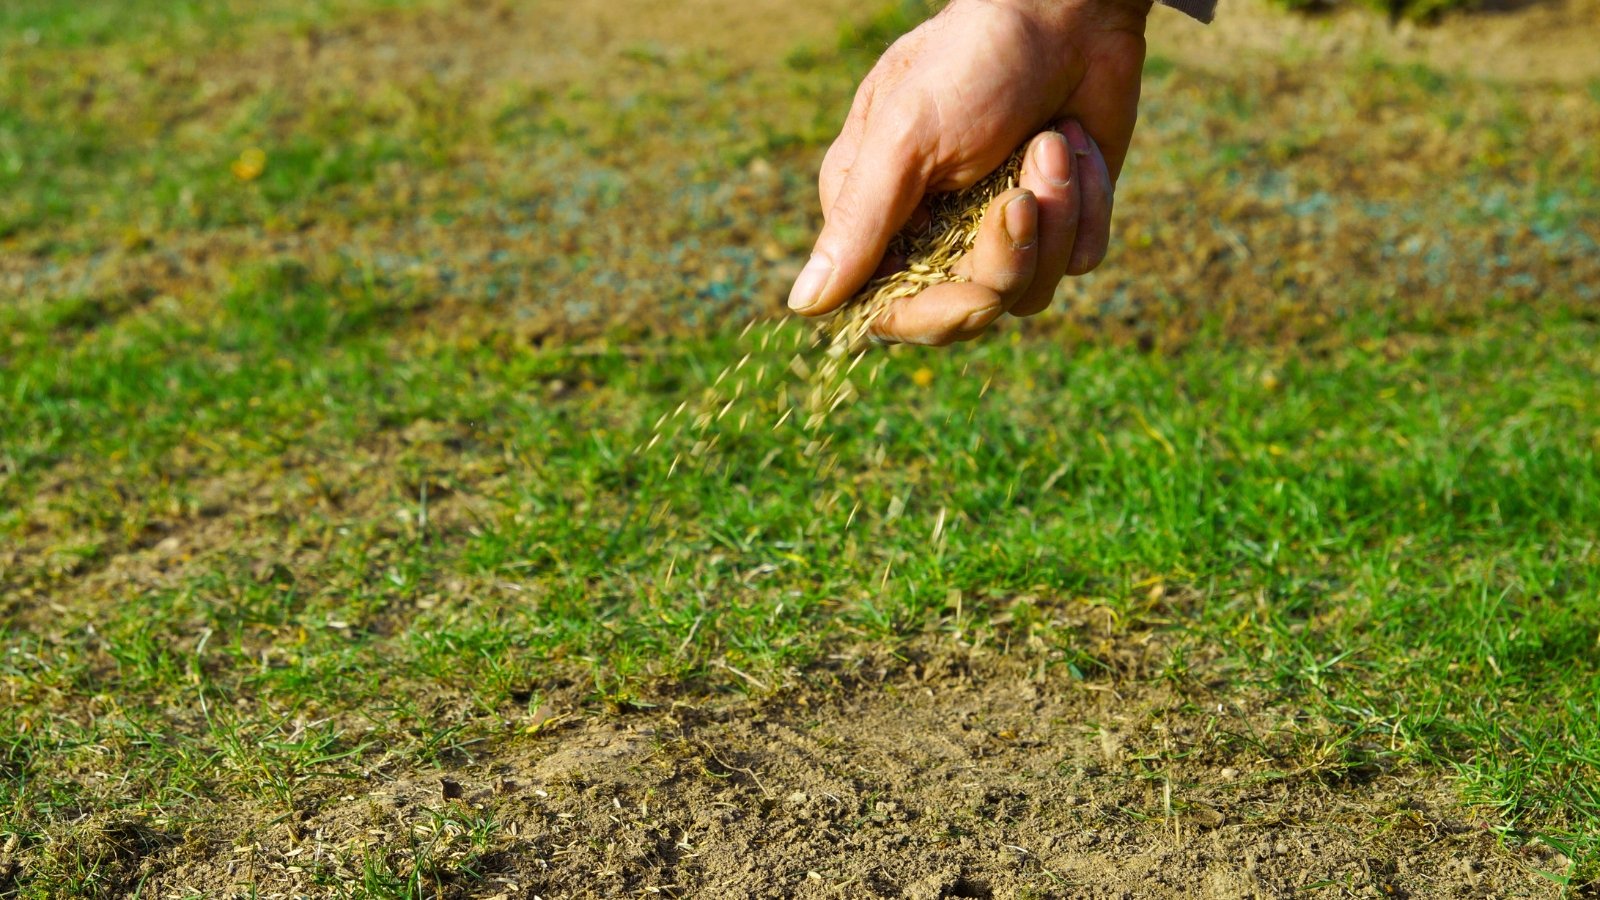
Sowing seeds is the most important step. No new grass can grow without seeds! You’ll want to choose a grass seed mix that works well for your garden and its climate. Some grasses grow well in the shade and others perform in the sun, while some prefer heat and others grow under cold temperatures.
Choose a blend that’s good for both the climate and the sun exposure. Sun-loving grasses perform well in full sun while shade-loving ones grow in full or partial shade. Match the grasses to your yard’s conditions for the best results.
Sow seeds thickly. You’re not planting crops! You’re sowing a thick lawn—plant enough seeds to cover the bare spots. Add a thin layer of soil on top of the seeds, then pat them down. Patting them helps put them in contact with the soil so they sprout quickly.
If the patches are large and considerable, you may use sod instead of seeds. Sod consists of rolled-up grass mats that you lay down for instant growth. It’s great for laying down a fresh lawn, though it’s also helpful in repairing empty patches.
When laying sod, cut the roll to create patches that fit into the empty spots. Place the sod chunks on the patches, then pin them down with stakes. You’ll remove the stakes after the sod establishes itself in a few weeks.
Step 5: Water Regularly

Water is crucial in the grass-growing process! It’s the most important resource for healthy growth. You may use sprinklers, hoses, or watering cans to irrigate the site. Grass seedlings need more water than mature grasses to thrive.
How much water you’ll need to apply varies depending on the current season. More water is necessary in summer, while little irrigation may be necessary in fall, winter, or spring. Ensure the site stays consistently moist, but not soggy, throughout the entire sprouting process.
Daily watering may be necessary in hot locales! Use your finger to test the ground before watering. If it feels bone dry beneath the surface, then it’s time to water. If, however, it’s wet underneath, wait another day before checking again.
Step 6: Monitor the Seedlings
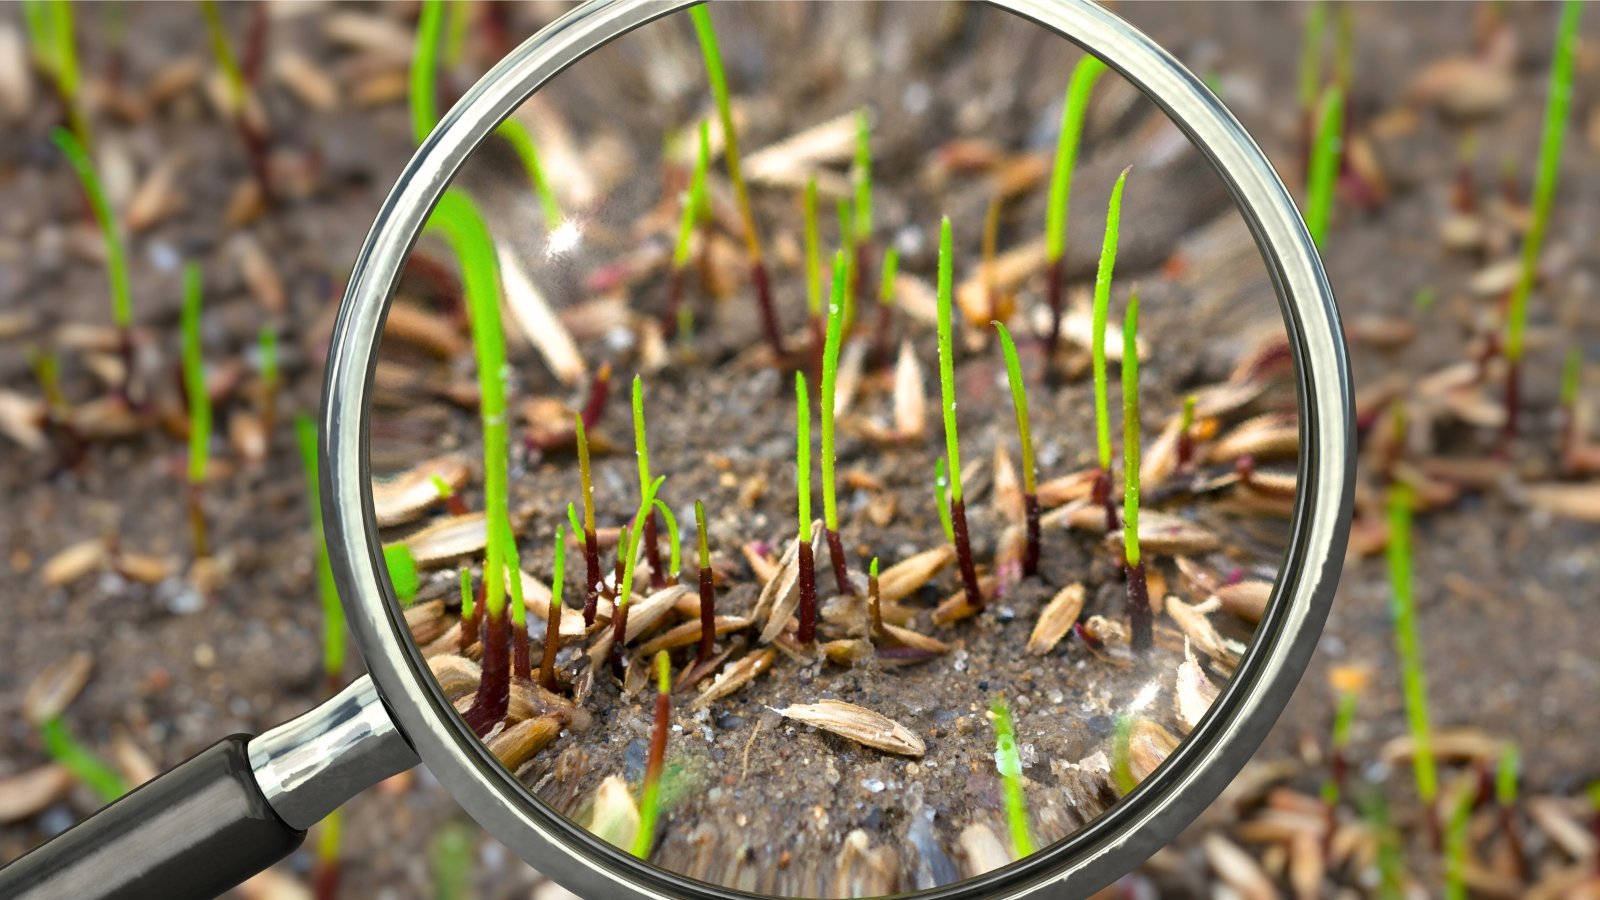
Seeds quickly sprout under moist and mild conditions. You may see spotty germination rates in the middle of summer and higher rates in fall, winter, or spring. Ensuring the soil never dries out is the number one way to promote ample sprouts.
Monitor your seedlings while they grow to catch any problems before they appear. Feeding insects, peeing dogs, and walking onlookers may ruin the grasses before they reach maturity. Protect the young plants by fencing them in until they reach a mowable height.
Mow the fresh grass a month or two after seeding it. Sod lawns take less time, about two to three weeks before they’re ready for mowing. Let the grass grow a bit longer than normal, then mow it to your desired height.
After the grasses grow, they’ll need some fertilizer during the growing season to continue thriving. Apply a high-nitrogen fertilizer once a month during the growing season for healthy, fresh growth.
Step 7: Repeat as Needed
One reseeding or resodding may not be enough to fill the area. Adverse weather, sun exposure, and poor growing conditions can cause spotty sprouting. To continue fixing the patches, simply repeat the process starting at step one.
The next time you reseed, take extra time to consider the underlying issues causing brown patches. Without fixing the underlying problems, the issues will keep returning so long as the causes remain. Add a living hedge, water less often, or apply a fungicide to treat lawn diseases.
Sometimes, the best thing to do may be to wait. Instead of reseeding in the middle of summer, you can wait until the fall when the weather is more accommodating of young seedlings. If it’s the middle of winter, wait until spring when seeds will sprout.
Key Takeaways
- Don’t fret—brown lawn patches are easy problems to fix.
- It’s as easy as 1-2-3.
- 1. Remove thatch.
- 2. Level the soil surface.
- 3. Sow seeds.
- Consistent watering is key. Regularly water grass seedlings so their soil is moist, but not soggy.
- If patches appear again, repeat the process! Keep some grass seeds in storage so you have them ready when you need them.


