How and When to Divide Asters
Asters bloom bright, star-like flowers that fill the late summer garden with color and fragrance. They’re tough, hardy, and vigorous! They’ll need division after a few years to continue growing well. Join native plant gardener Jerad Bryant and learn how and when to divide your asters.

Contents
Asters come in all shapes and sizes! Perennial American asters offer dozens of species to choose from; they’re native to the U.S., and they thrive without much care. Many are frost-hardy and grow well from New York to Oregon.
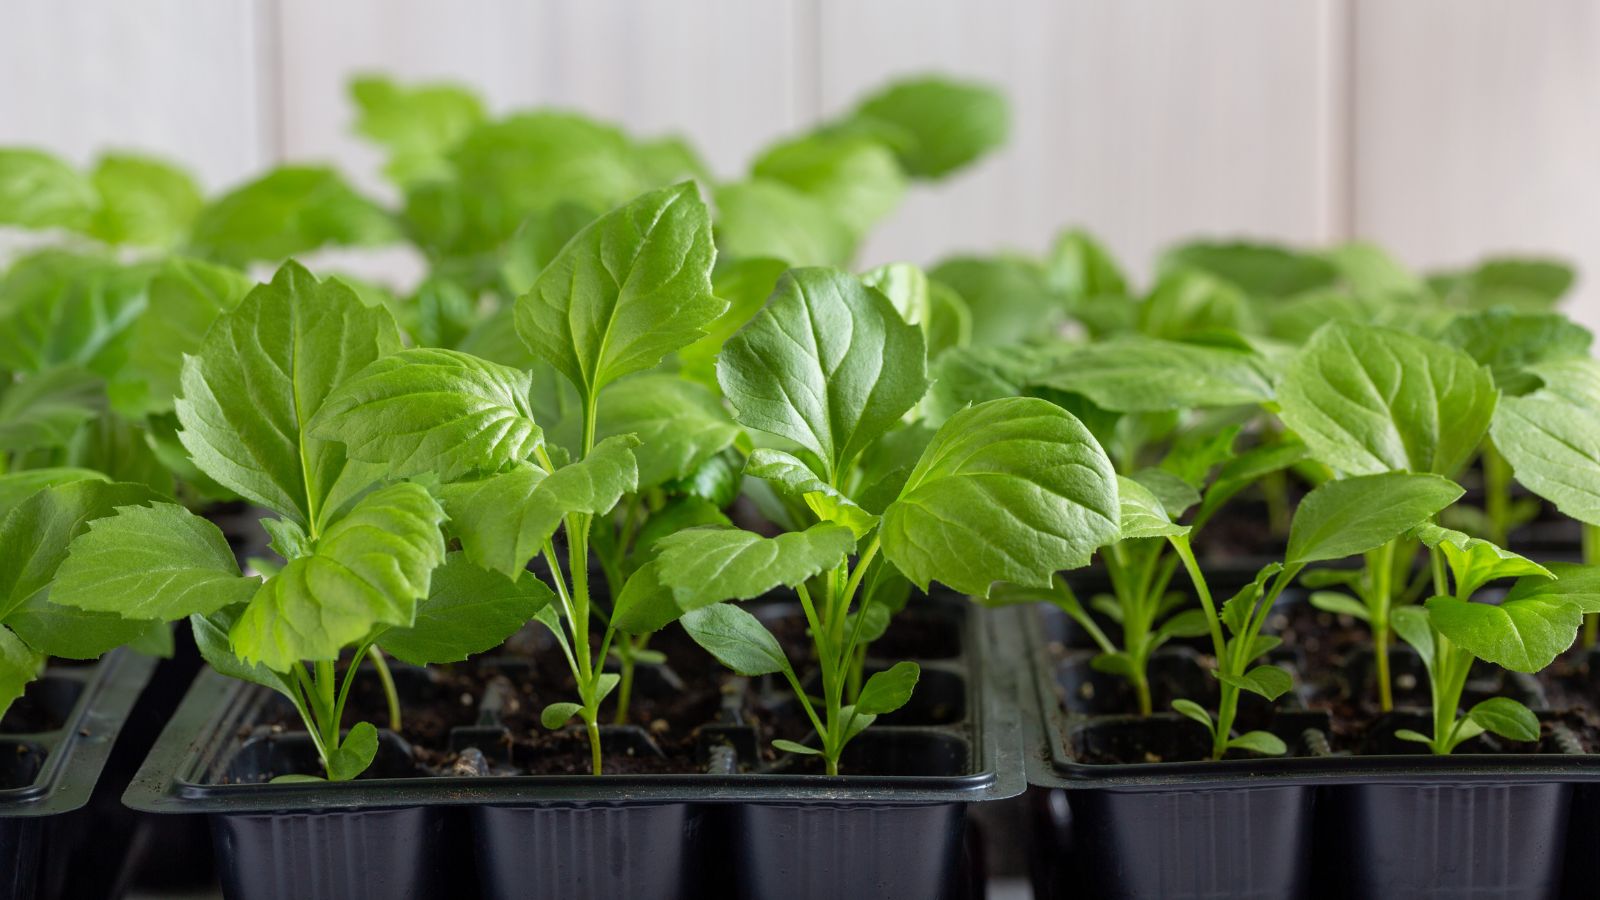
There are also annual asters, like China asters. These heirloom favorites die at the end of the growing season, and you’ll need to sow their seeds in spring if you’d like them in the summer garden. You can’t divide them—you can only divide perennial asters that sprout anew each spring.
Many plants go by the common name of aster, though botanists have split up the genus into many new ones. Don’t worry! This guide works for all perennial aster species, regardless of their scientific name. Use it to guide you through dividing and replanting your asters for a garden full of blooms.


Why Divide Asters?
There’s more than one reason to divide asters. Maybe you want more plants, or you’d like to rejuvenate an old garden. Take a close look at your plants and note their conditions. After studying them, you’ll know whether or not to divide and replant them.
Propagate New Plants
The main reason for division is to gain new plants! You can turn a single clump into many new ones. Instead of buying seeds or potted plants at the store, you’ll convert your healthy asters into many new plants.
Though free plants sound exciting, it’s best to wait to divide them until the clumps are of a good size. Dividing is a stressful process for aster varieties, and they need a robust root system to survive the stress.
Remember, you can only divide perennials! Annuals die at the end of the growing season, and dividing them won’t propagate new plants like you’d hope. To propagate annuals like China asters in the genus Callistephus, you’ll need to save seeds or take cuttings.
Rejuvenate Old Specimens

Division doesn’t just give you new plants—it also revives old asters! As the clumps grow wider and thicker, they fill the area with dead leaves, elaborate root systems, and fresh growth. This organic matter collects and crowds out your asters, which can lead to poor growth in the future.
Instead of letting the plants suffer, simply divide them when they outgrow their space. A quick refresh will help them flourish for years to come.
Prevent Spread

The final reason for division is to limit your plants’ spread. They’ll grow wider and denser annually so long as they have access to sun, water, and nutrients. Maybe they’re creeping in on your dahlias, or they’re snuffing out your annual seedlings.
Instead of dividing your aster varieties to limit their spread, you may also slice their outer regions with a spade. Using the sharp spade, dig down around the perimeter of the aster plant. Remove the cut stems, and put fresh potting soil or compost in their place.
When to Divide Asters
When to divide asters depends on how big or small they are, as well as the current season. Do this process every few years during the right season, and you’ll create an endless supply of aster plants to fill your garden with.
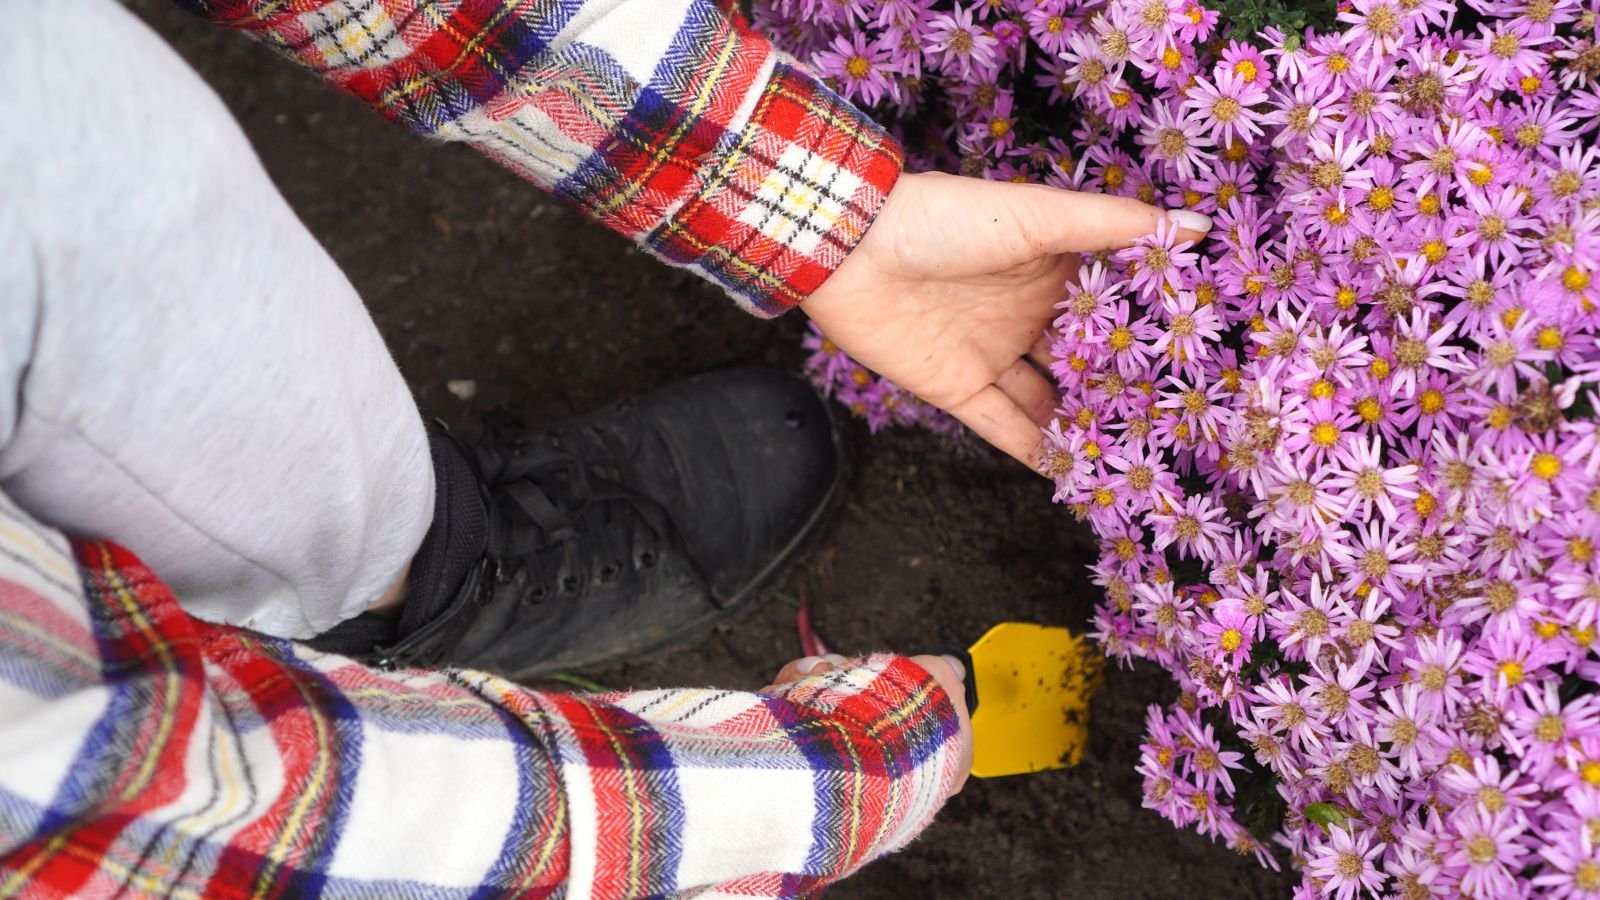
Symptoms to Watch For

Plants can’t talk, but they use their habits to converse with us! They’ll lose leaves, grow new stems, or droop in response to external factors. When perusing your asters, watch for these symptoms as indicators of division:
- Lack of flowers
- Dense growth
- Weak, limp stems
- Large clumps
- Rambling stems that fall on other plants
These aren’t the only means for knowing when to divide. You may split up mature clumps so long as they’re large enough to give you multiple new plants.
The Best Season
As seasons change, so too do plants! They enter dormancy in response to cold, or they begin blooming as days lengthen and warm in spring. Asters are no different. They respond to the changing seasons by growing roots, blooming, or dying back.
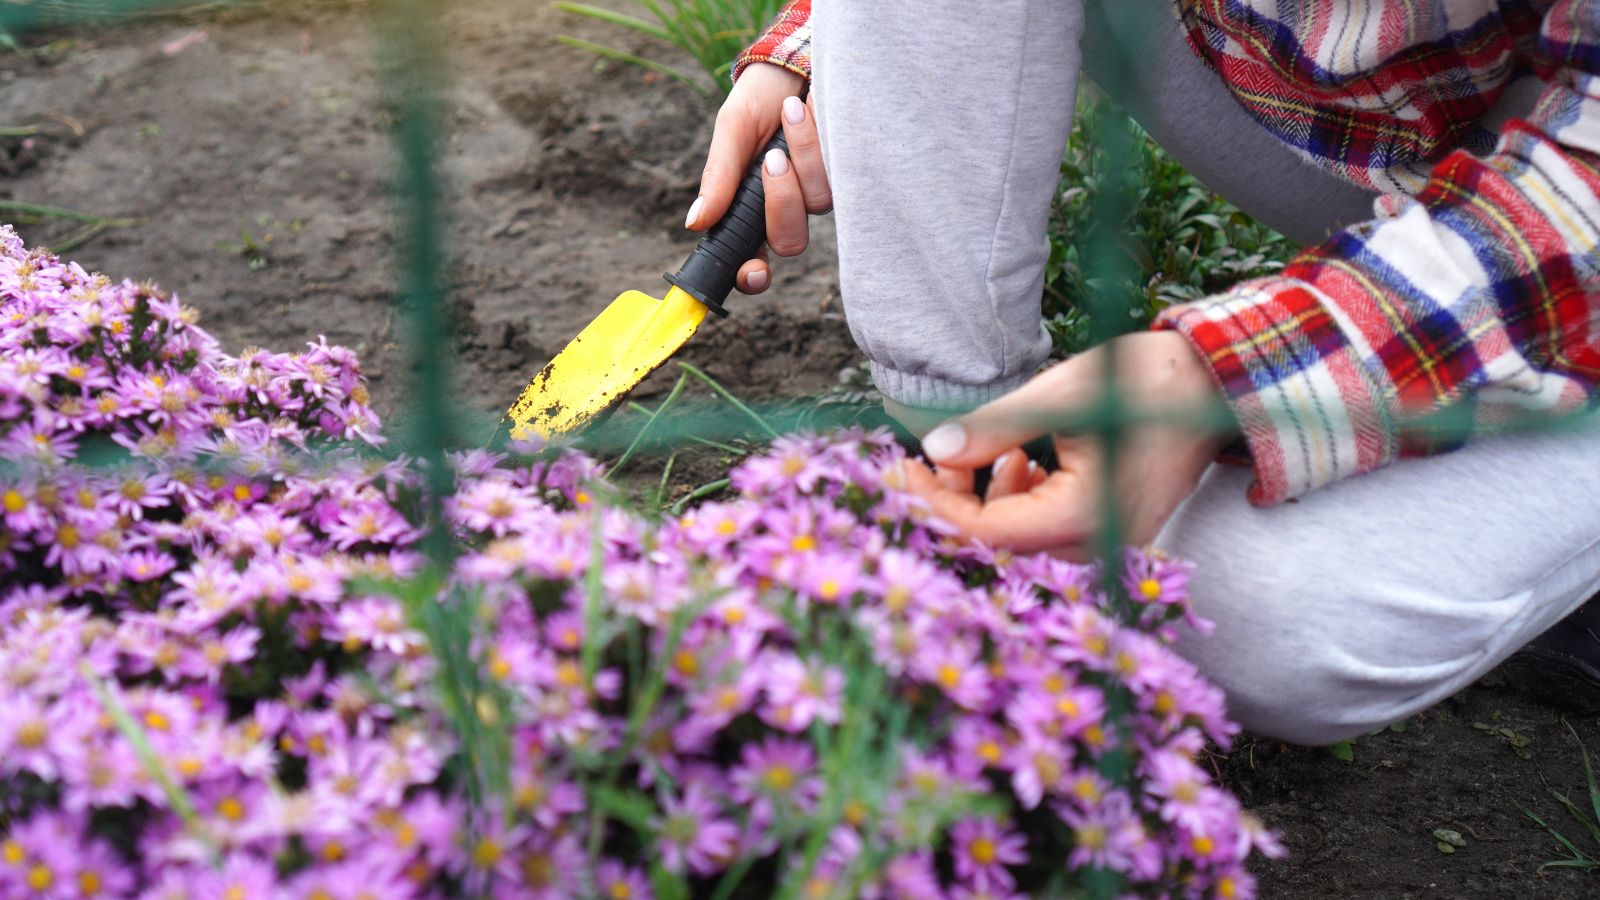
Fall and spring are great seasons for division when the weather is cool, mild, and moderate. Avoid dividing during summer or winter, as you’ll likely kill the plants in the process.
The best season for division is spring, when the plants begin growing roots in response to warming temperatures and increased daylight. If it’s summer or fall, you may want to wait until the next spring to divide asters.
Division Frequency
How often you split up these perennials is another important consideration. They’re not indestructible! They need some time to grow and flourish before they’re ready for the division process.
It’s good to divide asters every three to five years when the clumps grow large and dense. Avoid splitting them more often than once every three years. The perennials grow healthy roots and shoots in the off years, and they need this time to establish themselves after planting.
How to Divide Asters
So, let’s get to it! Dividing asters is an easy process with the right materials and guidelines. Grab a shovel and get ready to dig.
Prepare

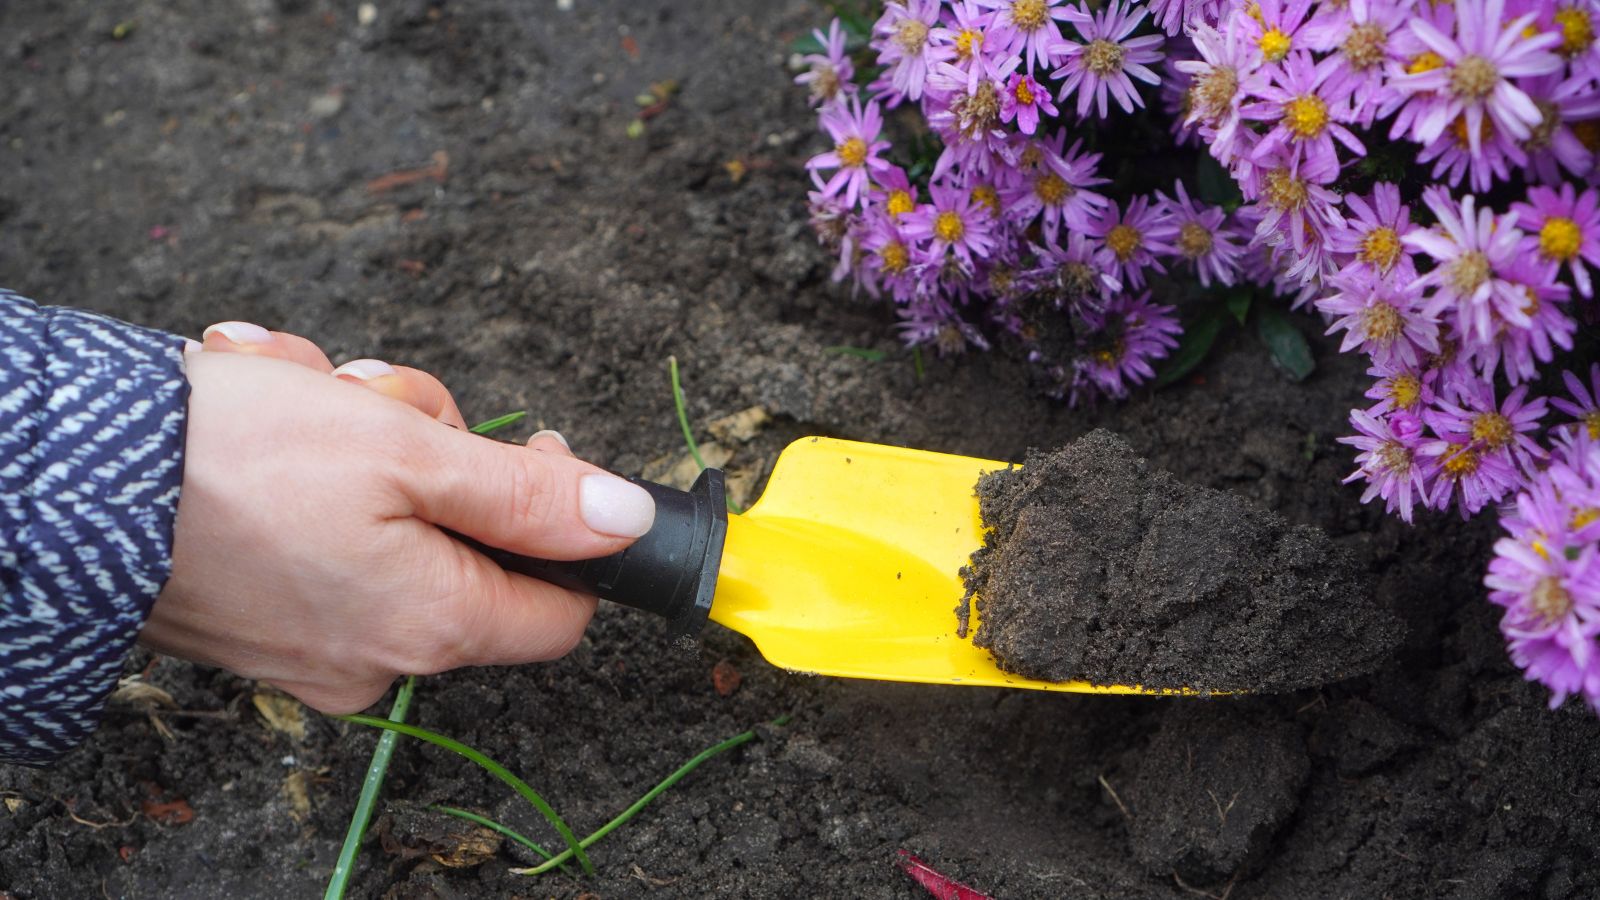
The day before you want to divide, take a look at the site. Ensure the aster specimens are well-watered with moist, soft, and crumbly soil. Soft, moist soil is crucial for a smooth dividing process. If the ground is hard and compact, you’ll have trouble digging up the roots.
Natural rainfall may keep the ground moist, but you’ll want to add water if the dirt is dry. Soak the site the night before you want to divide. Leave a hose on a low trickle for an hour, or run a sprinkler for the same amount of time.
Now’s a good time to remove dead leaves, stems, and seed heads. Snipping off dead fluff will give you a clear view of your aster the next day. Set your tools nearby so you’re ready. You’ll need a shovel or trowel, a sharp knife, and potting soil or compost.
Dig Up the Clump
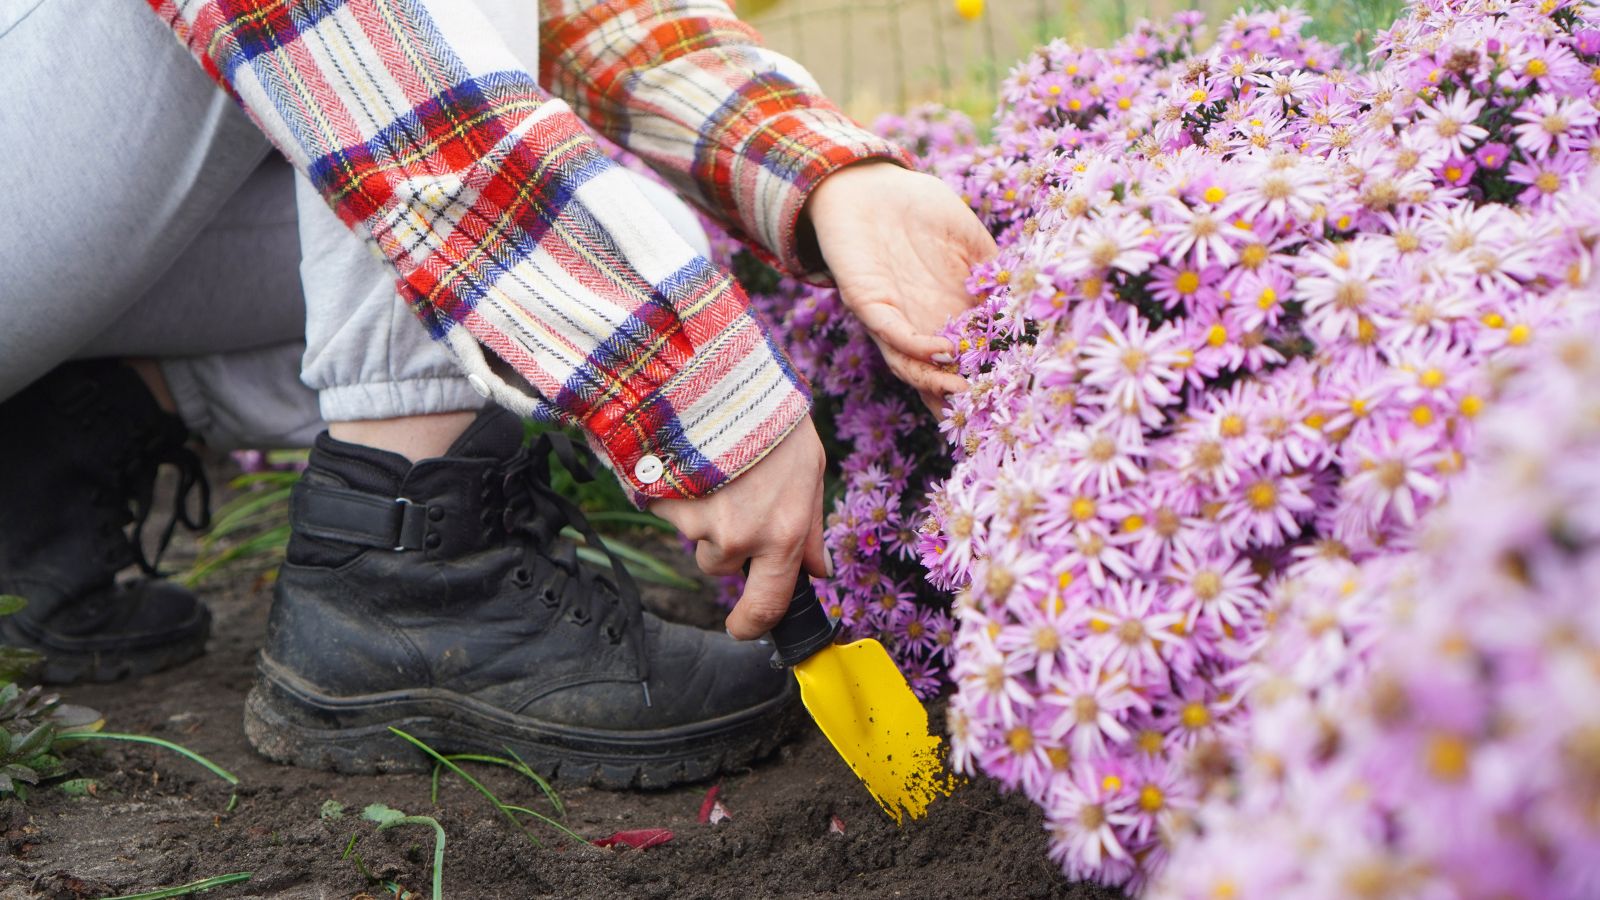
The following day, in the morning or afternoon, gather your supplies and prepare for digging. You’ll want to dig down a few inches away from the stems to ensure you get as many roots as possible. Make a circle around the plant. Then, dig underneath the roots a foot or deeper down.
With your shovel underneath the aster roots, begin heaving the plant out of the ground. Save your back! Use your knees to lift, and plop the aster on its side above the ground.
Shake some of the dirt off the plant to get a closer look at the roots. You don’t need to shake all the soil off, nor do you need to rinse it away. Retaining some soil will help the divisions rebound quickly after replanting.
Divide the Clump
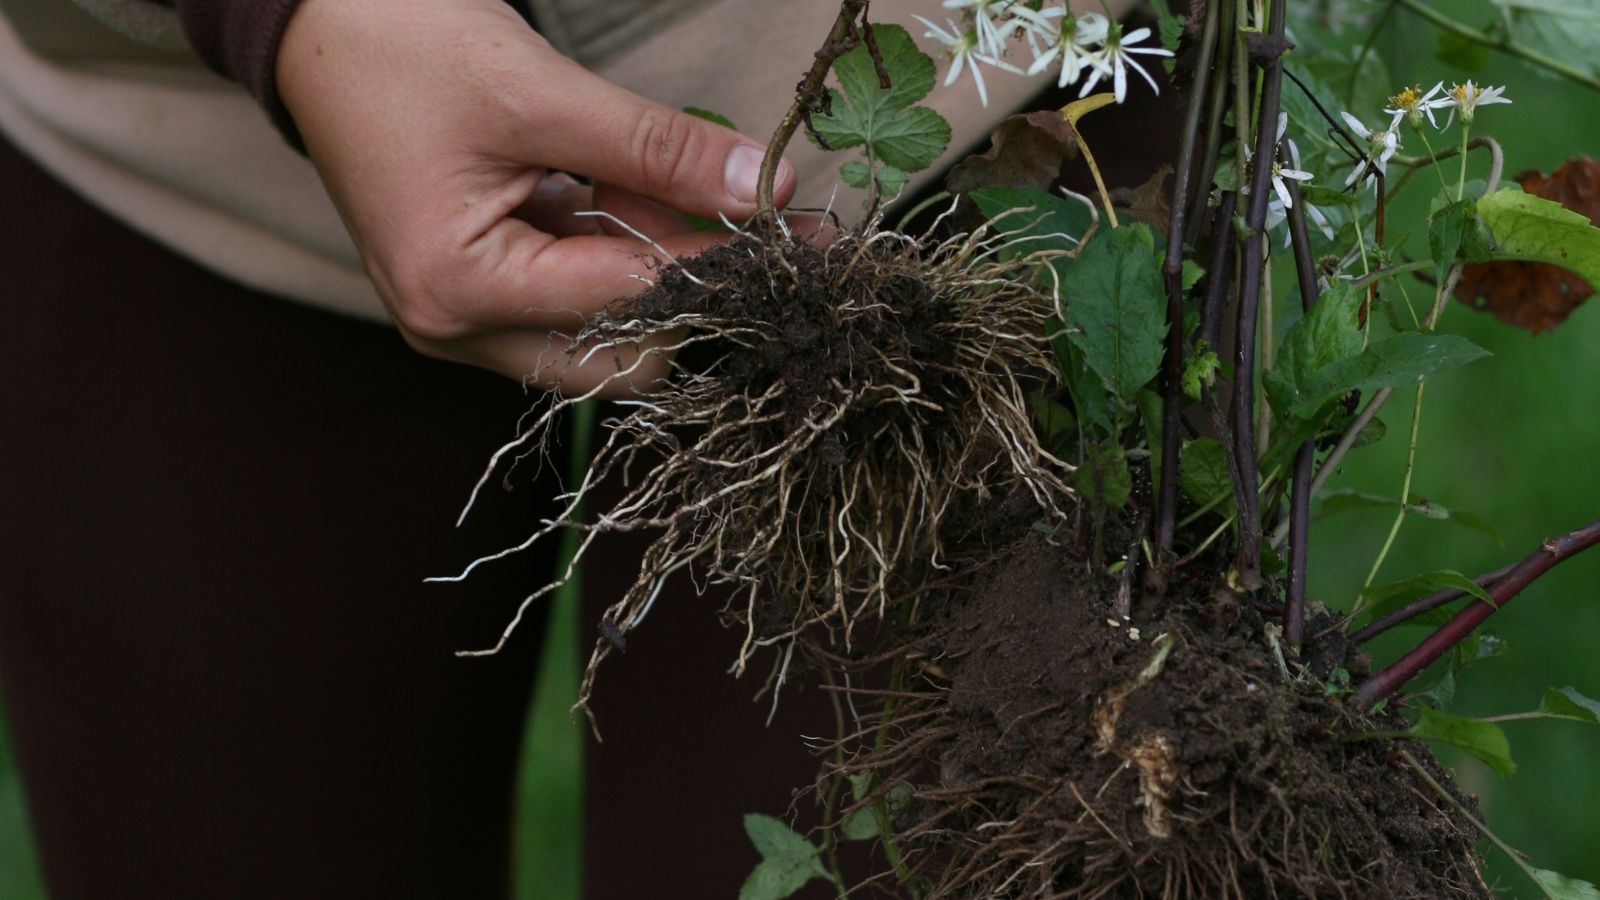
Here’s the fun part! Dividing your asters requires careful attention and precision. You don’t want to remove too many roots, and you want to ensure the divisions have a good chance of surviving dissection and division.
With your sharp knife or pruners, saw through the plants to separate them into two or more new sections. Ensure each piece has healthy roots and shoots; small ones may not survive replanting. Set the divisions aside in the shade if it’s cool, or set them in a bucket of water if it’s hot and dry.
Prepare Planting Holes

Once you have your divisions, it’s time to prepare new holes for planting. Some species grow in partial or dappled shade, while most varieties prefer full sun. Choose appropriate sites in the yard where your perennials will thrive.
Dig holes for planting that are twice as wide and as deep as your asters’ rootballs. If the ground is hard, soak the soil first before digging. Set the dug-out soil aside for burying the roots later.
Don’t mix potting soil or compost in the planting hole. This common practice may harm the roots in the long run. Use the garden’s native soil for planting instead.
Plant New Divisions

Gather your aster divisions and set each one in a planting hole. Cover their roots with the garden’s soil, and water the site well. If the dirt sinks below ground level, add some more of it to make the hole even with the surrounding area.
After planting, it’s a good idea to cover the ground with an organic mulch. Mulch decays over time, creating a perfect home for tender roots and soil microbes. Compost is one of the best mulches, though you may also use leaf mold, straw, or fallen leaves.
And that’s all there is to it! Your new asters will need some care for three to five years, after which they’ll be ready for another round of dividing.
Key Takeaways
- Anyone can divvy up asters! Simply start in spring, use a sharp knife, and set the starts up well with a proper planting.
- These techniques work well for propagating your perennial garden asters, no matter the species.
- American asters, like the Douglas aster, are excellent in the U.S. They feed wildlife with pollen, nectar, and seeds, and provide habitat for small creatures.
- There are three reasons for dividing: rejuvenation, propagation, and limiting spread.
- The best season for division is spring, after new growth occurs.
- Use compost after planting to set your asters up for success.


