A Beginner’s Guide to Vermicomposting
Vermicomposting harnesses the power of worms to convert waste into nutritious amendments for the home garden. Whether indoors or outside, worms are an excellent way to recycle and repurpose with little effort on your part. Use this beginner’s guide to start vermicomposting at home.

Contents
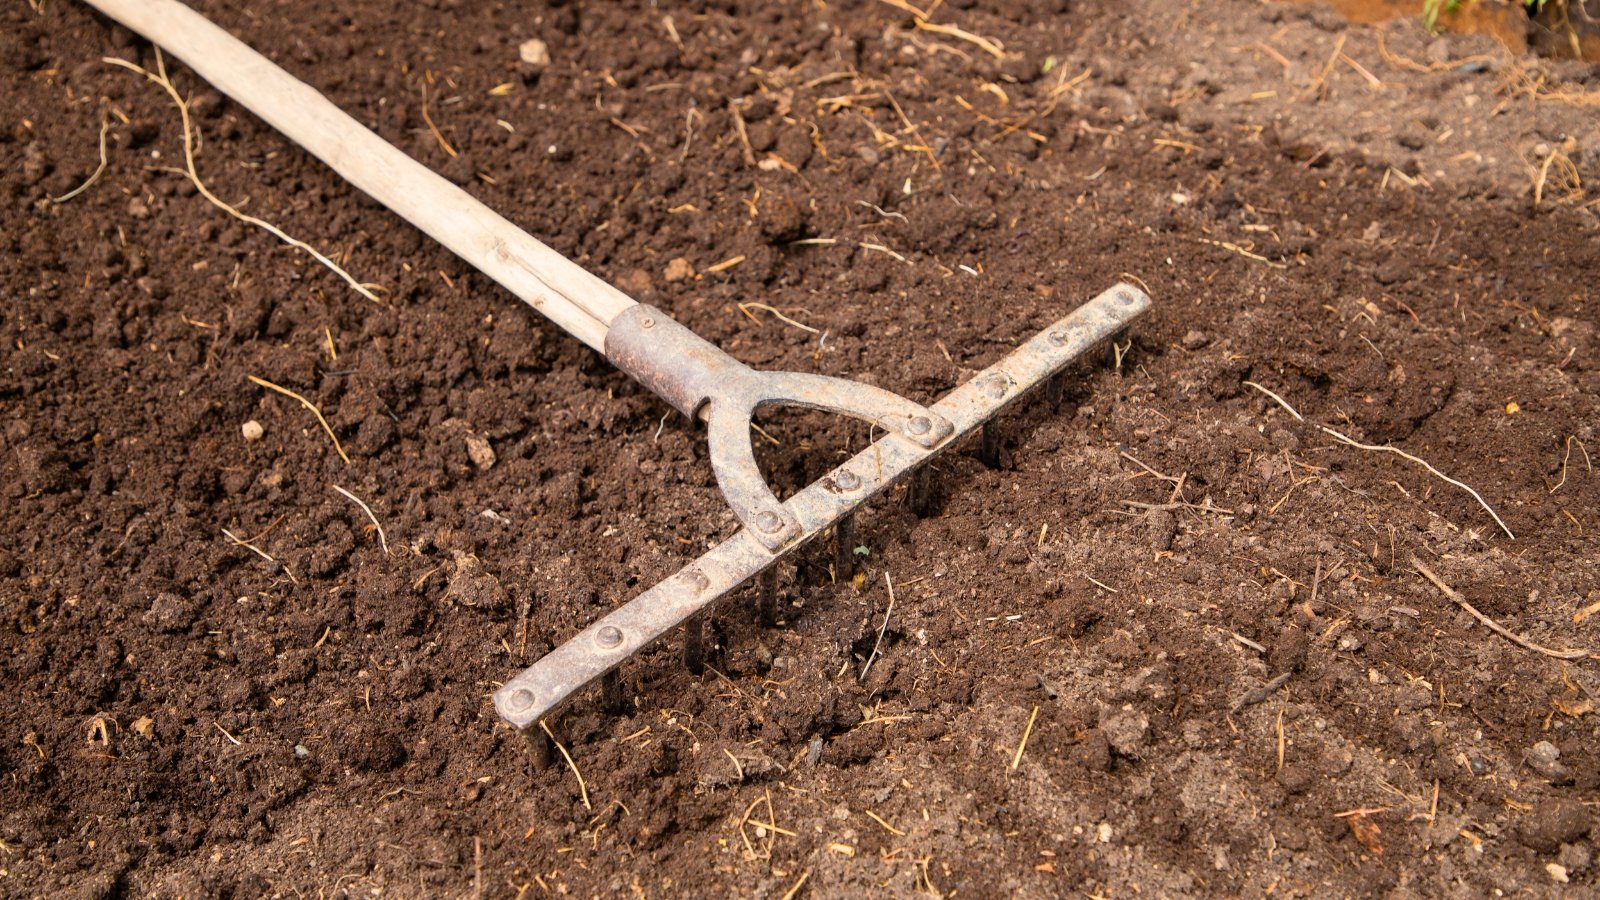
Put those worms to work! By keeping them in a bin and feeding them food scraps, you’ll help the underground critters convert waste into humus, a valuable soil product. Humus is absorbent and nutritious; it holds water and nutrients for plant roots to access.
This process relies on worms, a home for the worms, and food to feed them. You’ll set up a worm species inside bins with bedding materials and organic waste. Food scraps, garden clippings, and some paper products are good for giving them a good home.
Whether you’re a routine composter or a beginner vermicomposting for the first time, this guide will lead you through the necessary steps to ensure you can vermicompost with ease. Get some worms, feed them, and harvest their poop—but maybe put some gloves on first!


What is Vermicomposting?
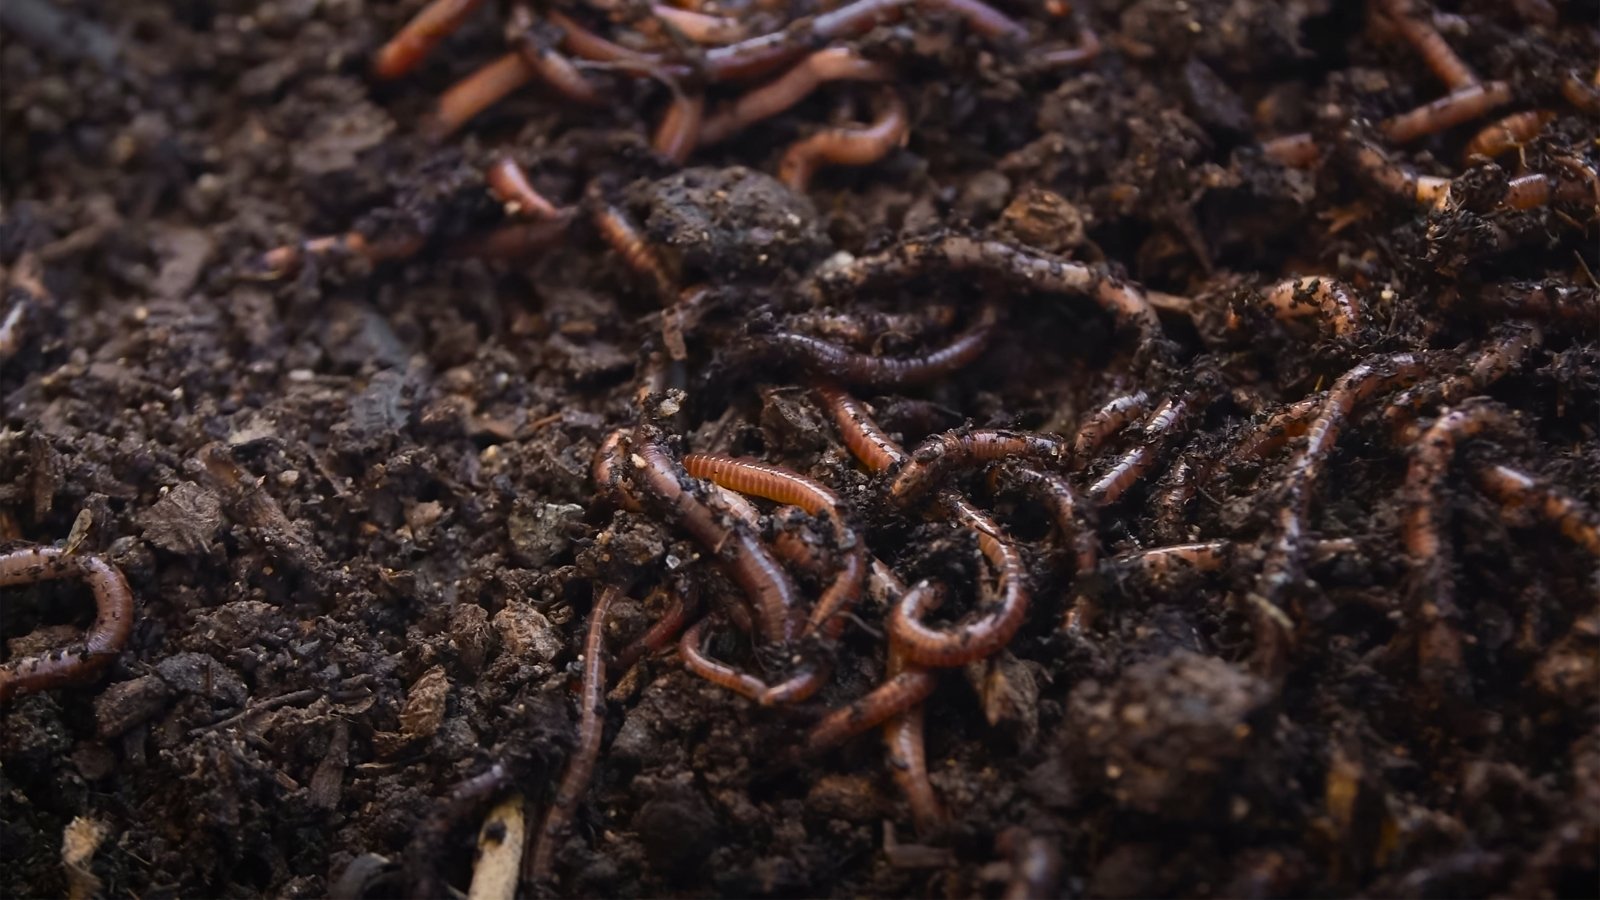
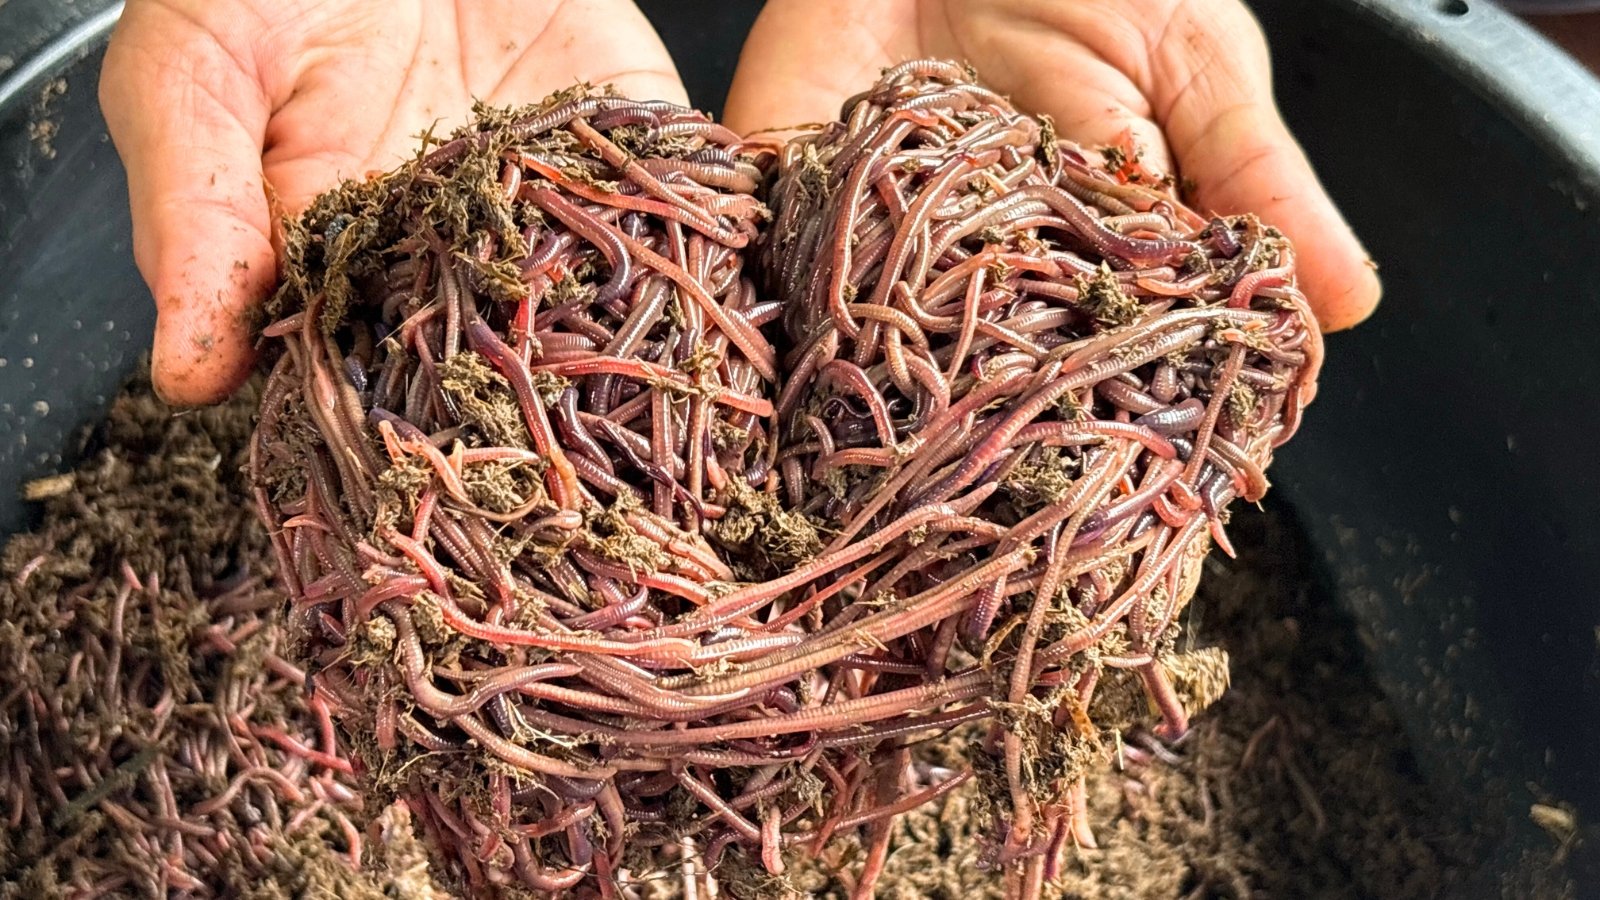
Vermicomposting (or worm composting) is a composting method where worms, usually red wiggler worms, eat organic waste and convert it into castings. Castings are worm poop particles! They’re fertile, absorbent, and water-retentive.
The Magic of Worm Composting

Beginner vermicomposting is a magical practice. It harnesses worms’ natural habits to our benefit. It’s a useful practice, and it doesn’t hurt the worms. It’s like having a pet! You’ll feed, tend to, and water your worm bin to keep it healthy and full of these happy critters.
This magical process relies on common red wiggler worms. Their scientific name is Eisenia fetidai. They’re useful in vermicomposting, especially for beginners, as they prefer living in rotting organic matter. They’re also capable of converting large amounts of scraps that are common in big families.
Why Use Worms?
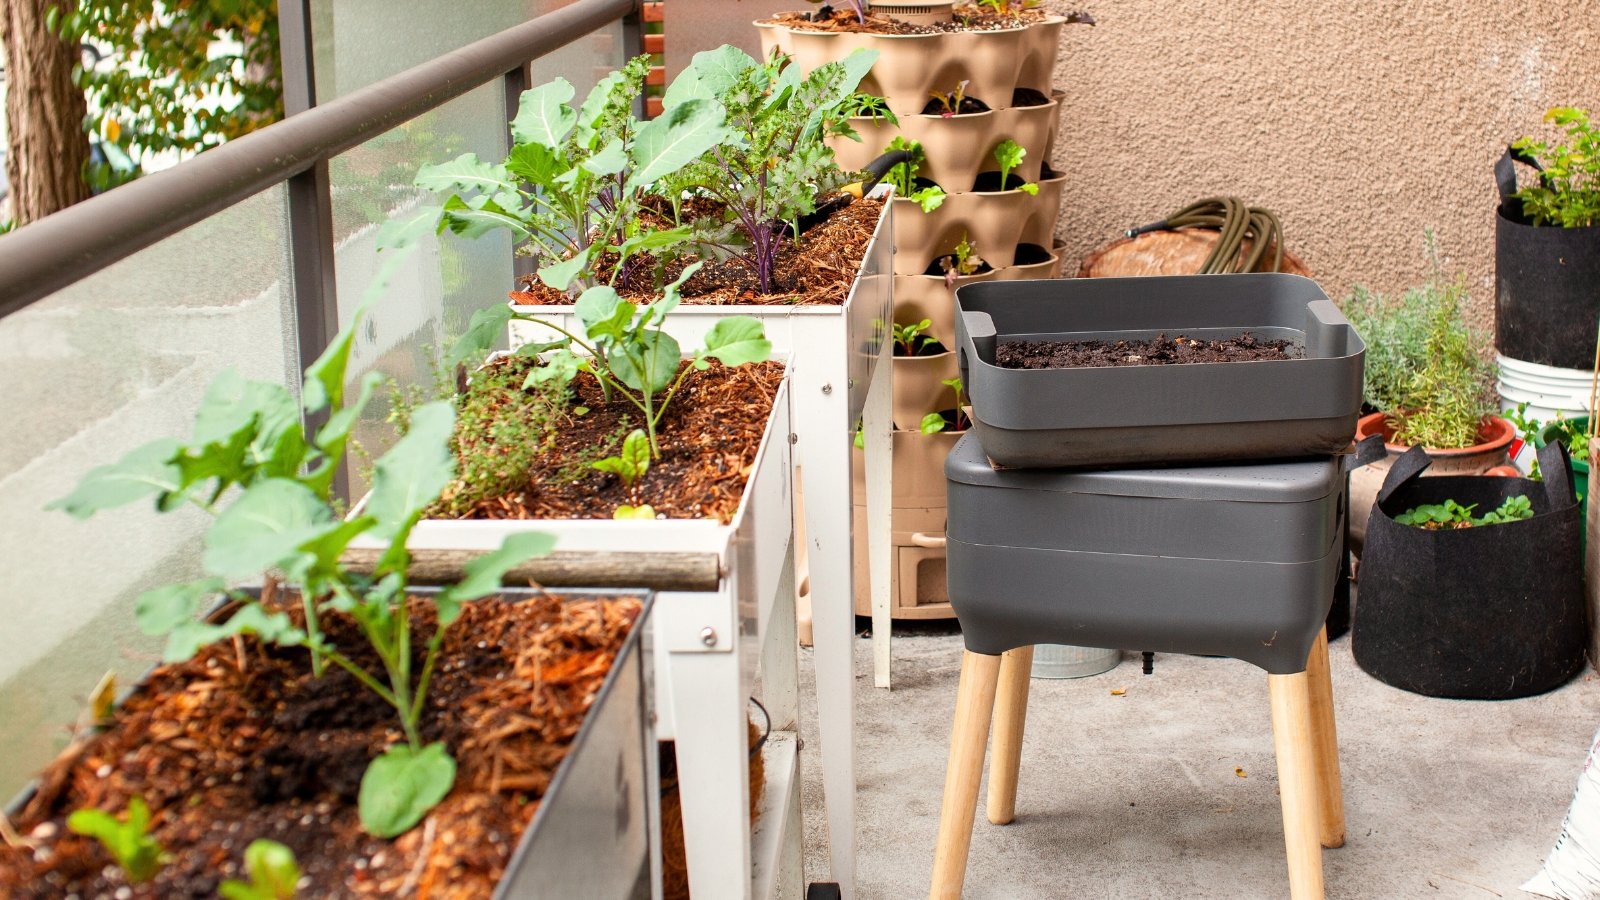
Well-tended vermicomposting bins are odorless, noiseless, and small enough to fit anywhere in your home. They don’t require large amounts of space in your yard like composting piles, and they work indoors or outdoors at temperatures between 55-77°F (13-25°C).
Vermicomposting is useful as a standalone composting method or in combination with other composting systems. It’s especially useful if you have large amounts of food scraps and garden clippings. Instead of waiting for composting systems to work, you can employ a vermicompost bin or two in your kitchen pantry or an empty closet.
If you’re still on the fence about vermicomposting as a beginner, don’t worry! It’s not a permanent method. You can try it once and use the castings in your garden, or you can redo it every six months for a continual waste processing system.
Vermicomposting for Beginners
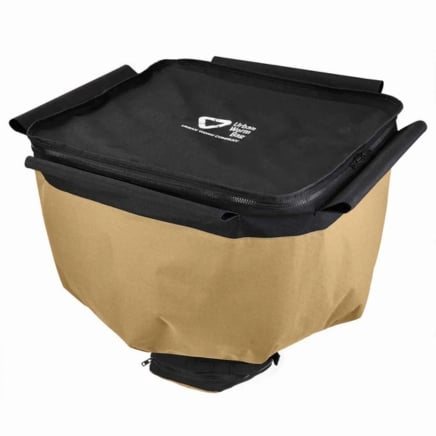
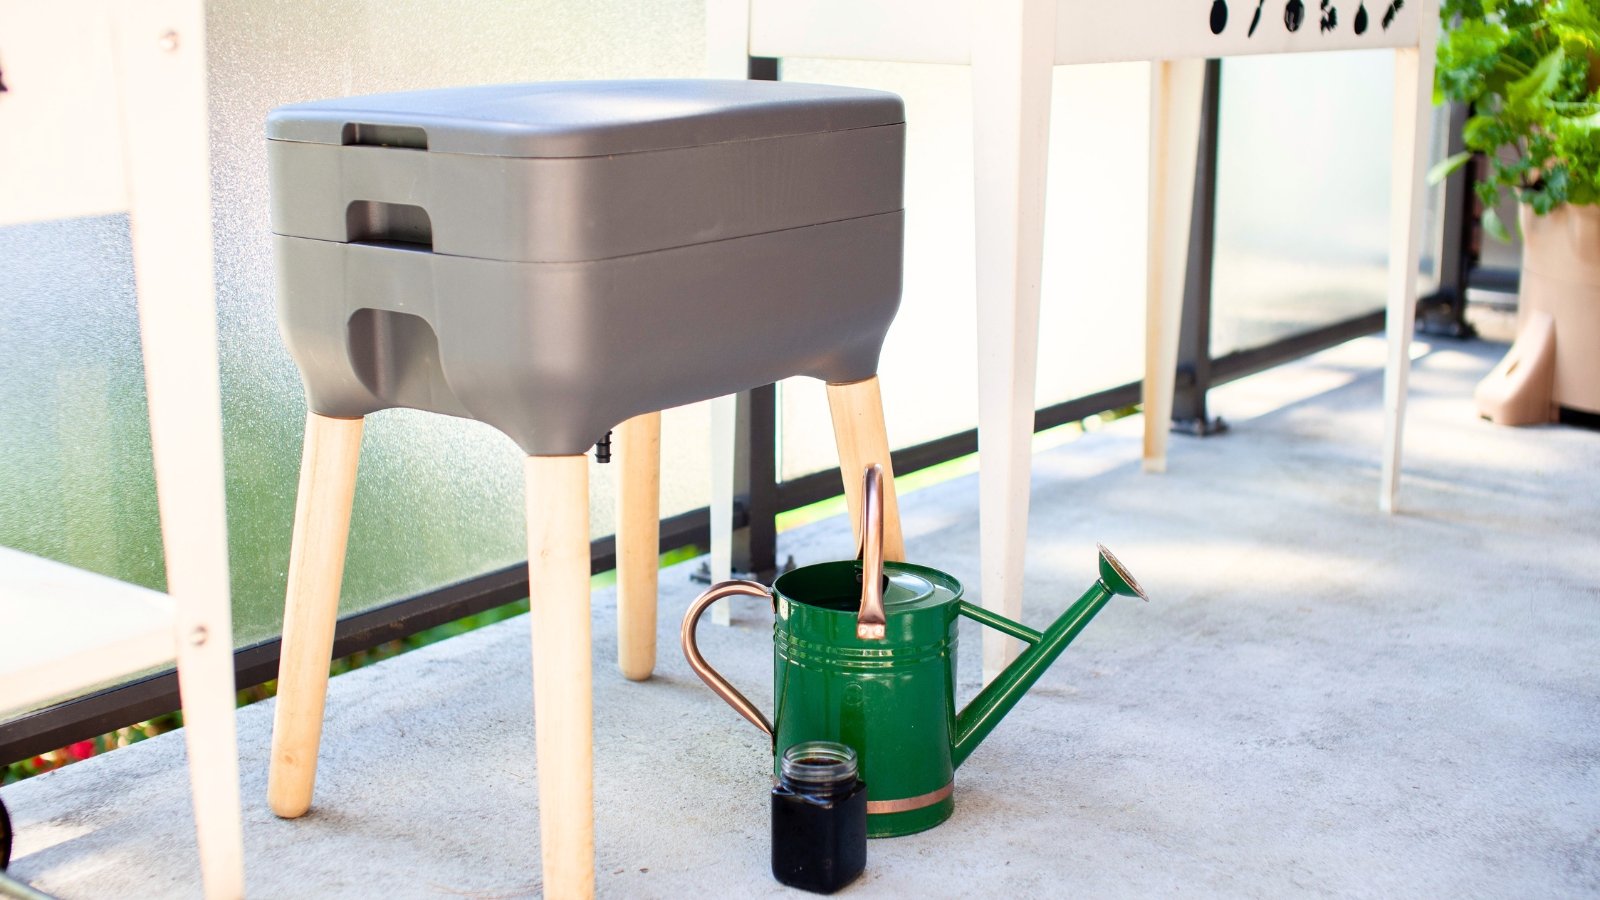
For beginner vermicomposting, you’ll start by gathering the proper materials and setting them up. Collect your worms, their bedding materials, and your food scraps, and set them aside. You can purchase a stackable bin online, or you can set up your own with two empty totes.
Gather Materials
Before you begin vermicomposting, you’ll need some materials to make this an easy process. You’ll need a worm bin, bedding material, worms, and food to feed them. Start by deciding on a worm bin, then figure out which worms and scraps to fill the bin with.
Stackable bins are available online and at garden centers and plant nurseries. Purchase one of these, or set up a DIY bin at home. Gather two empty tote bins and their lids, then set them aside to prepare later.
Ensure the bins are dark and don’t let light through, as red wigglers prefer dark conditions to thrive. You may also have a single wooden bin instead of plastic ones, though wood tends to get heavy with scraps and worms inside.
For vermicomposting bedding, use a mixture of dry materials and grit to create a healthy worm home. Top and bottom bedding layers provide cushioning, air, and drainage. Worms also need grit, or hard particles, to help them digest food. They lack teeth and instead use grit in their internal organs to digest soil particles.
Use these dry materials for bedding:
- Shredded newspaper
- Recycled printer paper (non-glossy)
- Dry, shredded leaves
- Straw
- Coco coir
- Sawdust (small amounts)
And, use these materials for grit in low amounts:
- Blended eggshells
- Crushed oyster shell
- Calcium
- Garden or potting soil
- Vermiculite
- Sand (small amounts)
Choose Worms
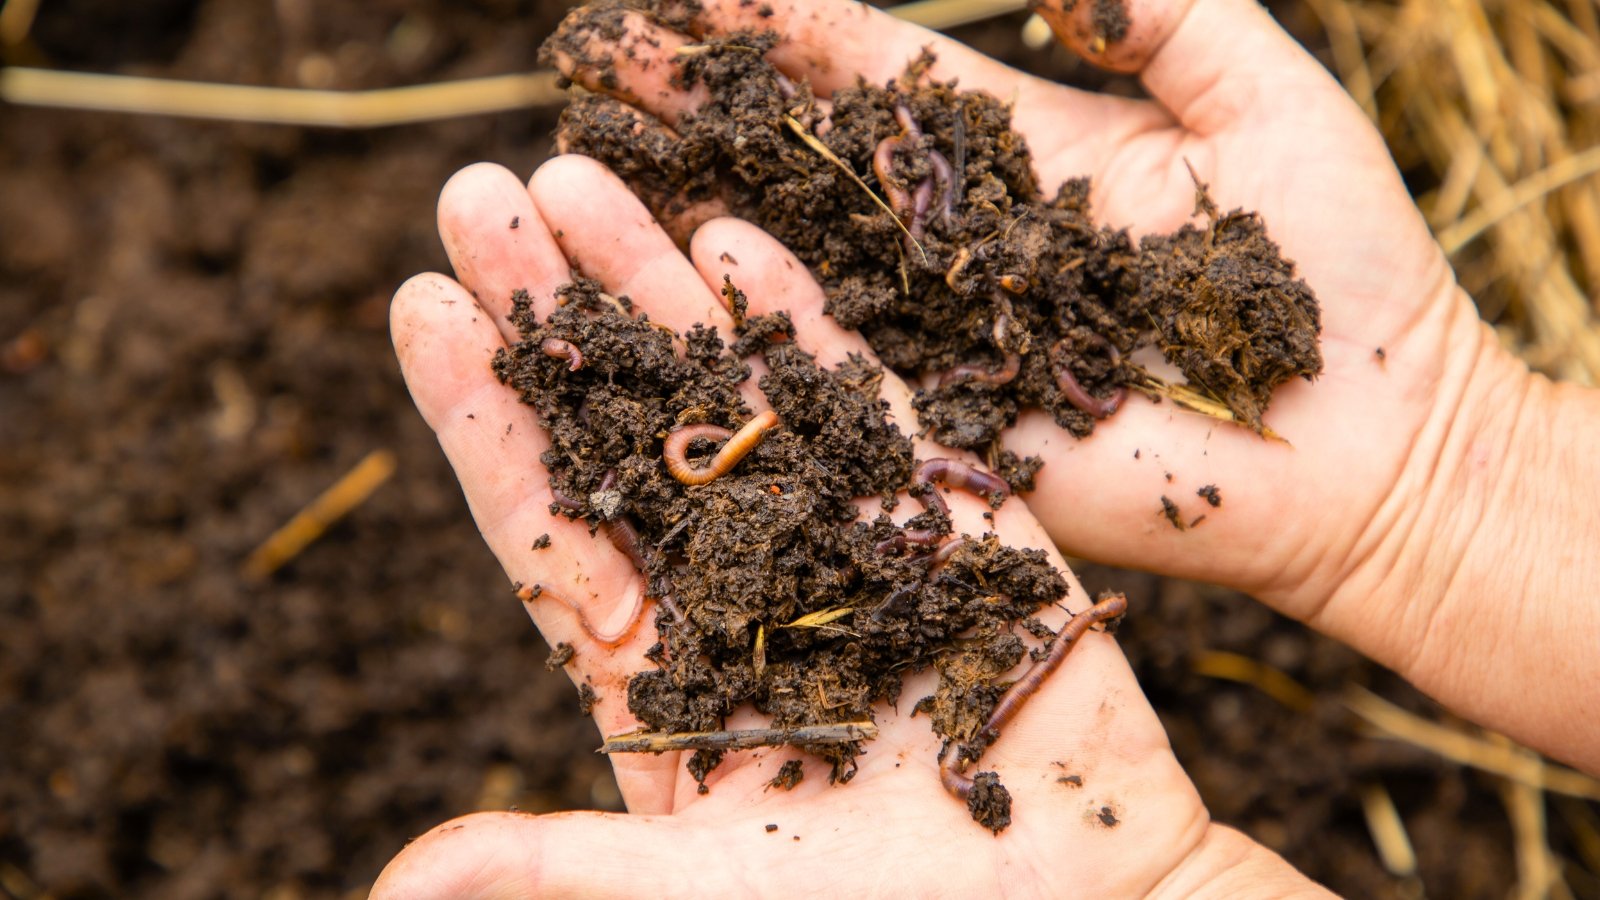
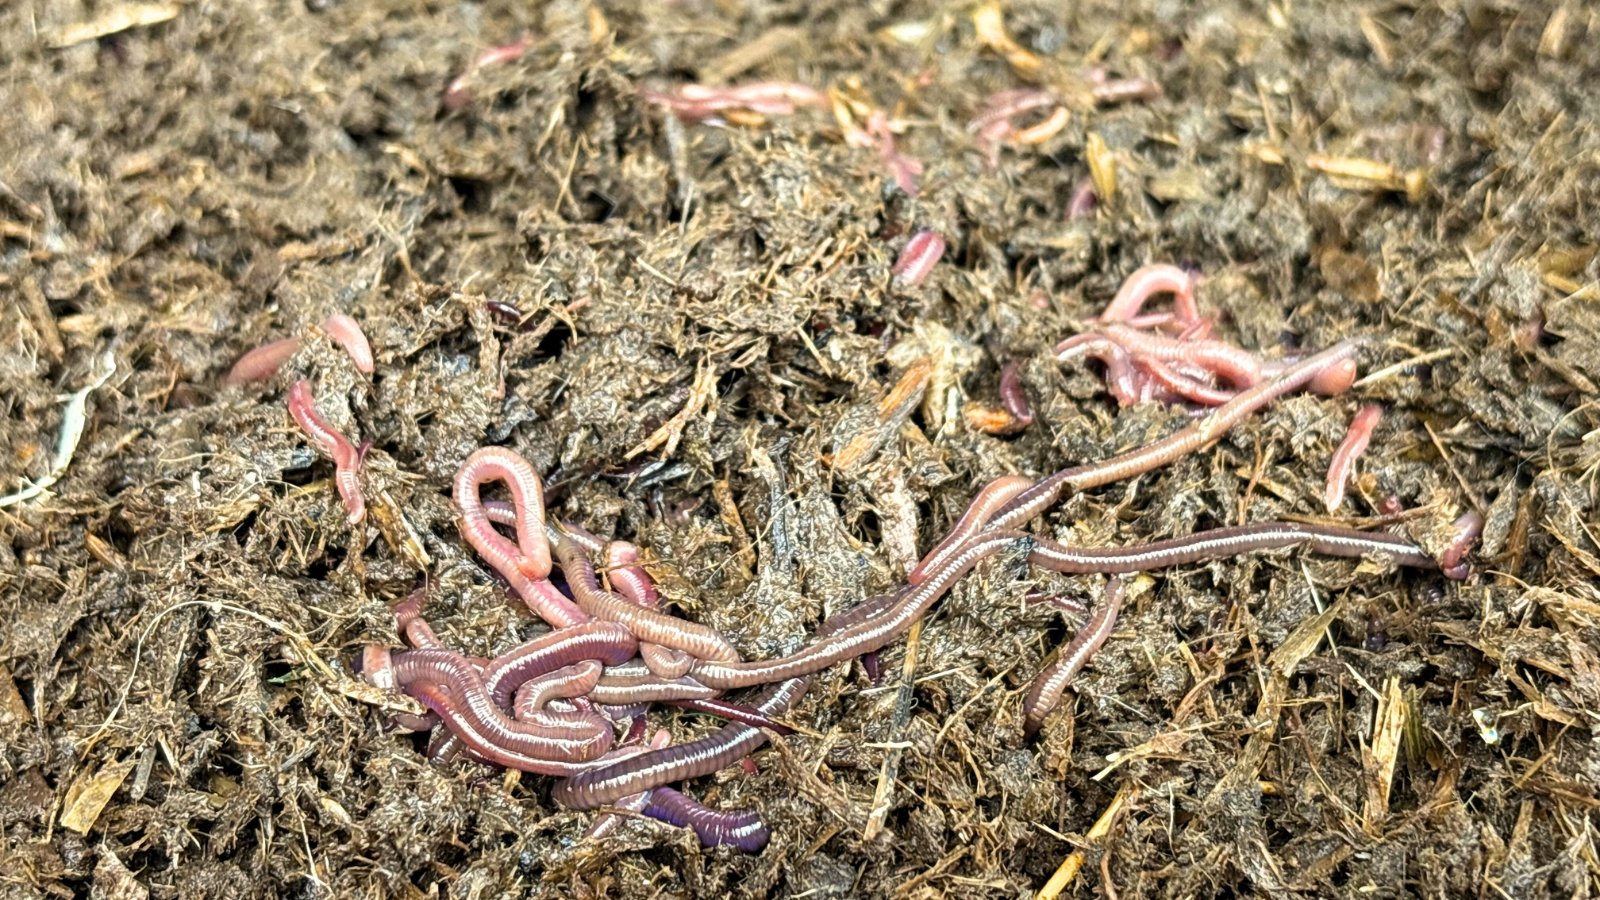
The best worms for beginner vermicomposting are common red wigglers. They thrive in rotting, decaying waste and prefer dark, wet conditions. Unlike common earthworms, which aren’t suitable for vermicomposting, red wigglers can live in bins forever, so long as they have food to eat, moisture, and air to breathe.
Find worms available online from reputable sellers, or source them yourself from your existing composting piles. They tend to congregate in compost. Ensure you have the common red wiggler species and not any other; consider asking for help from a local university extension office to identify the worms if you’re unsure.
Red wiggler worms are pinkish-red with rings and a smooth middle band, called a clitellum. They reproduce rapidly when they have sufficient food, air, and moisture. They’ll double and triple their population after a few months in your bins! They’re perfect for beginner vermicomposting.
Setup Bins
Stackable bins come ready to use, while DIY vermicomposting types need some work before they’re ready for worms. Beginners to vermicomposting should try the two-tote system, as it’s easy to set up and use. Gather your two totes from earlier, and prepare to drill holes in them for ventilation.
Using a hot rod or a drill, pierce two dozen quarter-inch holes on the bottom of one of the totes. These will allow for excess moisture to drain into the other tote, which you can then collect and use as fertilizer. Drill another dozen holes on the upper portion of the tote’s walls, and a few on the lid.
To stack two totes, you’ll need spacers to prevent them from sticking to each other. Use hard spacers that won’t collapse under the weight of the scraps and worms. Place two spacers, one on each side, of the first tote, then place the second tote with drilled holes on top of the spacers. The worms, bedding, and scraps go inside the top tote with ventilation.
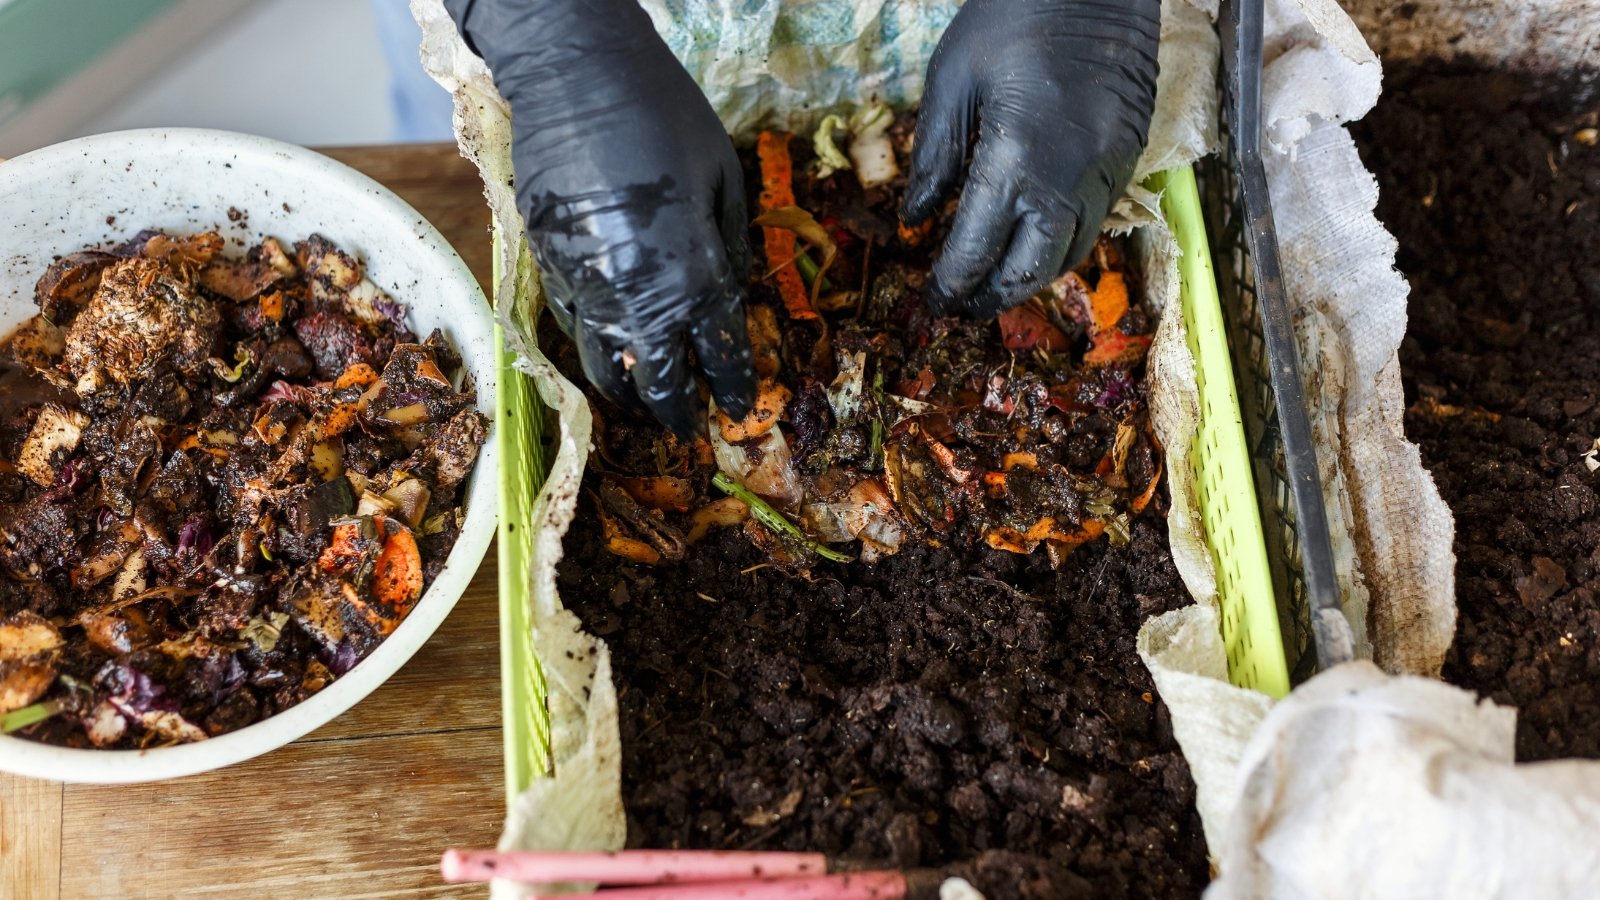
Start the vermicomposting process by filling the empty bin with four to six inches of bedding, then add the red wrigglers and food scraps on top. Cover them with another two-inch layer of bedding, and ensure it stays at two inches throughout the vermicomposting process.
No matter your setup, drainage is essential in a healthy worm composting system! Ensure your bins have a bottom layer to collect the excess dirty moisture, called leachate.

Feed Worms
Worms aren’t picky! They’ll eat most decaying organic matter, with some limitations. Don’t worry if you’re a beginner vermicomposting for the first time. This list has foods ideal for feeding red wiggler worms:
- Fruit and veggie scraps
- Ground up eggshells
- Coffee grounds
- Natural fibers (cotton, wool)
- Paper
- Stale pasta, cereal, and bread
This includes most food scraps, though it doesn’t include all of them. You may also purchase worm food for feeding. Avoid adding dairy, oils, meat, onions, and potato peels. Pet poop is also not a good idea to add to vermicompost.
There are many ways in which you can feed your wormy friends. Pull aside some bedding and bury the scraps in pockets for continuous feeding. Use new pockets with each feeding.
Or, try adding a new layer of scraps on top of the existing bedding, then add more bedding on top. The red wigglers will move upwards through the bins to find the new scraps. In multi-bin vermicomposting systems, simply add scraps and bedding into the upper bins. The worms will move up, leaving castings behind for you to harvest in the lower bins.
Maintain Bins
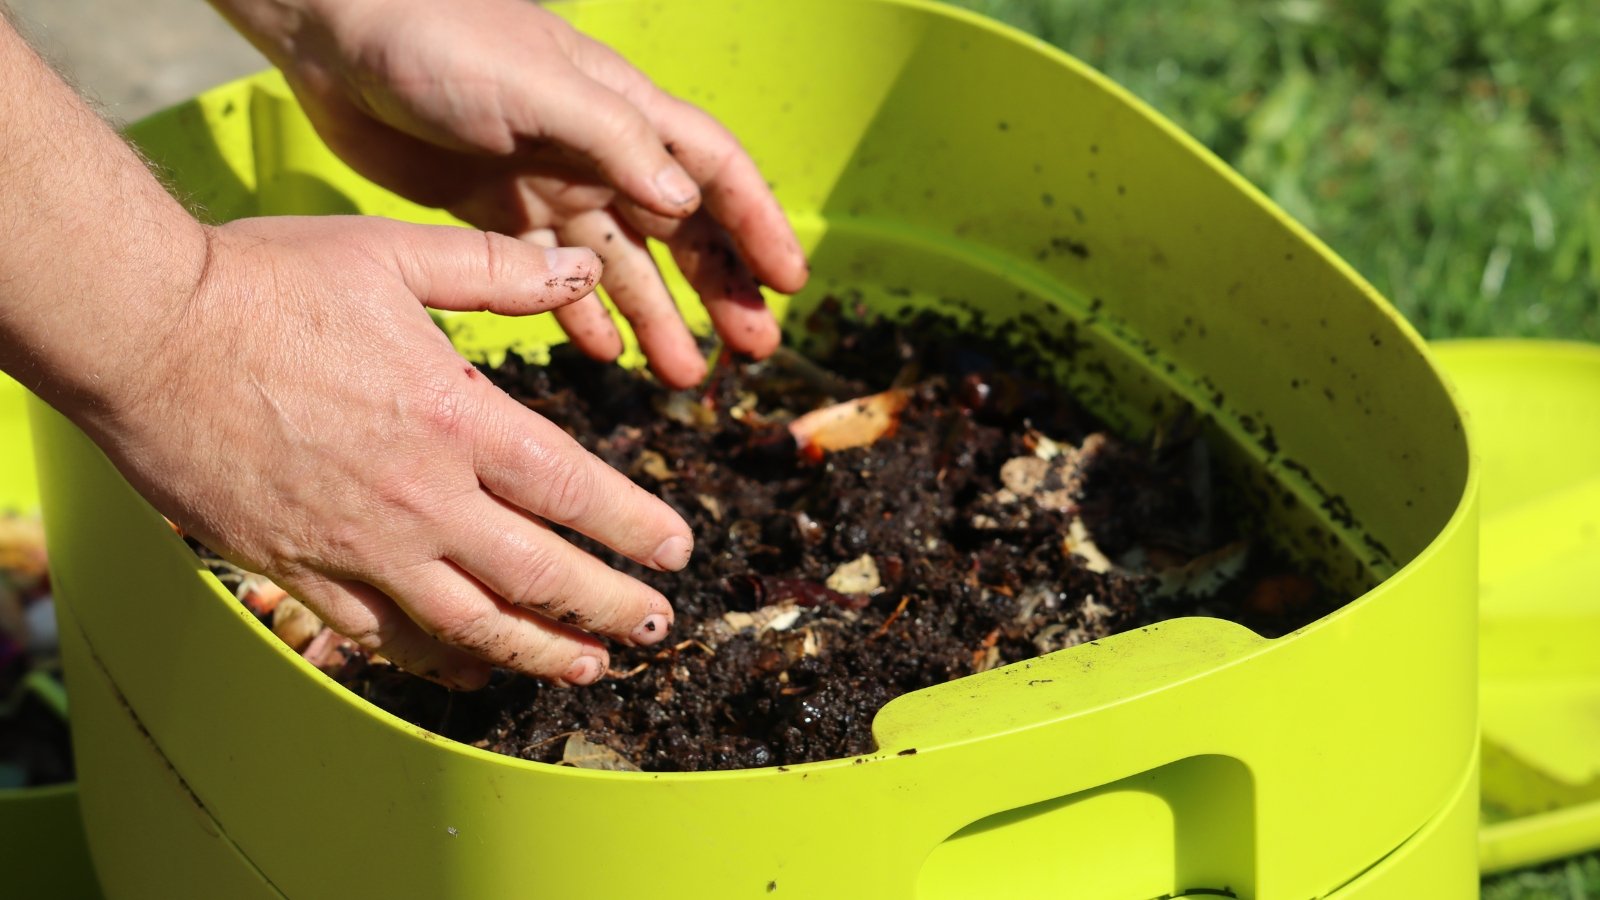
Moisture, air circulation, and food are the three most important factors of vermicomposting. Vermicompost needs to be sufficiently moist and full of air and nutrients.
Manage moisture with a spray bottle and extra bedding. If the pile is too wet, add more dry bedding and mix it in. If it’s too dry, moisten it with the spray bottle.
An earthy smell may waft from the vermicomposting bins, but there shouldn’t be any rotten or acrid smells. Check them often to ensure they stay properly fed, moistened, and aerated. If the organic matter compacts, try fluffing up the mixture and adding more bedding throughout.
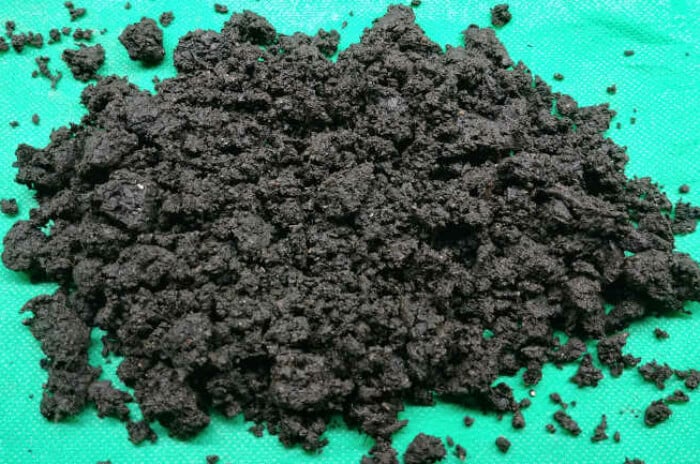
Harvest Castings
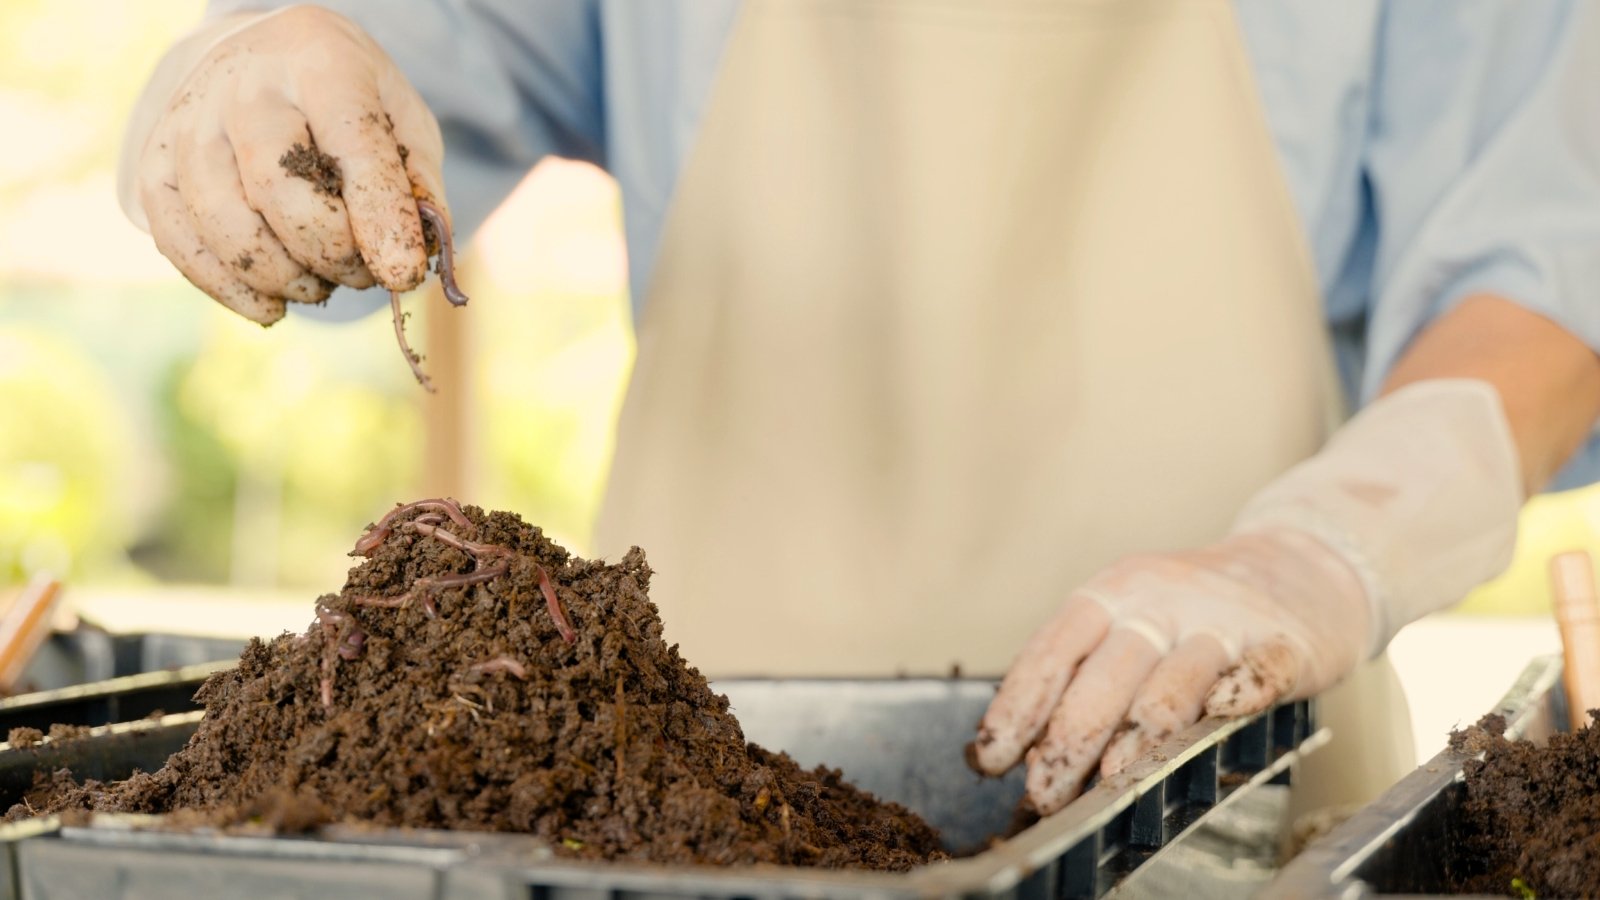
How to harvest the worm castings depends on what type of vermicomposting system you have. They’ll be ready anywhere from three to six months. Two-tote systems require you to dump out and separate the worms from the castings. Stacked bin systems, however, are easier to harvest.
Harvest stackable systems by dumping out their lower bins with finished castings. The worms will be in the topmost bin layer that has fresh bedding and organic matter. Start the vermicompost over by placing the bin full of worms on the bottom with the empty bins on top after harvesting.
For two-tote beginner vermicomposting systems, you’ll need to dump out the top tote and separate the worms from the castings. Place the castings in a pile and wait a few minutes. Then, scatter the topmost layer off the pile. The worms will flee the light and move inward in the pile. After a few scatterings, you’ll have separated the castings to leave a pile of worms.
Using Worm Castings
Worm castings are nutrient-rich! They’re ideal for houseplants, container crops, and garden plots. Use them as a part of your regular fertilizing regimen to ensure your plants stay well-fed, vigorous, and strong.
Nutritional Content
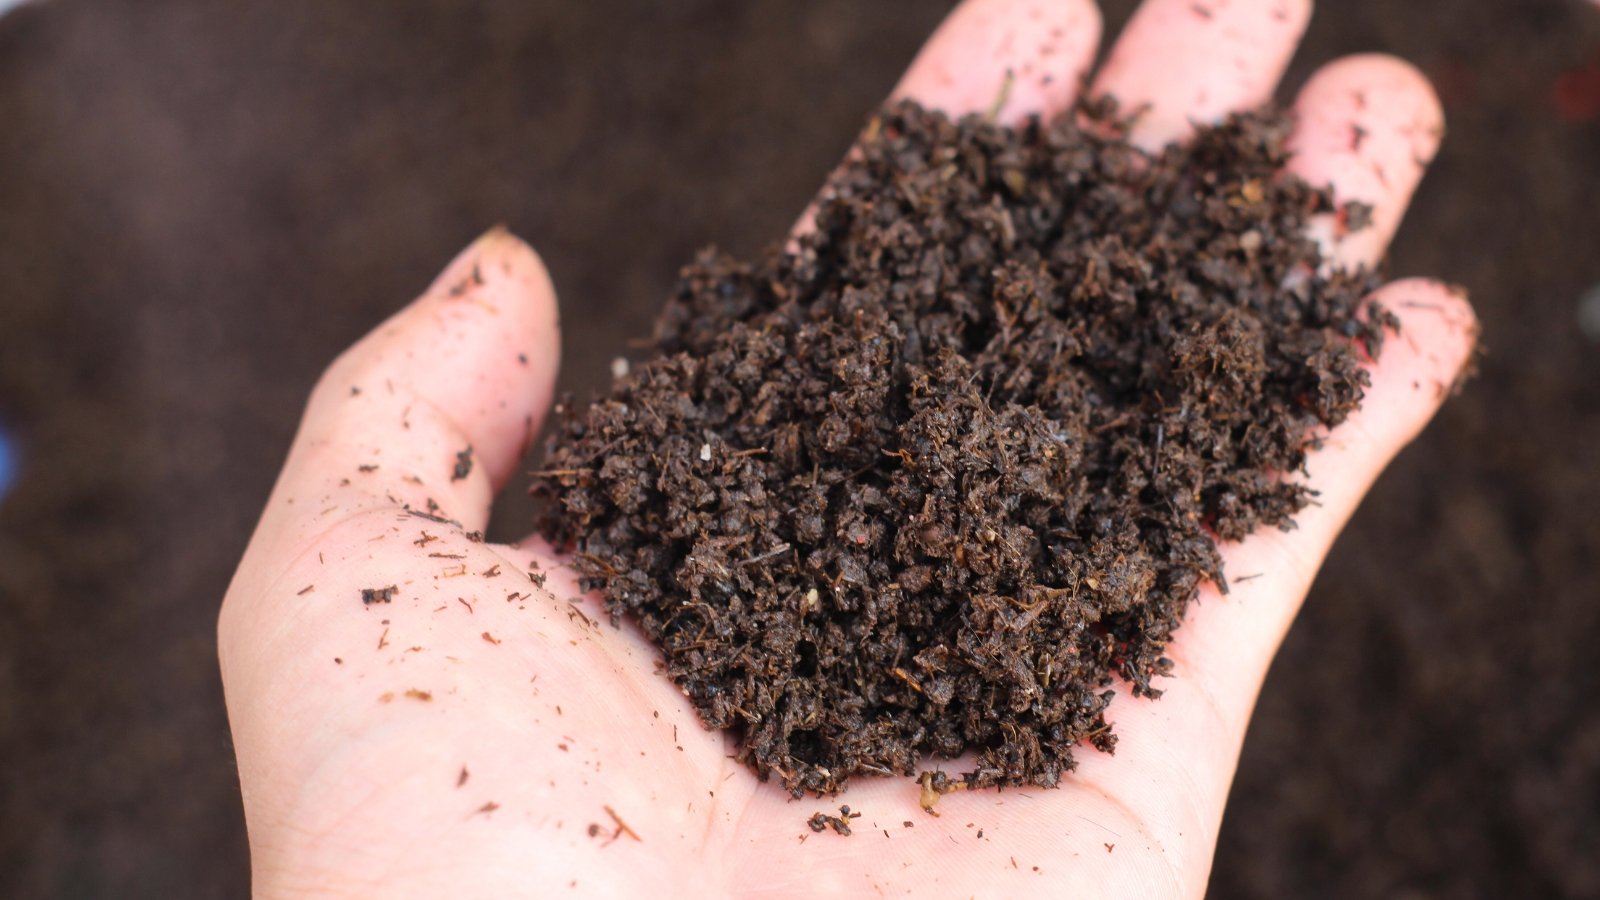
Castings are full of nitrogen, iron, calcium, potassium, and phosphorus, among other nutrients. They’re perfect for feeding hungry plants, like tomatoes, cucumbers, and corn. Underfertilized houseplants appreciate the extra boost from the nutrients in castings.
The castings are beneficial, and so too is the leachate. Mixing the leachate with water at a 10:1 ratio will create a low-dose fertilizer that’s perfect for indoor or outdoor plants, crops, and flowers. Drain the leachate from the lower bins often to harness its microbial benefits.
Garden Benefits
Worm castings contain more than just nutrients—they’re full of fungi, bacteria, nematodes, mites, and other critters that help the garden. These beneficial microbes and animals inhabit the soil and break down organic matter into smaller particles. They create air channels in the soil, and they process nutrients into forms that are accessible to plant roots.
Vermicompost, like normal compost, is a two-part helper in the garden. It feeds plant roots while also boosting the quality of the soil. Use it regularly to convert any poor site into one rich with loam.
Studies prove that castings help plants in a few ways:
- Increase yields
- Reduce pests and diseases
- Boost water retention
- Improve soil quality
- Add worms to the soil
How to Use
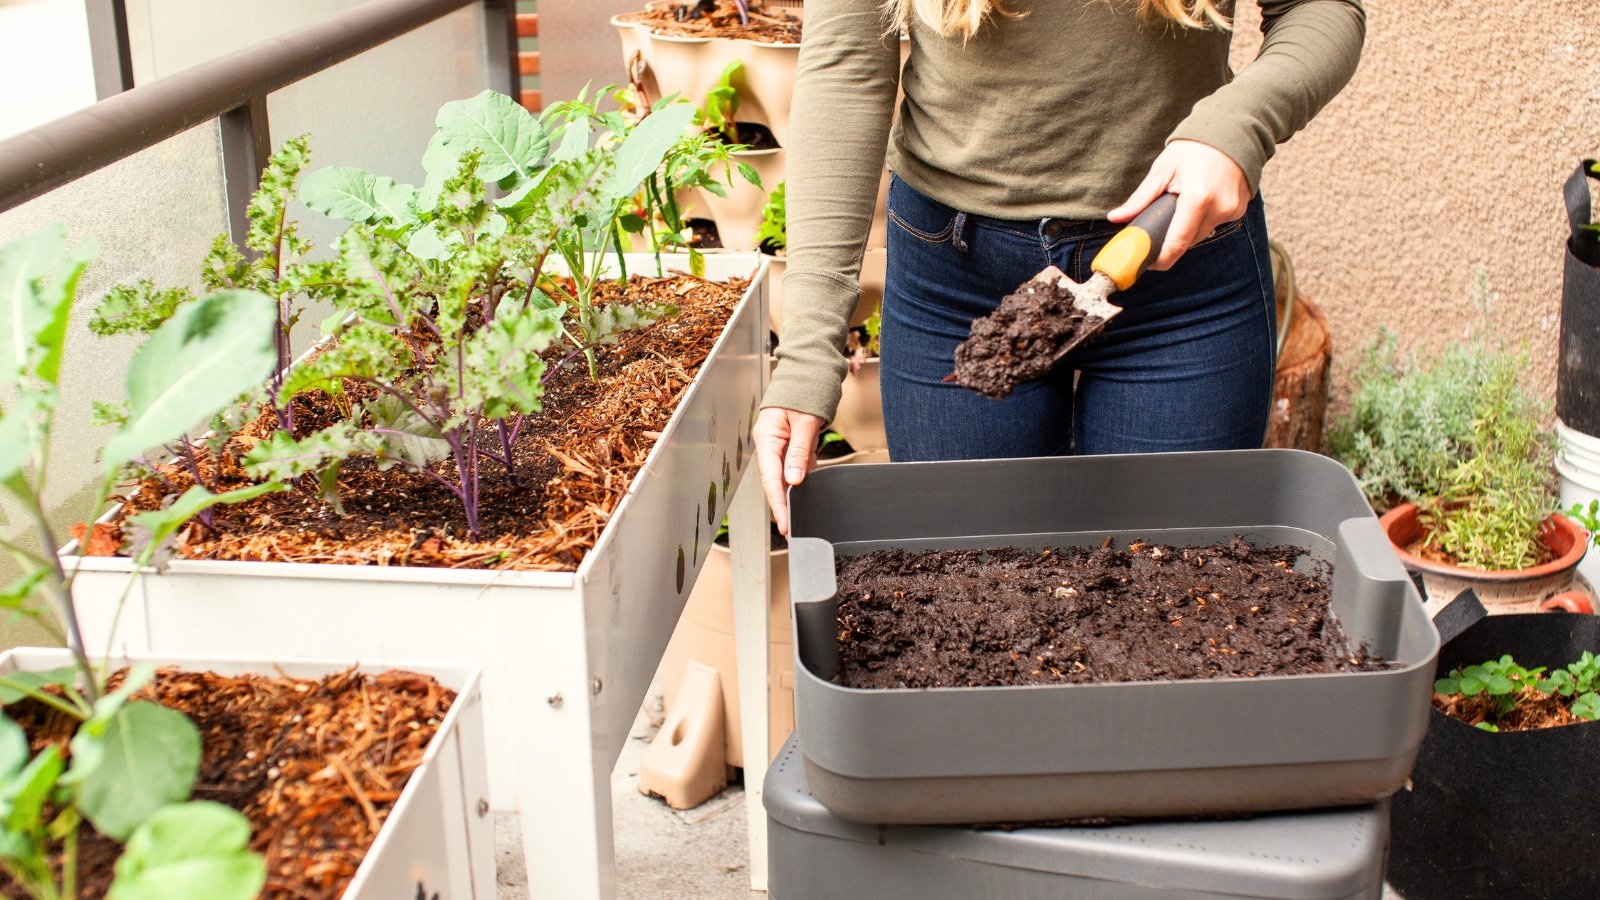
Worm castings from vermicomposting contain more nutrients than compost, meaning you’ll need to add less of them than other soil amendments. Add a thin layer of castings on top of the soil in the houseplants’ pots. In the garden, place a layer one to two inches thick near veggies, fruits, and flowers. Avoid putting too much near the plants’ stems, as the castings can burn them like fertilizer would.
You may also blend vermicompost with potting soil to create a homemade blend for planting. Fill containers with the stuff, or put it in your raised beds and plant crops inside. Use no more than about 25% castings when balancing your soil blend.
After harvesting the vermicompost, you may do another round of vermicomposting, or you can free your wrigglers in the garden. If you’re vermicomposting again, give your worms a fresh layer of bedding and organic scraps to set them up for success. Now you don’t need a beginner’s guide for successful vermicomposting! You can do it yourself.