How to Harvest and Save Your Own Basil Seeds
Don’t buy basil from the store—save seeds instead! Basil produces hundreds of them at the end of the growing season. Collect these to propagate new seedlings the next spring. Join seasoned grower Jerad Bryant in following these seven easy steps for saving basil seeds.

Contents
Seed-saving is an excellent way to save money in the garden. Instead of buying packets every year, you’ll have a homegrown supply to use! Simply store them in containers and keep them in a closet, then take them out when you’re ready to grow crops in the garden.
Basil seeds are one of the easiest to collect and sow. They germinate readily in pots with soil, and a single plant produces more than you’ll need.
Because basil is frost tender, it’s a perennial plant in USDA hardiness zone 10 and a warm-weather annual in all other zones. Save its seeds or take cuttings in the fall to propagate it for indoor use. Then, in spring, harden off the seedlings and transplant them outdoors for the summer.


7 Easy Steps
Seed-saving isn’t a complicated process. Let’s break it down into seven easy steps. We’ll learn how to harvest, store, and plant basil seeds.
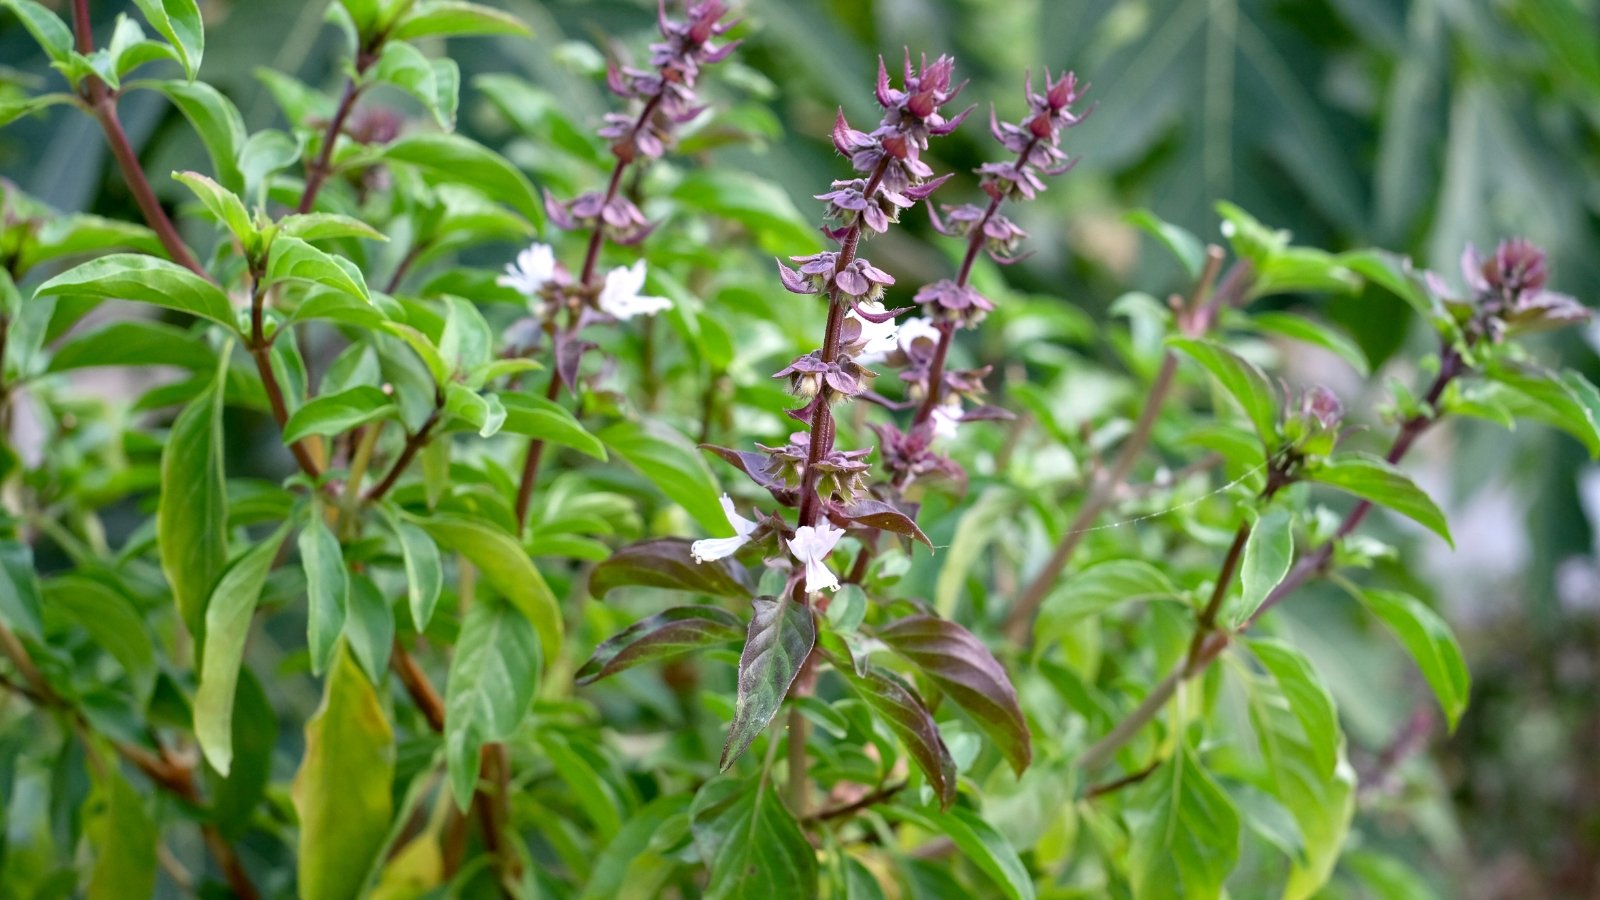
Step 1: Let Plants Flower
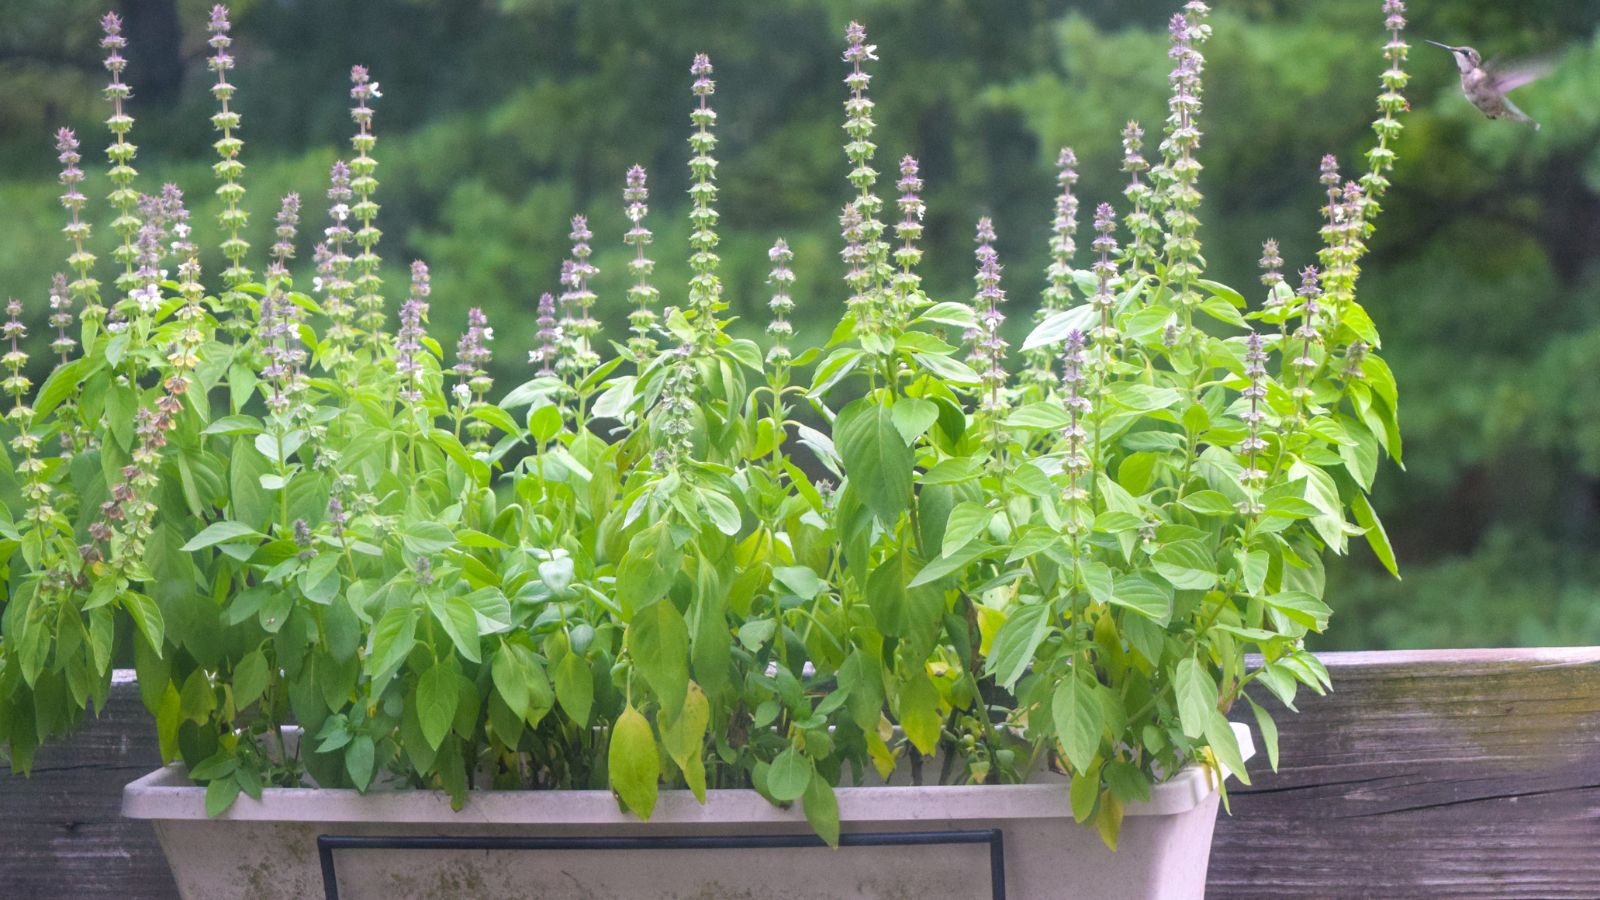
For seeds to form, basil flowers need pollen to reach their inner parts. Basil plants are self-pollinating, meaning they don’t need pollinators to reproduce. They can also cross-pollinate with other basil plants when pollinators are present.
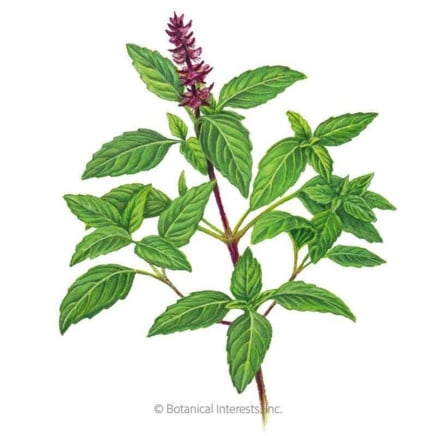
If you have more than one variety in your garden, the seeds you save may grow basil plants with new traits and characteristics. Let’s say you have purple and Greek basil. Your seedlings may have purple and green in them!
More often than not, the seedlings that grow will resemble the parent plant. Find your favorite variety and let it bloom to initiate the seed-saving process. Avoid trimming the stem tips in late summer, as you’ll lop off the blooms before they can form seeds.
Step 2: Snip Spent Blooms
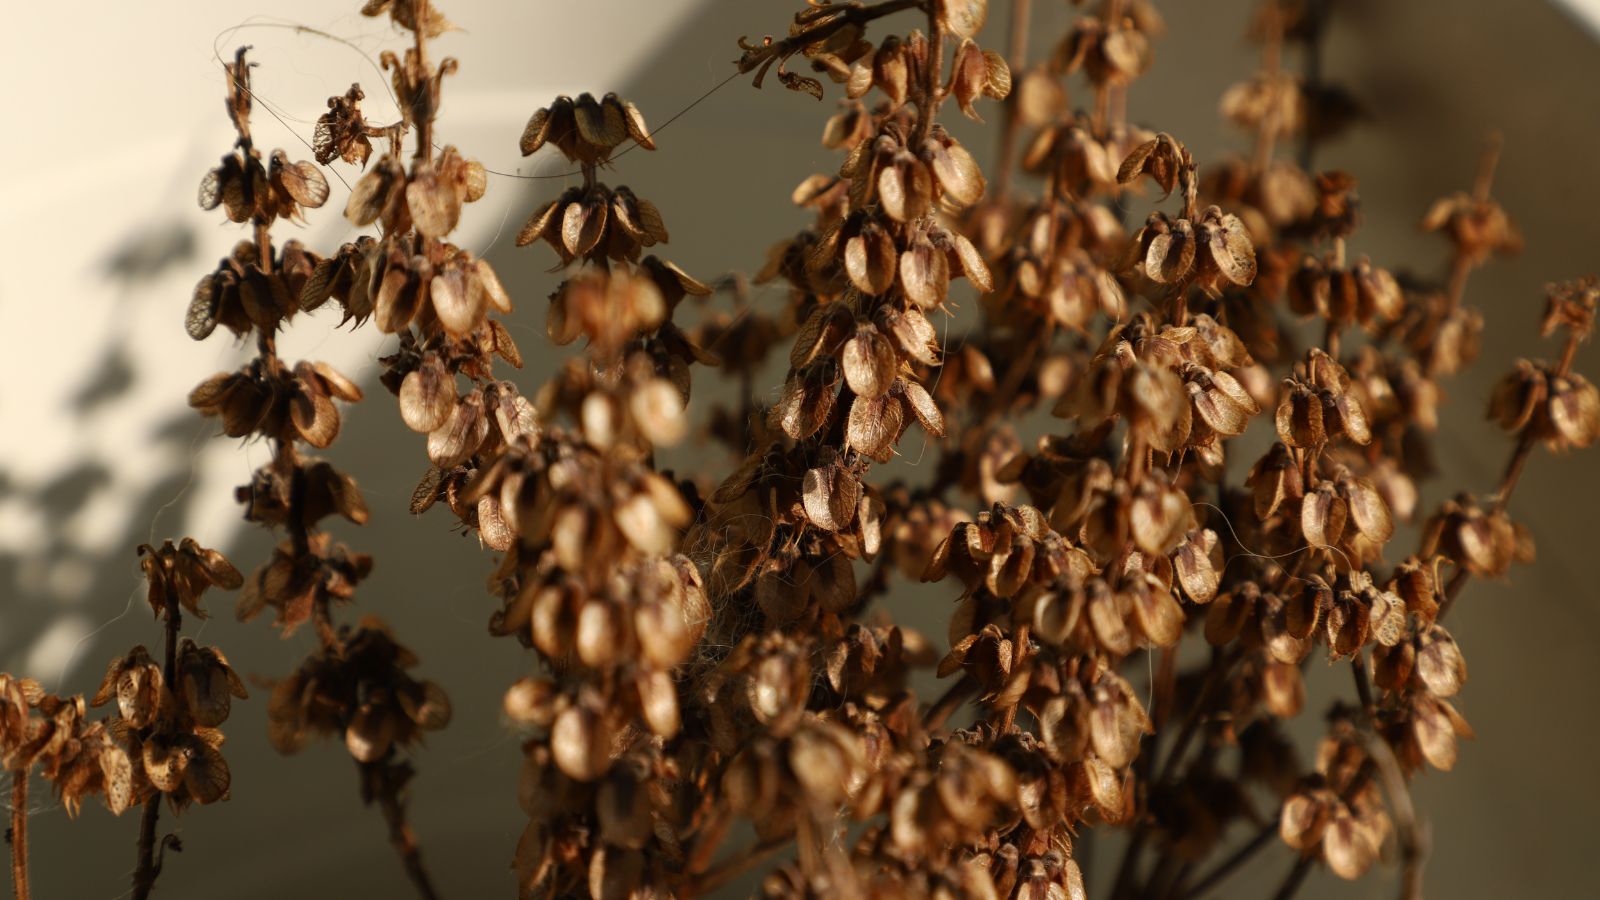
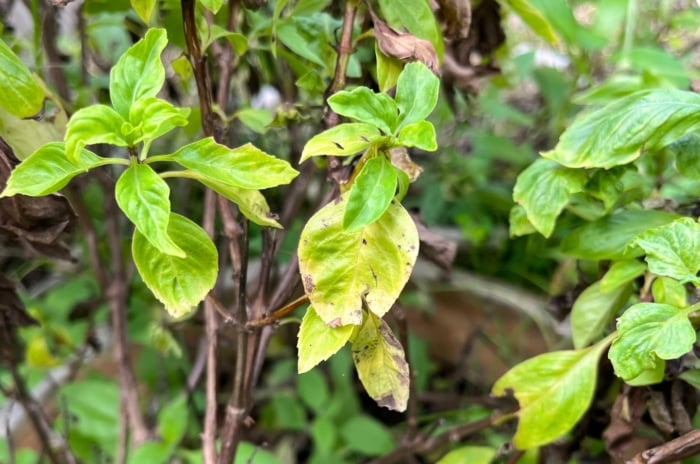
The flowers need some time to undergo pollination and fertilization. The petals will fall off, leaving bracts in place with black seeds inside. You’ll notice brown, papery husks form where the flowers used to be.
You may collect them once the husks are brown and crunchy; this is when the seeds are black and ripe inside. Don’t pick them early, as they won’t sprout if they’re green and soft.
Use care when collecting. They’ll scatter everywhere if you’re not careful! Instead of shaking them out, snip off the spent flower spikes to collect them. Remove the whole flower heads gently, using snips or pruners to cut them off the plants.
Step 3: Bag the Spent Blooms
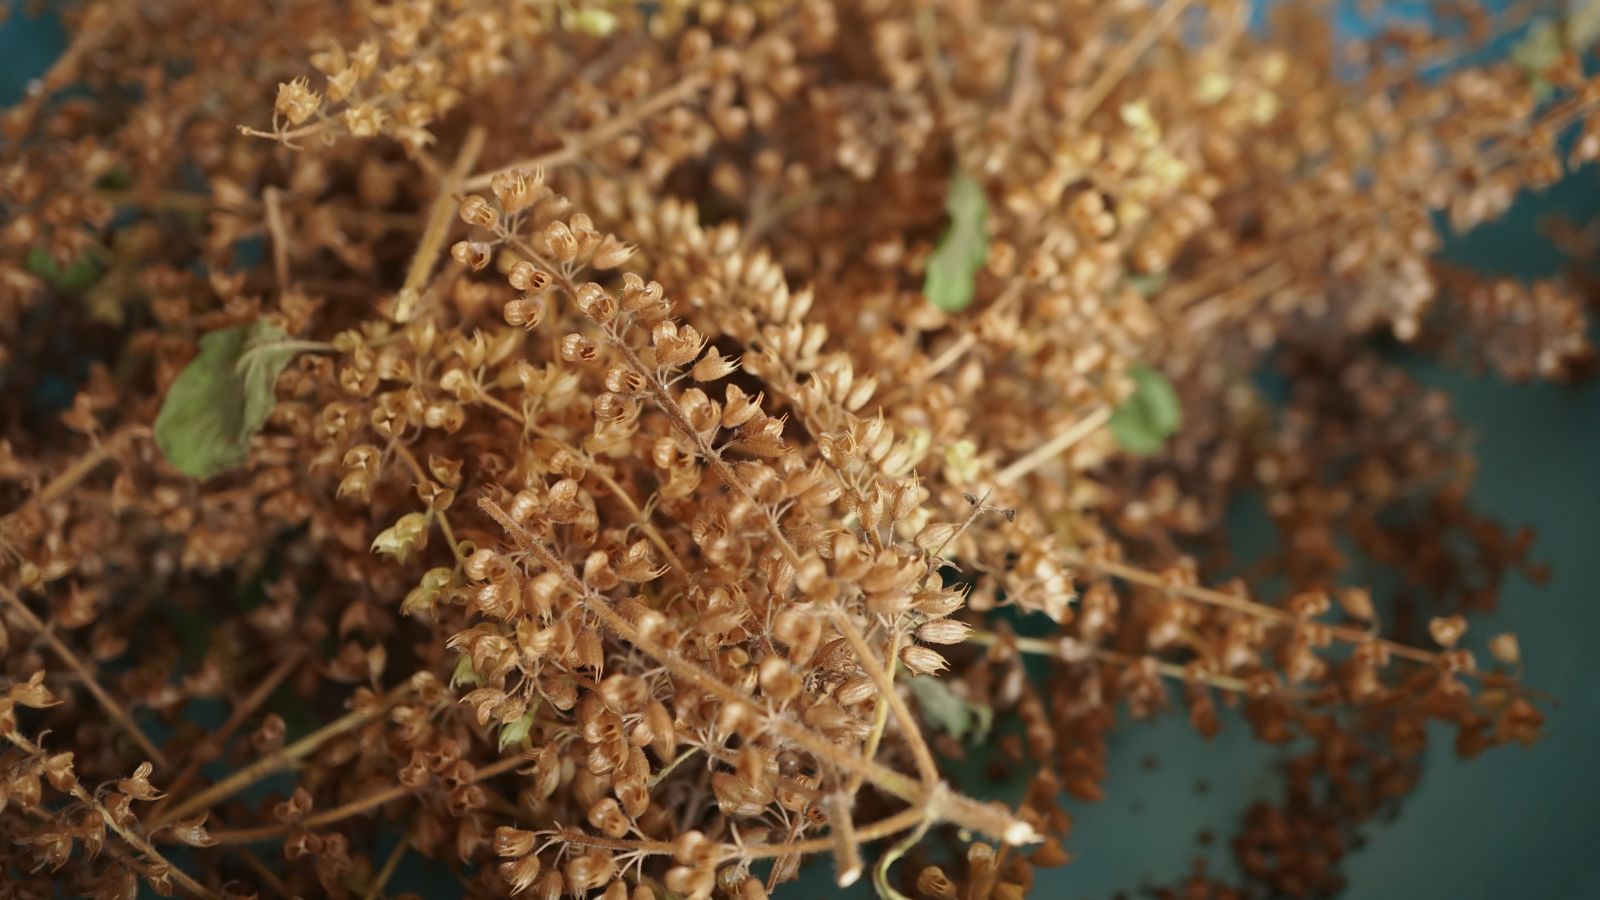
After removing the spent flower heads, place them in a paper or plastic bag to dry. As they dry further, they’ll drop their seeds to the bottom of the bag. This makes for easy collecting later on.
Place the bag in a well-ventilated area while the bloom spikes dry. You may leave it outdoors or indoors, so long as it’s in a protected area away from rain, extreme heat, and high humidity.
Paper bags work the best, as they’re more breathable than plastic or glass containers. Leave the tops open on plastic or glass containers to ensure air travels through them during the drying process.
Step 4: Wait for the Seeds to Drop
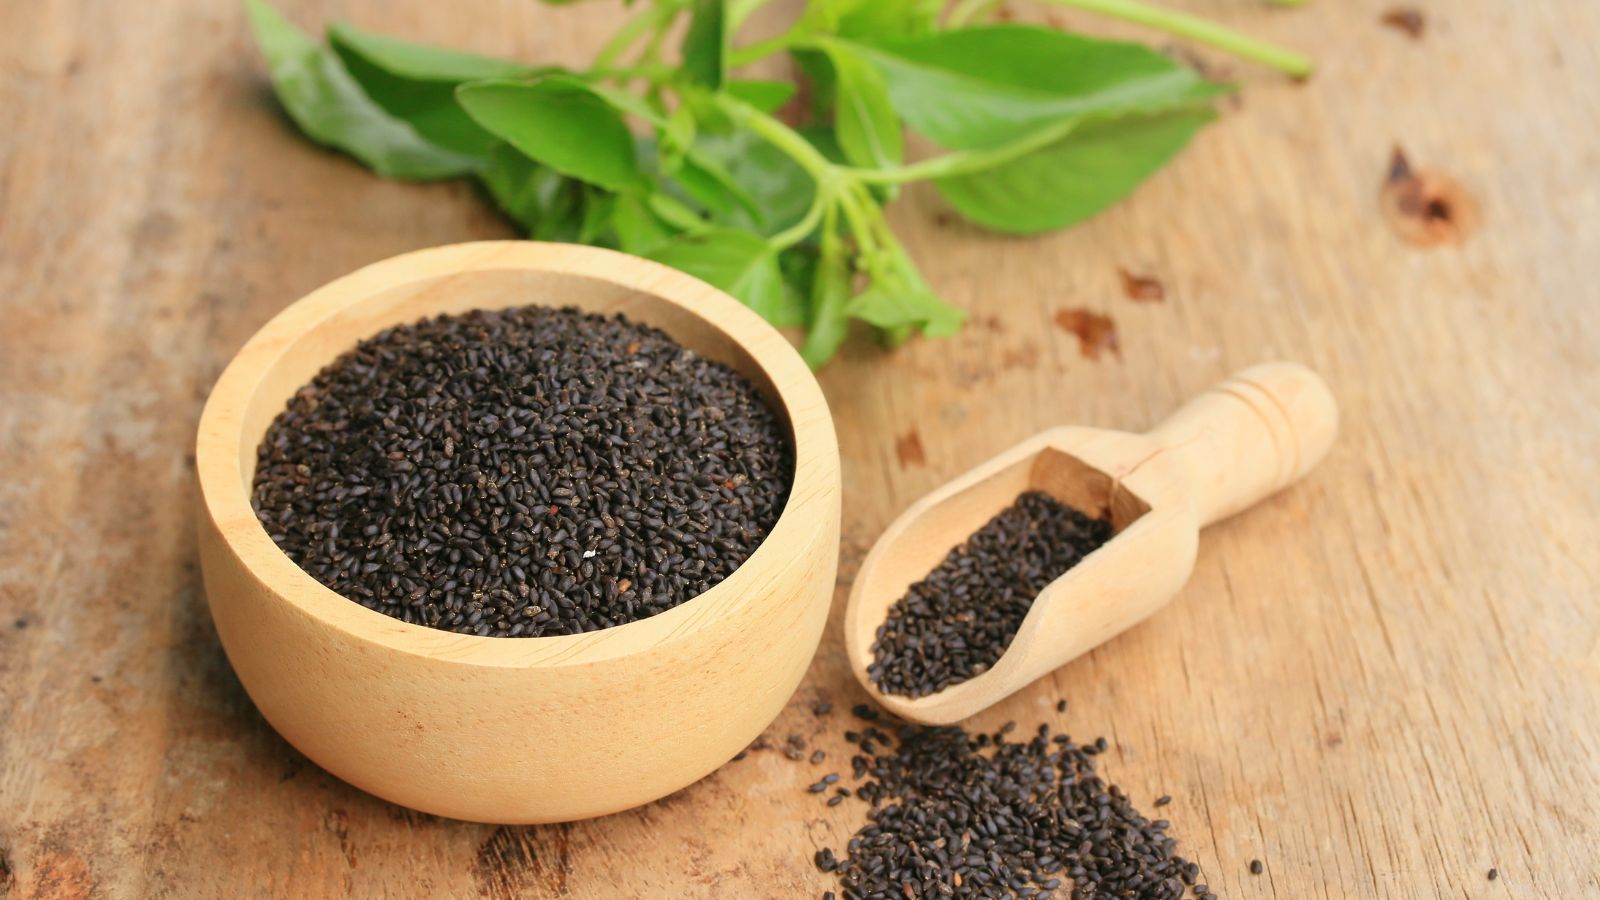
The seeds will drop on their own, though it’ll take some time for them to fall. You can hasten the process by shaking the flower spikes in the bag. A basil seed is black, round, and hard when it’s ripe. Each one represents a possible future seedling!
The drying process can take anywhere from a week to a month, depending on the state of the bloom spikes and the drying conditions. Ensure the site is warm and low in humidity so the plants dry well.
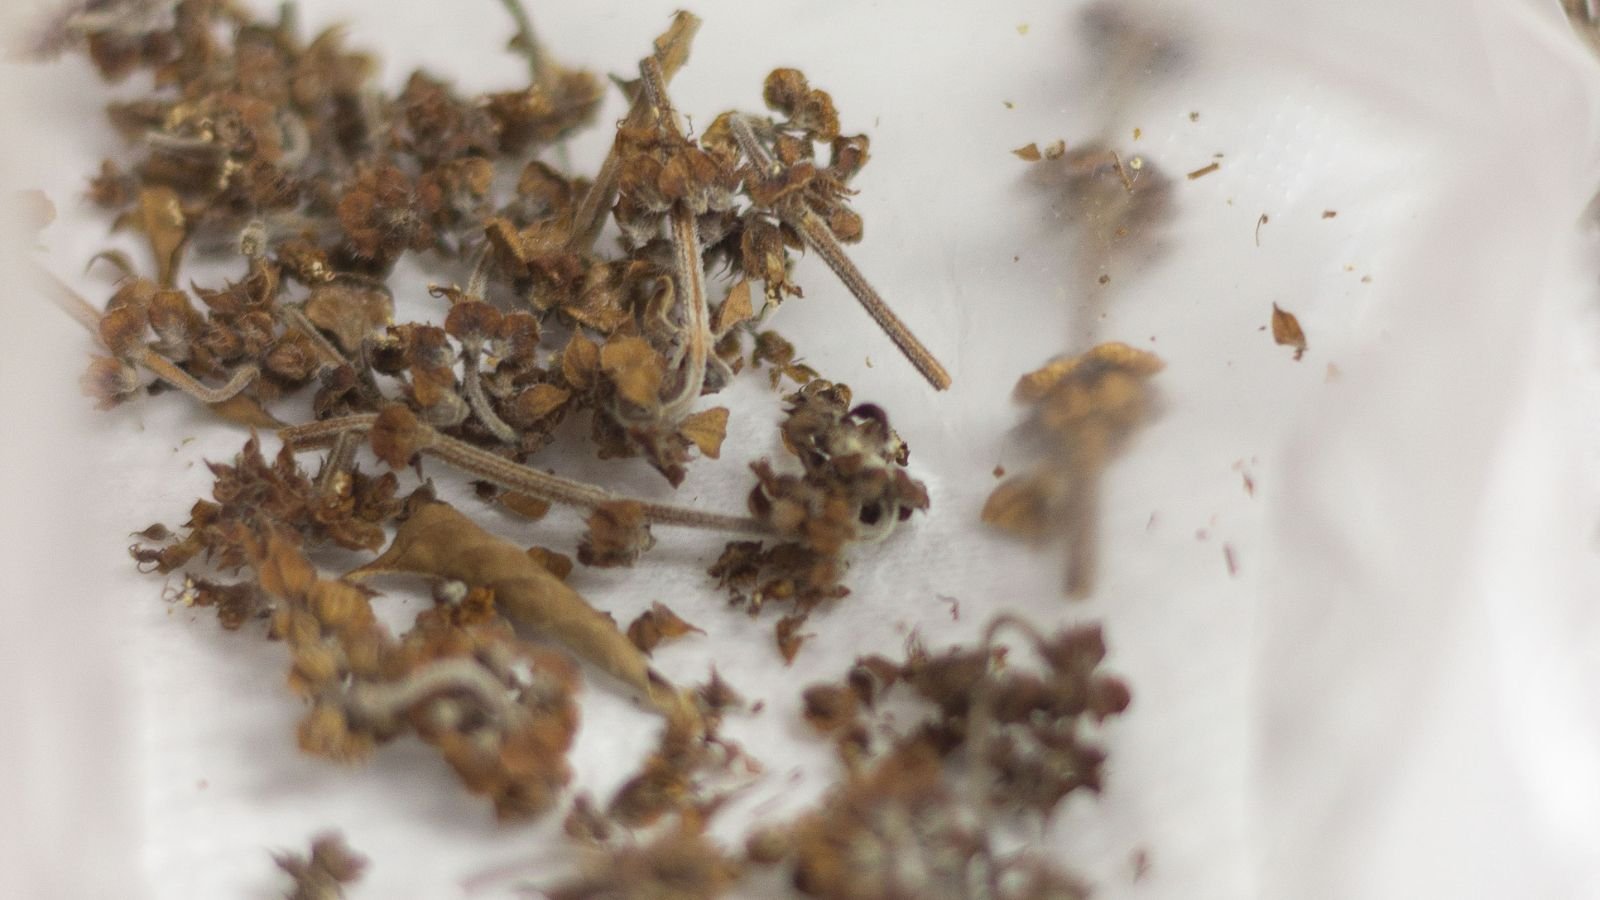
Once the seeds fully drop, it’s time to collect them! Check your bags once a week to see when the basil is ready. Some may not come out of their husks. You may have to pick them out and separate them from the husks.
Step 5: Store Seeds Long Term
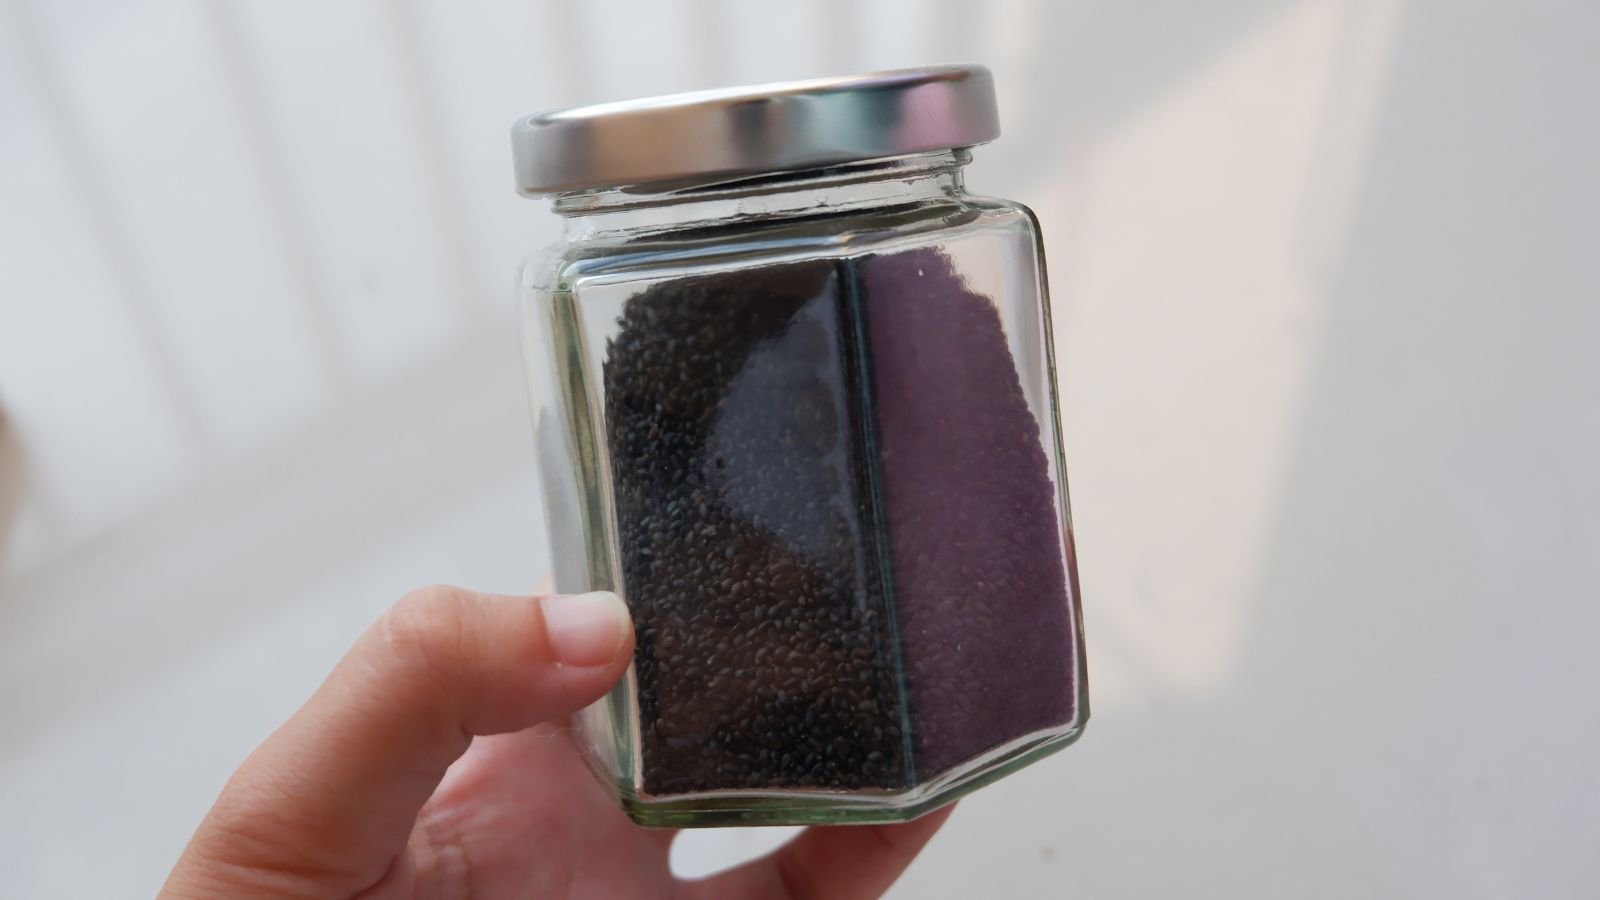
Basil seeds last for a year at room temperature and longer in cold storage. The longer you wait to plant them, the less likely they are to germinate. Store them properly, and they may last five years or longer.
Use a glass, plastic, or paper container for storage. Place the basil inside, then move the containers to a cool, dark location. Your fridge is a great spot, as temperatures below 40°F (4°C) are ideal for storing seeds long term.
You may also place the containers in pantries, closets, and drawers. The cooler the room, the better it will be for storage. Avoid putting them in your kitchen near an oven or other hot appliances.
Step 6: Plant in Spring
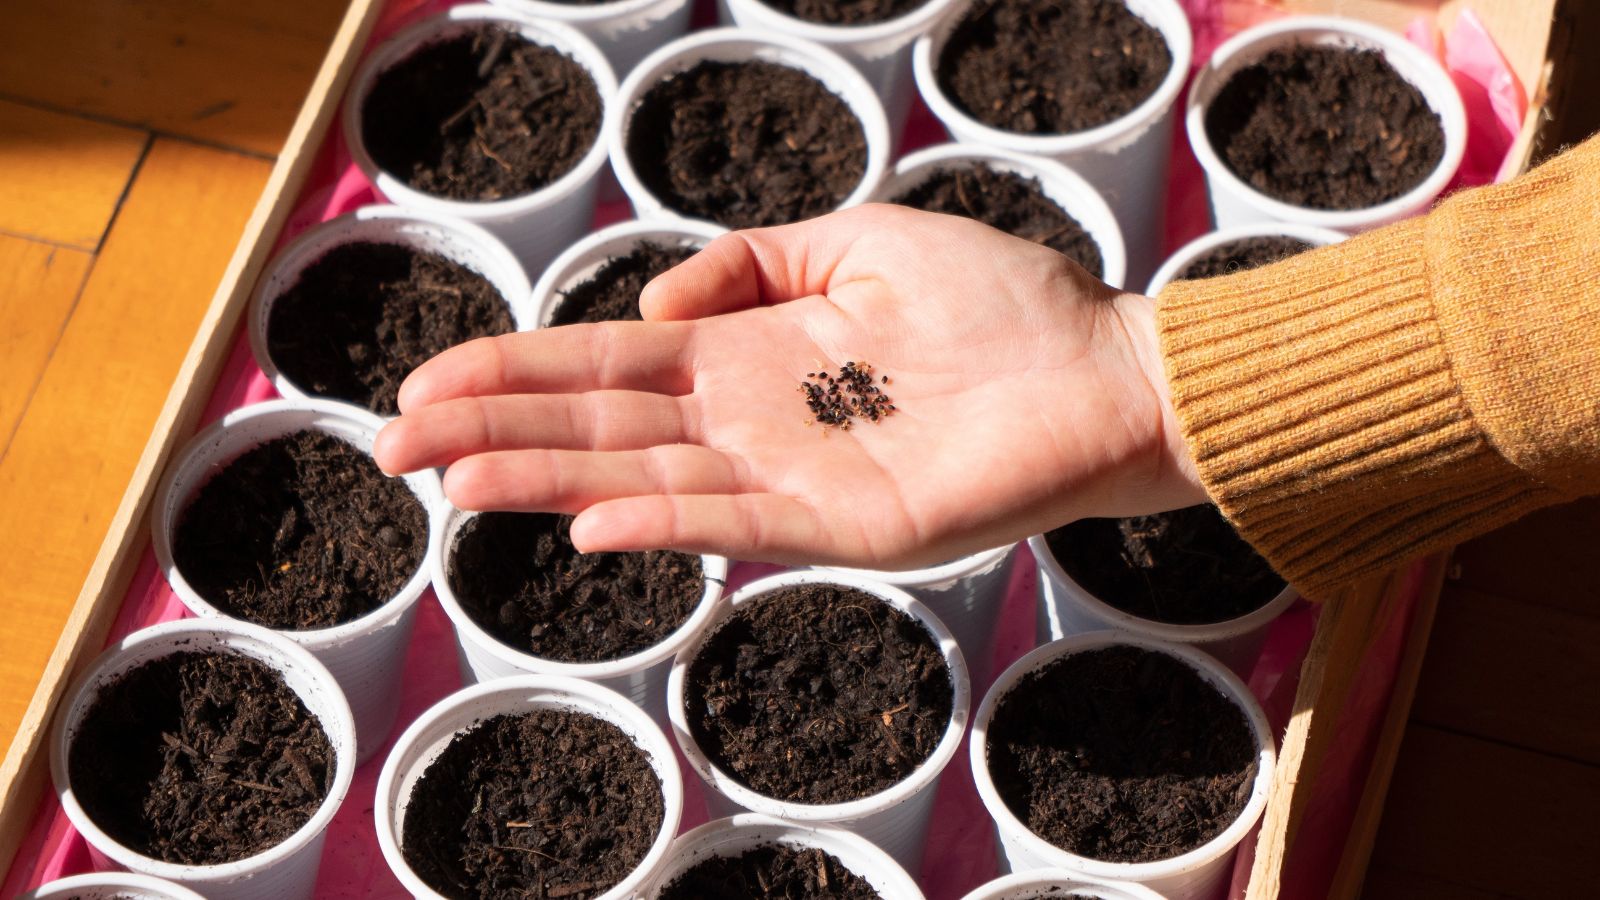
That’s all there is to it! You won’t need to take the containers out until spring planting time arrives. Basil seed germinates readily in moist, warm, and bright conditions. They’ll sprout outdoors in summer or indoors at any time of the year.
Plant basil in containers with fresh potting soil. Sow two in each container and bury them a quarter inch deep. Keep them moist, not soggy, and under bright light. A well-lit windowsill works well. If there’s not enough light, try using grow lights to boost the brightness.
Once seedlings appear, thin them so that one remains per pot. You may transplant mature seedlings into the garden once night temperatures remain above 50°F (10°C).
Step 7: Repeat!
It’s time to start thinking about seed-saving again when midsummer arrives. You can repeat the entire process by starting at step one. In order to save seeds, you must let plants flower. Marrying your harvesting and seed-saving needs together is a challenge, but it’s a fun one to take on!
After many years of seed-saving with basil, you’ll begin breeding new, climate-adapted plants that are perfect for your region. You’ll mimic professional breeding programs at universities and research centers. Practice bagging the flowers and using paintbrushes to pollinate them to make your own hybrid varieties!
All it takes is two separate basil varieties. Put pollen from one onto the flowers of another, and plant the resulting seeds to see what you get. You may also trim the male anthers off the blooms to ensure their pollen doesn’t interfere with the breeding process.
The possibilities are endless. Start small and add more varieties as you gain more experience, time, and space.