How to Combat Corn Earworms: Prevention and Management
Sweet corn envelops the taste of summer, with a much sweeter and fresher taste when it's homegrown. Corn earworms steal some of the joy as a common pest that can pop up throughout the season, especially with later yields. Garden expert Katherine Rowe explores how to prevent and manage the corn invaders for the most starchy goodness.

Contents
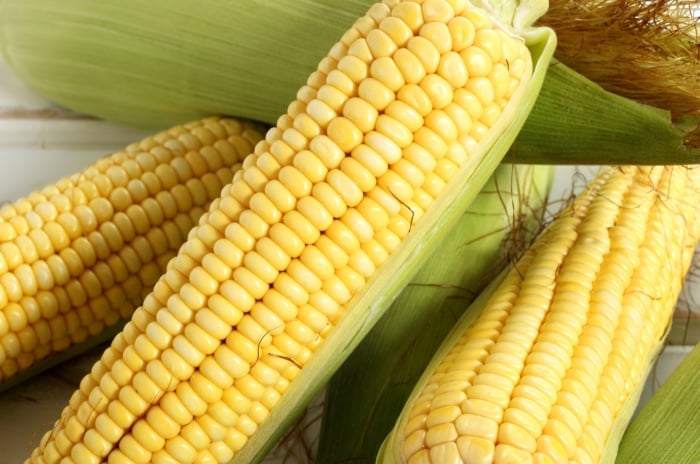
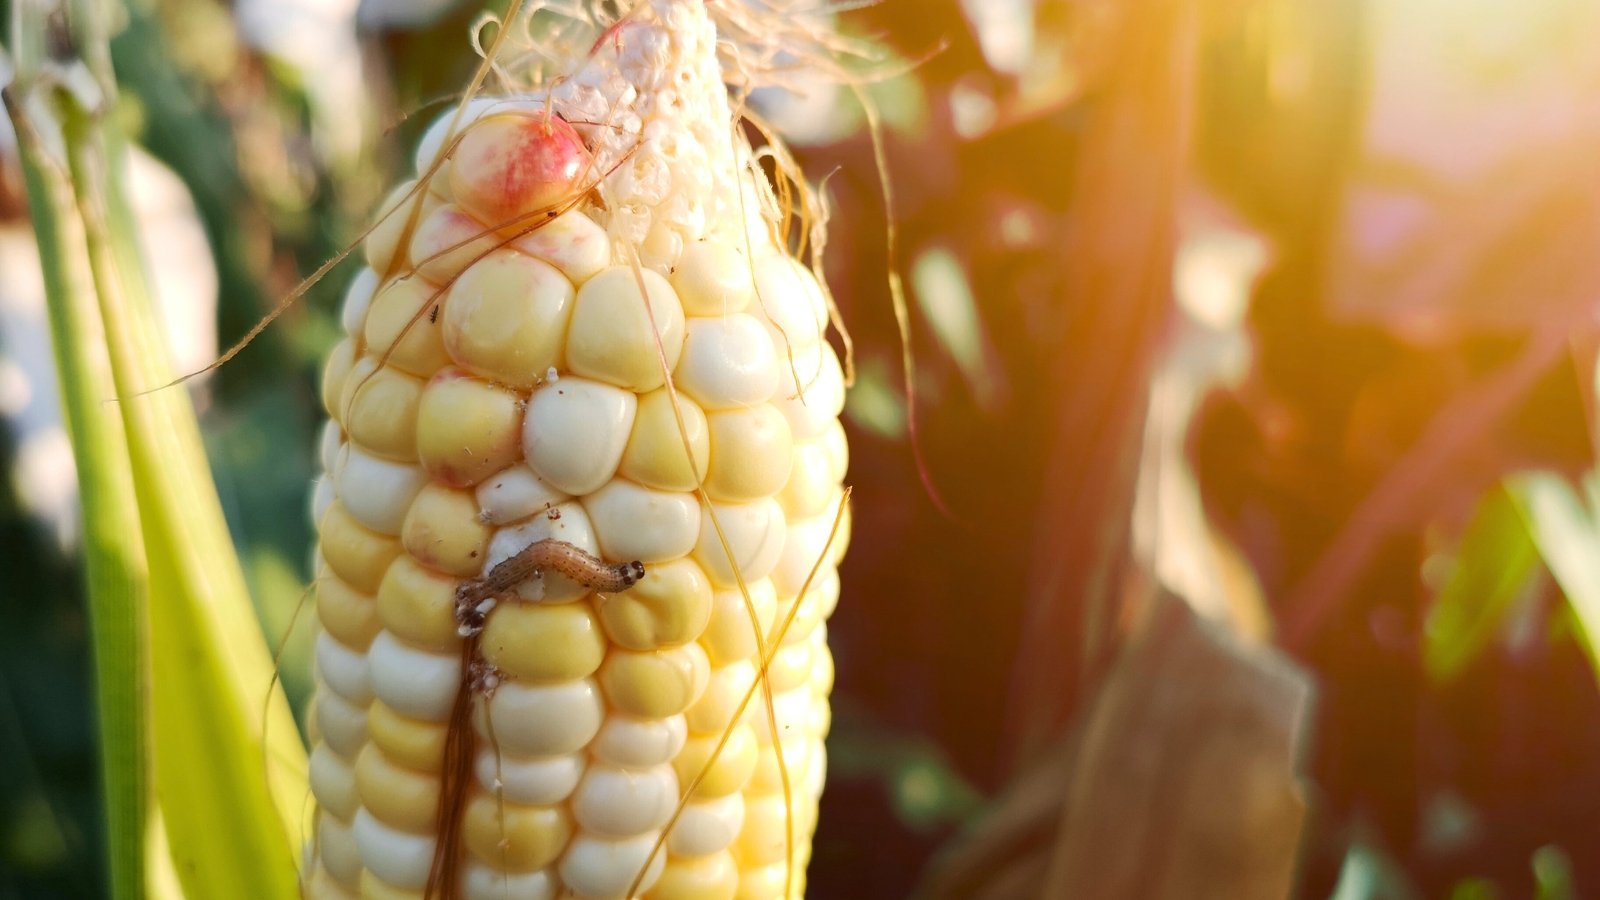
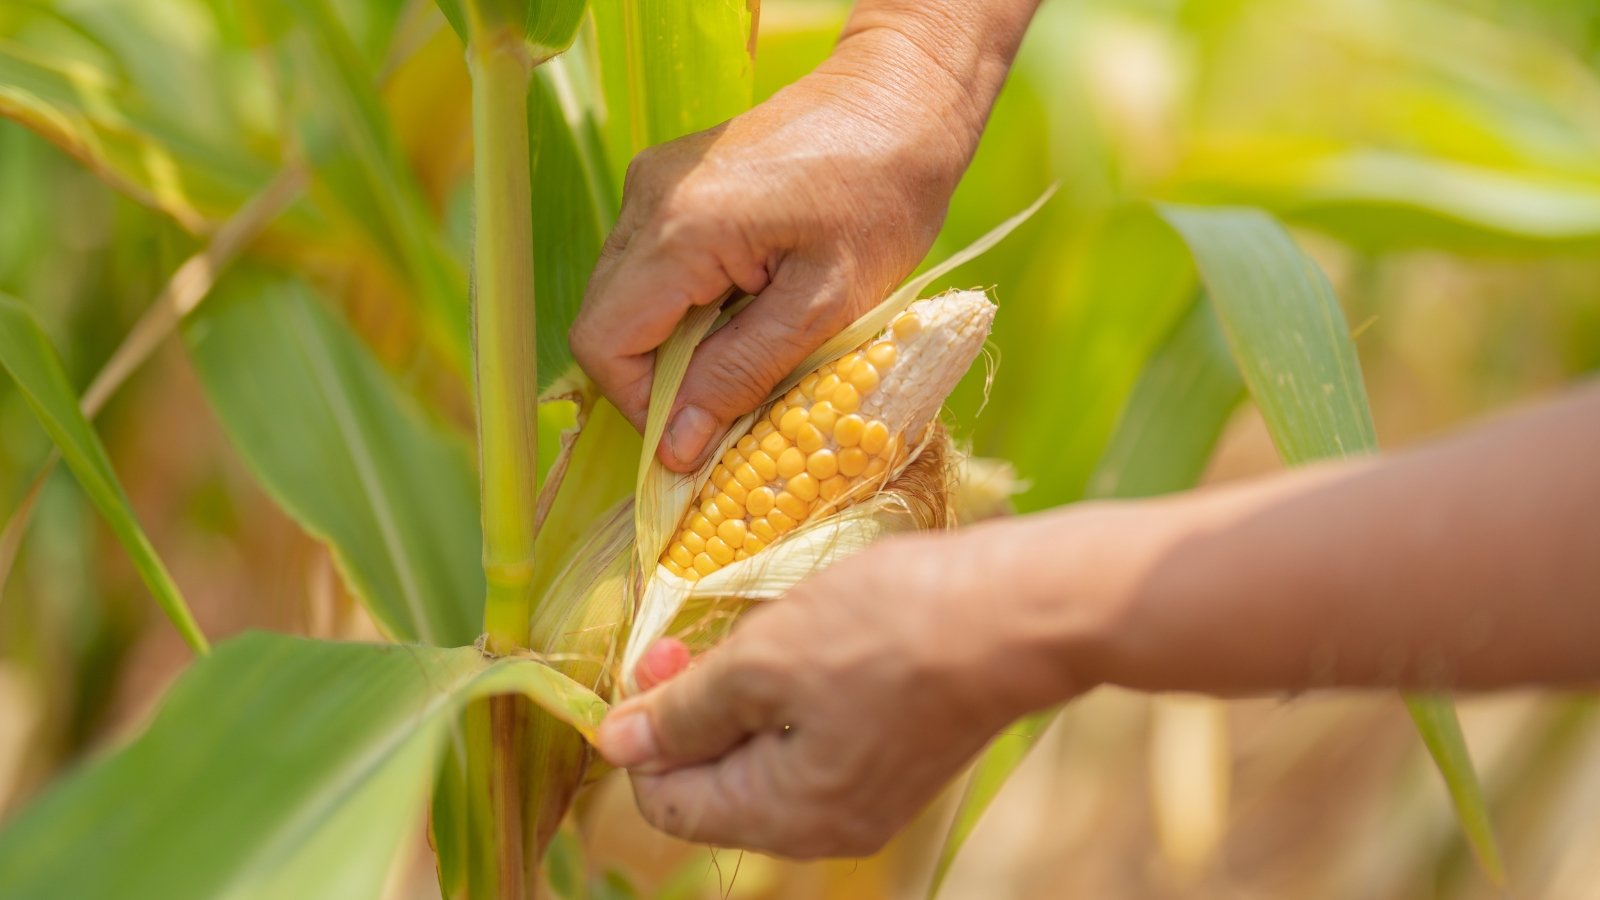
Sweet corn is the best “eating” type of corn with high sugar and tender, juicy kernels. With the right harvest timing, sweet corn is tasty enough to eat raw, fresh off the stalk. After patiently waiting for the crop to mature in the summer heat and carefully gauging peak readiness for picking, it’s disheartening to shuck a plump ear, only to find earworm damage.
Earworms are common corn pests that beat us to the goodness by entering the silks and ears to feed in the larval stage. Early on, they feed in the whorls (tightly packed, newly emerging leaves), potentially stunting development and damaging tissues needed for photosynthesis. Most likely, though, we won’t know they’re there until we unwrap the ear.
So, how to abate the corn pest? The best success comes with preventative measures, harvesting at peak time, and working around the destructive insects.


Sweet Corn Basics

Zea mays is a historic crop originating from wild grasses some 9,000 years ago. Today, corn is one of the most widely grown crops for its many uses. Around 4,000 years ago, it became a dietary staple in Central and South America, where ancient cultures hybridized and shared kernels.
Corn stalks produce one upper ear and smaller secondary ones. In addition to their sweet flavor, the kernels possess antioxidants, vitamins A and C, nutrients, and dietary fiber. The starches that create the sweetness are best close to picking; they begin to break down as soon as they separate from the stalk.
Harvest times for sweet corn vary by variety and climate, usually maturing within 60 to 100 days. The key indicator for corn readiness is the silks, the threadlike tassels that appear on the tips of the ears. They emerge and transition from green to brown as the corn ripens. With a small window for peak harvest, keeping an eye on days to maturity and appearance is important in gauging when to pick.
The Best Growing Conditions
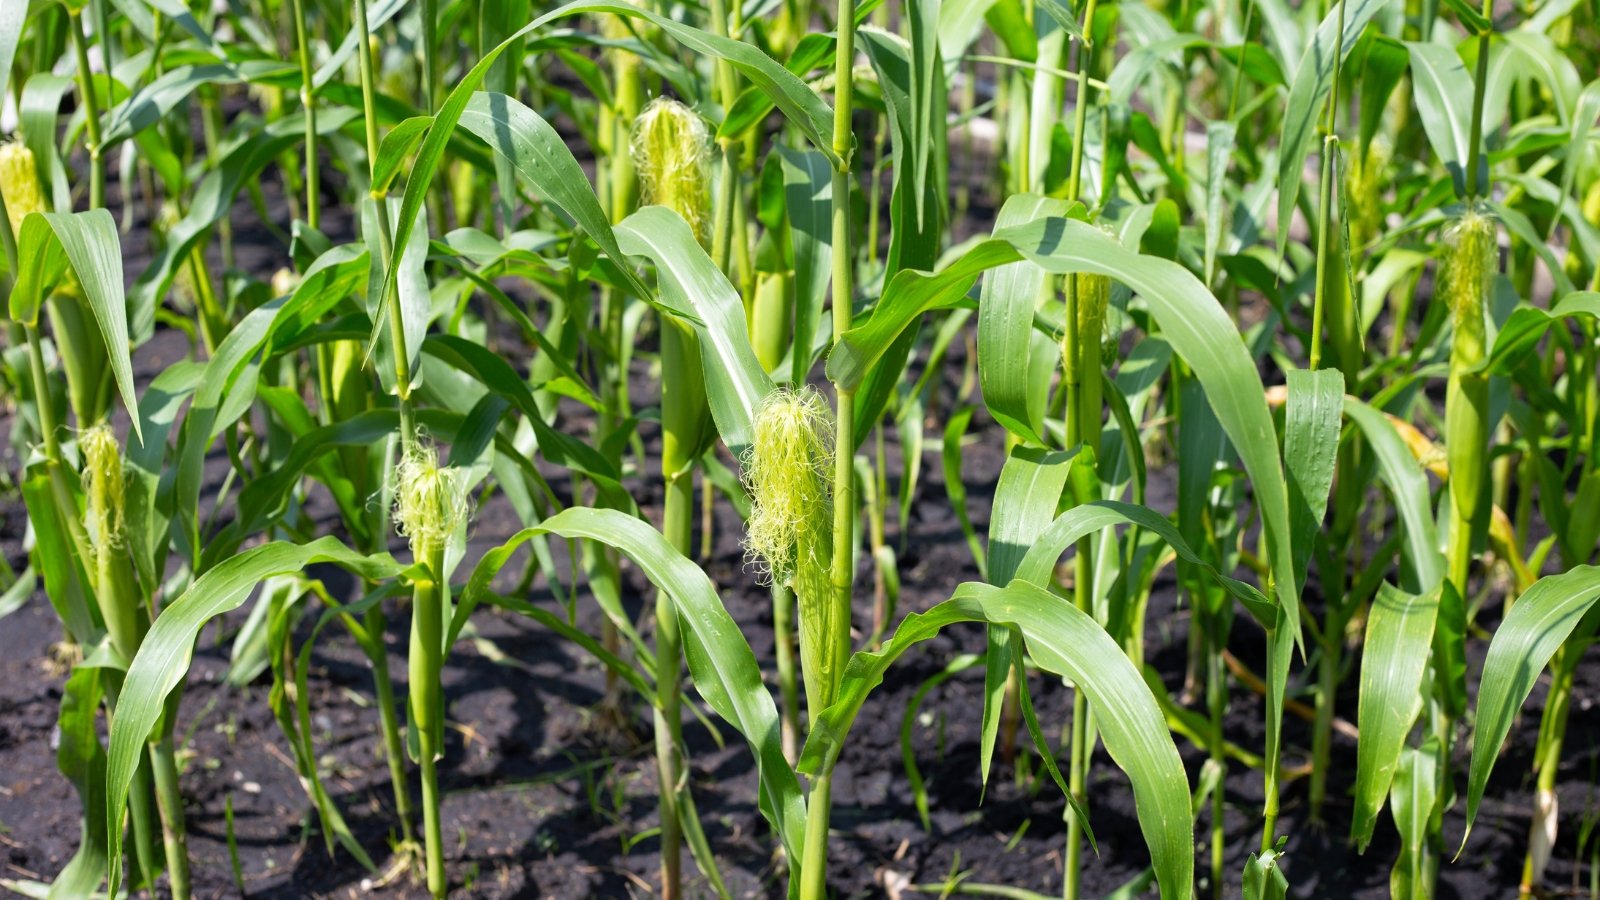
Corn is an easy addition to the home garden, especially with measures to avoid common problems. Direct sow kernels in warm weather for easy seeding and to avoid transplant disturbance. Amend soils with compost to add nutrition, aeration, moisture retention, and drainage, especially in clay or sandy types. Arrange the stalks in blocks rather than long, single rows. Corn grows well in raised beds, too.
Optimal growing conditions include:
- Full sun, with six or more hours of sunlight daily
- Well-draining, fertile soils
- Soil pH near 6.0-6.5
- Warm days and nights
- One to two inches of water per week, including rainfall and irrigation
What Are Corn Earworms?
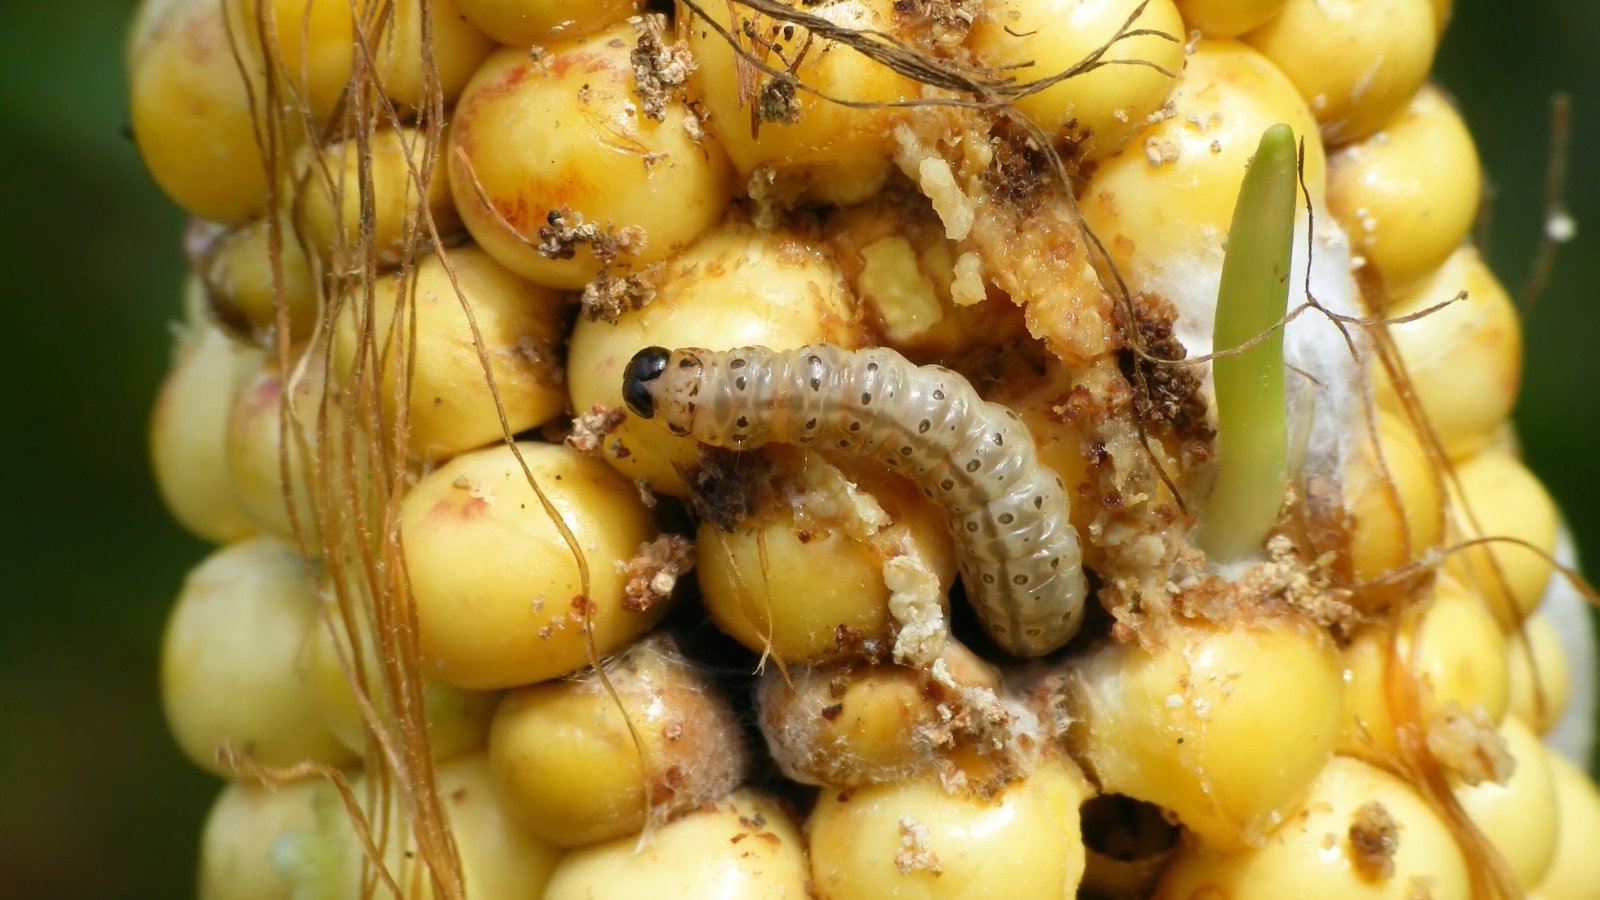
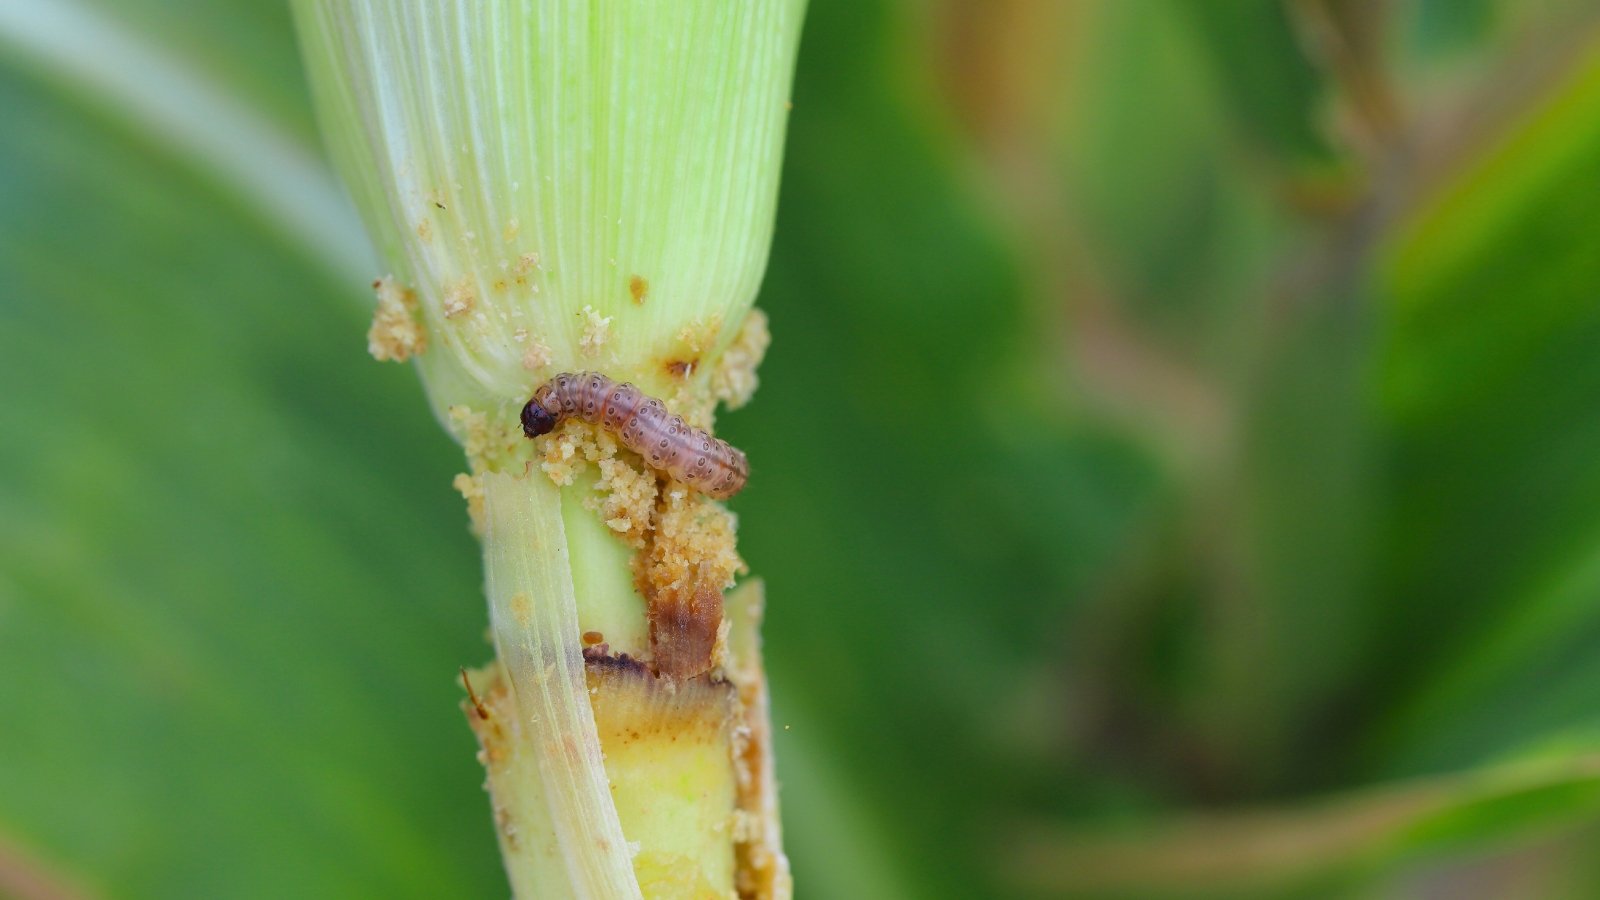
Corn earworms (Helicoverpa zea) rely on corn, tomatoes, and other crops for feeding in the larval stage before pupating into moths. Larvae feed on leafy whorls (young worms) and kernels (adult caterpillars). They settle into the silks and begin feeding at the top of the cob, working their way down. A type of cutworm, the widespread caterpillars are also known as the tomato fruitworm and cotton bollworm.
While multiple larvae can appear in infestations, usually a single earworm invades each cob (the pests are cannibals to defend their food and control the population). After the adult caterpillars feed on the kernels, they pupate over the winter to emerge as moths as temperatures warm. The night-flying moths continue the cycle by traveling to lay eggs on crops like tomatoes, peanuts, beans, and other vegetables in addition to corn.
Life Cycle
To pupate and emerge in spring, larvae dig two to four inches deep beneath the soil. Where they survive the winter, they appear in spring to lay eggs on corn silks or other crops. In climates with mild winters, they emerge earlier than those with frigid conditions. Where they don’t overwinter, the strong fliers migrate to have an impact later in the season.
Adult moths are muddled, tawny brown, and measure about one inch wide. They have a dark spot on the edge of their wings and eyes with a metallic green sheen. Females prefer cornsilks for egg laying and produce up to 3,000 eggs. In hot summer temperatures, larvae hatch in as little as two days (and as many as 10).
The larvae progress through 6 instars and vary from yellowish white to pale green to light red with a tan head. They often have stripes and rigid spines down the length of their bodies.
Signs to Scout
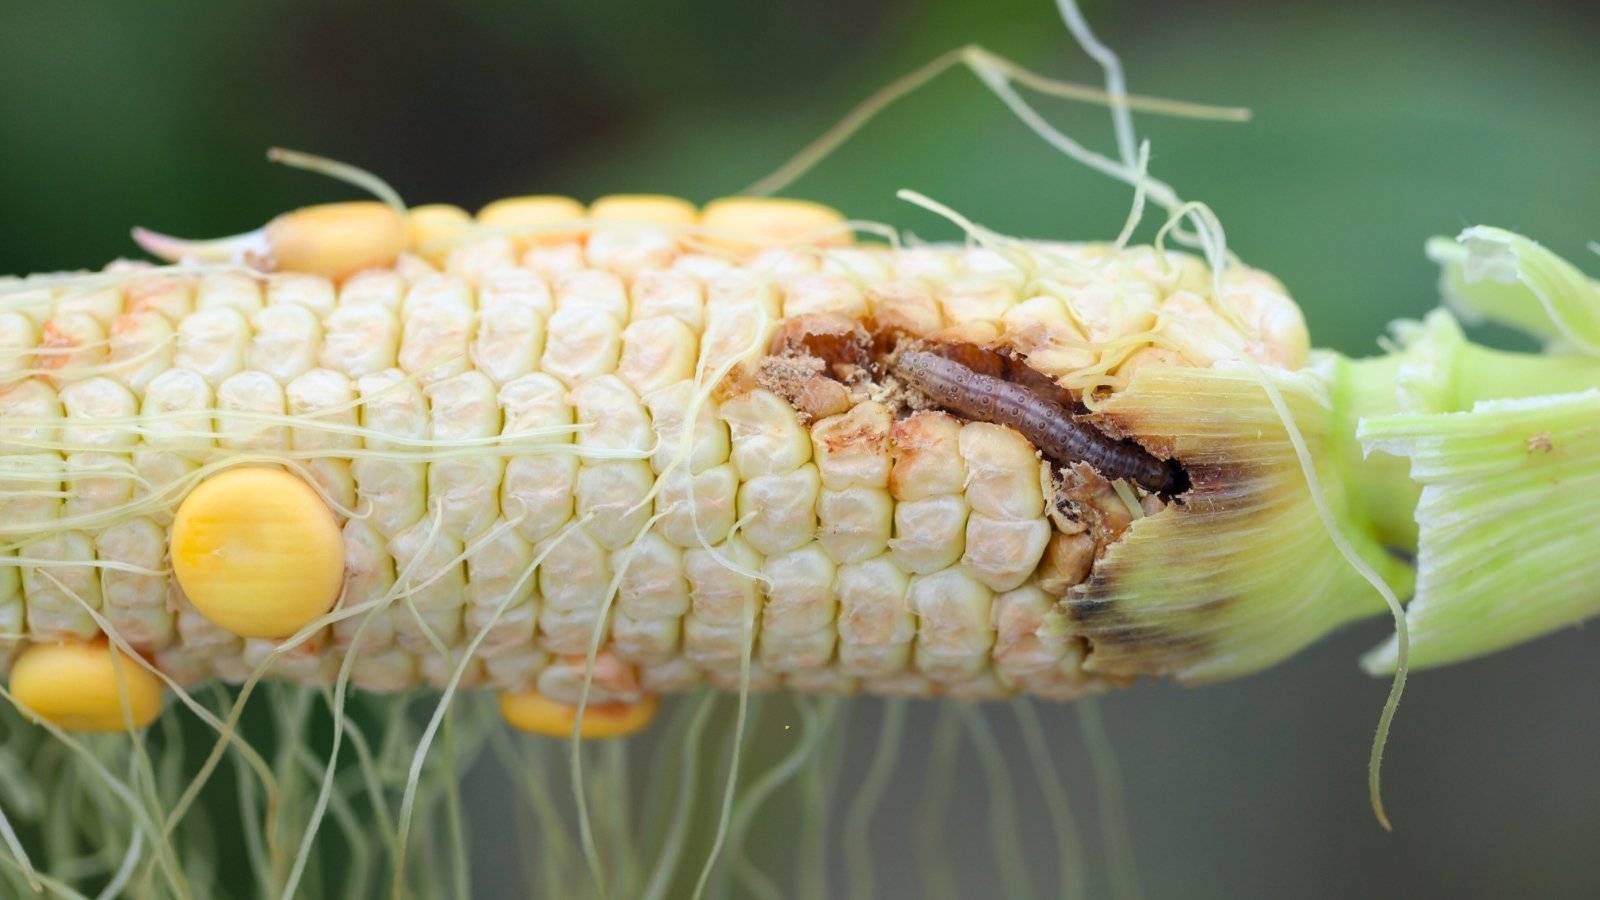
Corn earworms are often undetected until shucking. Unless growth and development are stunted at the whorl stage, the larvae aren’t evident as they burrow beneath the husk.
The moths are nighttime flyers, and you might see them as they travel in the evening. Sticky traps or specialized pheromone captures for the moths are useful as population indicators if you have a history of the insect and are growing a sizeable plot.
Prevention
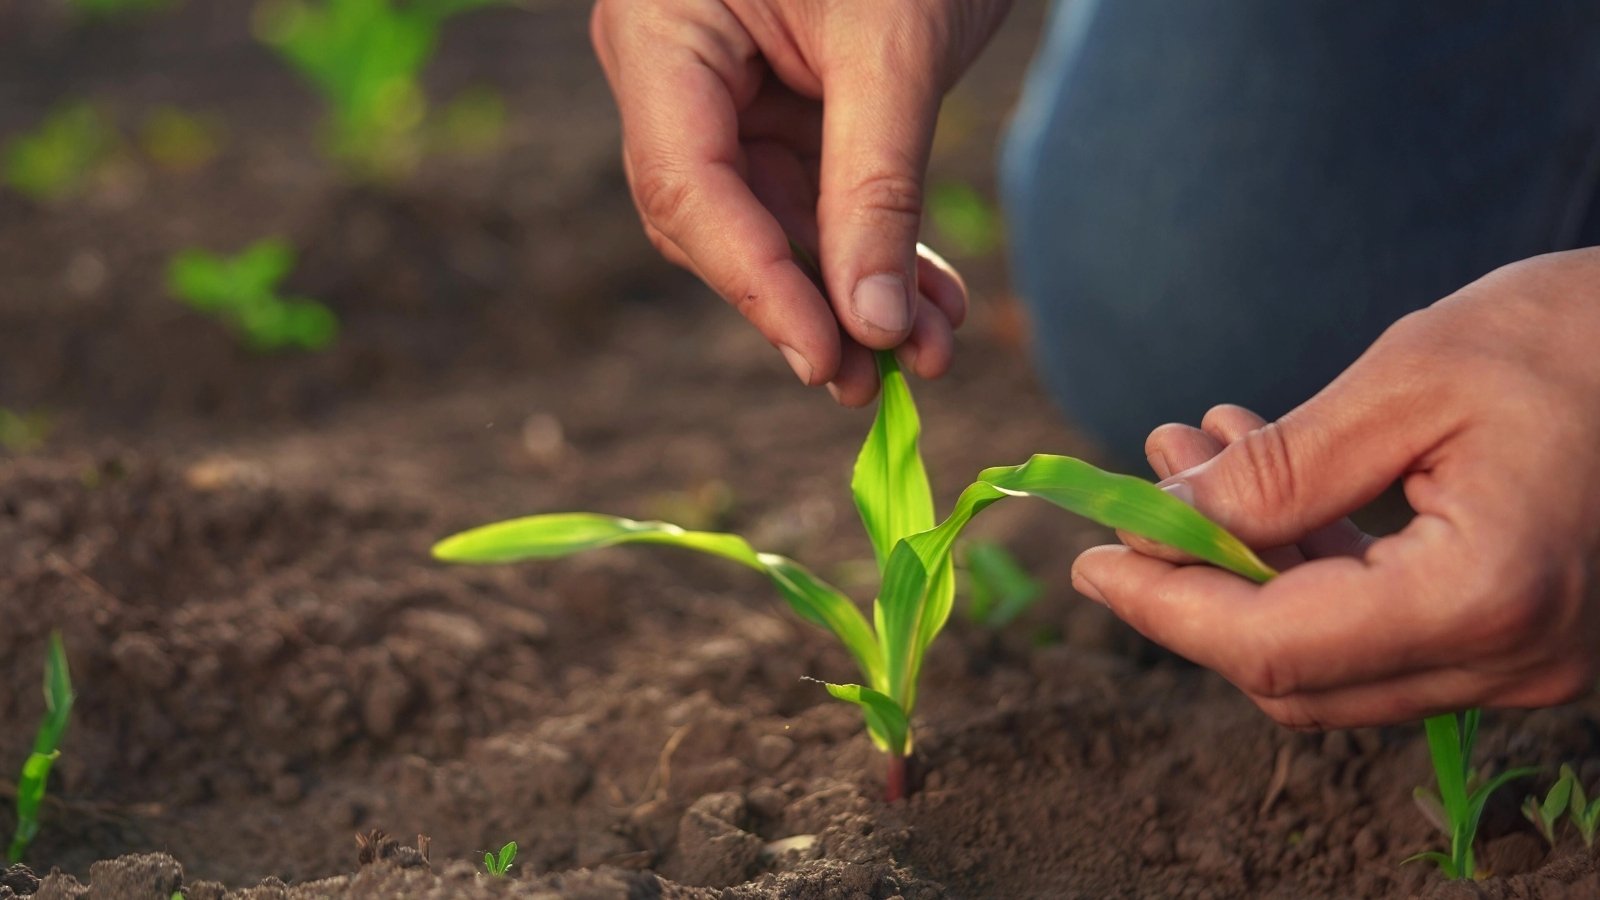
The first means of preventing corn earworms is to plant early-season varieties. Planting early can mean development before moths are most active and in their egg-laying/larval hatch cycle.
In climates with cool springs, opt for a variety that tolerates cool conditions, as corn is frost-sensitive and does best in warm weather. ‘Golden Bantam’ is an heirloom with good tolerance to early planting. Mid-season maturing corn can also “skip” a generation of the larvae. Plan to plant early for a harvest before August to avoid the bulk of earworm damage.
Other preventative methods include:
- Pest-resistant varieties are worth trying in areas with a history of corn earworms. ‘Silver Cross Bantam,’ ‘Stay Gold,’ and ‘Victory Golden’ show resistance.
- Vegetable and mineral oil have long uses from victory garden days to prevent the caterpillars from progressing into the husks. Apply oil with a medicine dropper or brush the silks and tips of the ears within a week after silks appear.
- Attract predatory insects by interplanting with blooming plants. Parasitic wasps destroy the eggs, and some infect the larvae and pupae. Use these as a countermeasure with other methods.
Management
Once installed, there’s no treatment for the pests. But there is a workaround. If you harvest an ear and peel off the husk to reveal a worm or damage near the top, simply cut or break off that portion of the ear. The rest of the should be in fine shape for fresh eating (unless the worm damage is extensive). And, it avoids the use of pesticides, which offer variable results.
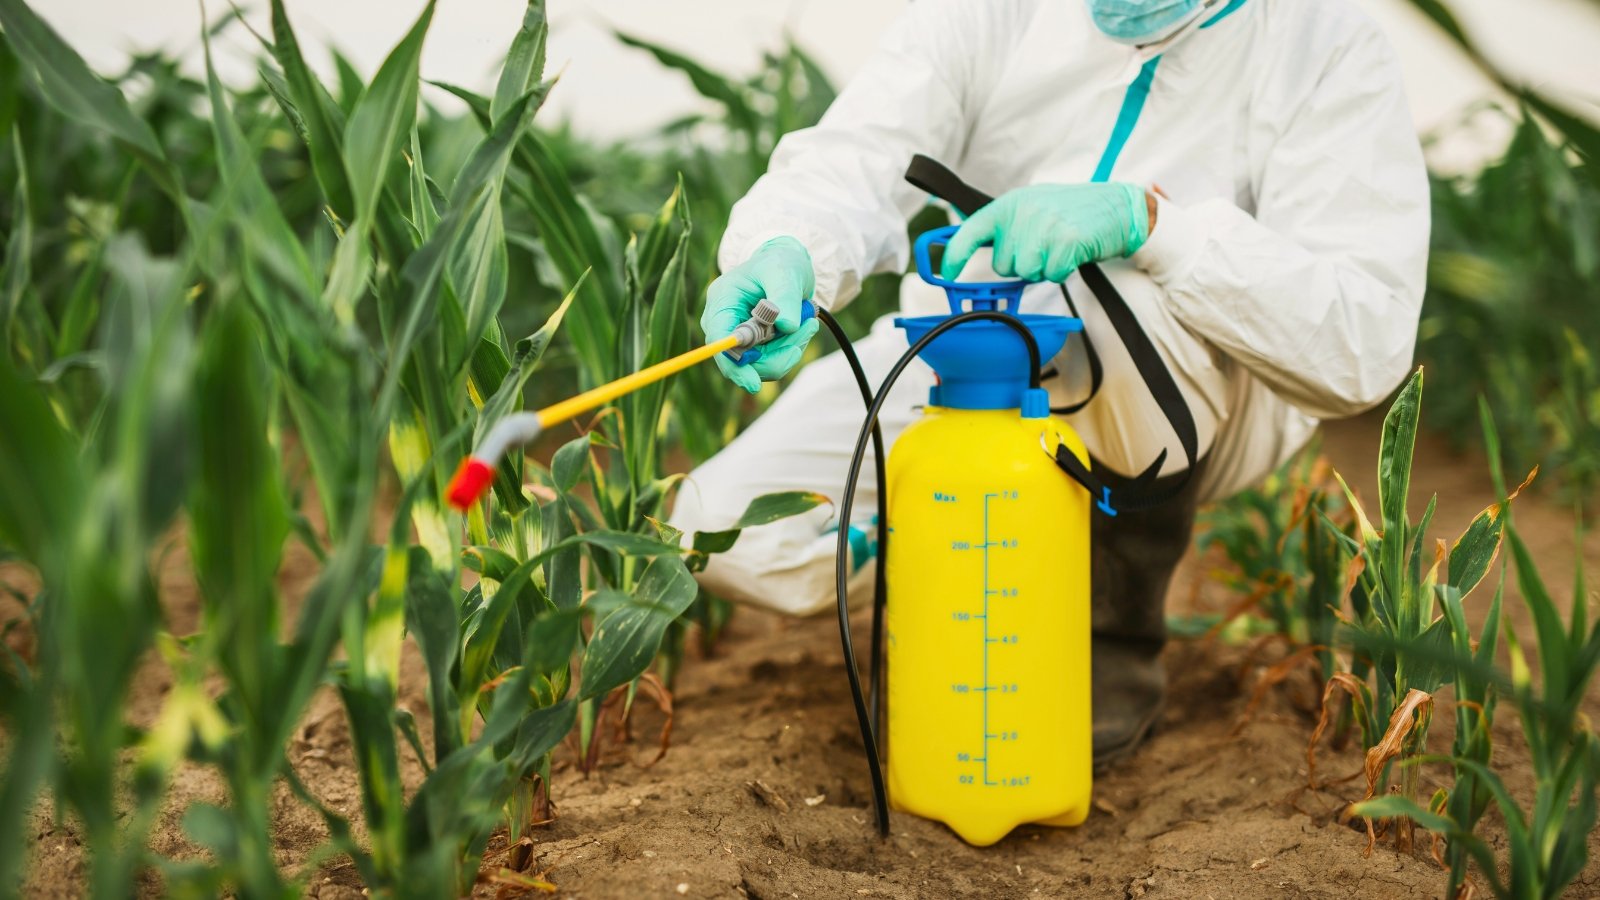
Food-safe, organic insecticides like pyrethrin or spinosad may catch the larvae before they burrow too deeply into whorls or ears. But the worms are resistant to many agricultural insecticides, especially in southern states. And, once they’re tucked in among the leaves or the kernels, they’re not reachable with external applications.
Spray only the silks, and use multiple applications to try to eliminate the worm early on. Timing is essential to treat eggs as they hatch and impact the larvae feeding on the silks. The best indicator is to treat when the moths are flying, which means they’ll soon lay eggs.
To use organic insecticides, choose an organic one to apply to silks and the top of ears every three to five days. Reapply until the silks turn brown, indicating peak harvest is near, as the kernels fill with water.
Commercial growers may plant transgenic corn with a Bt trait, where the crop produces its own Bacillus thuringiensis biological control. The organic bacteria destroy the larvae. In home applications, BT spray treatments can be tricky to balance. They are effective if the larvae ingest the biological at the right time during their emergence.
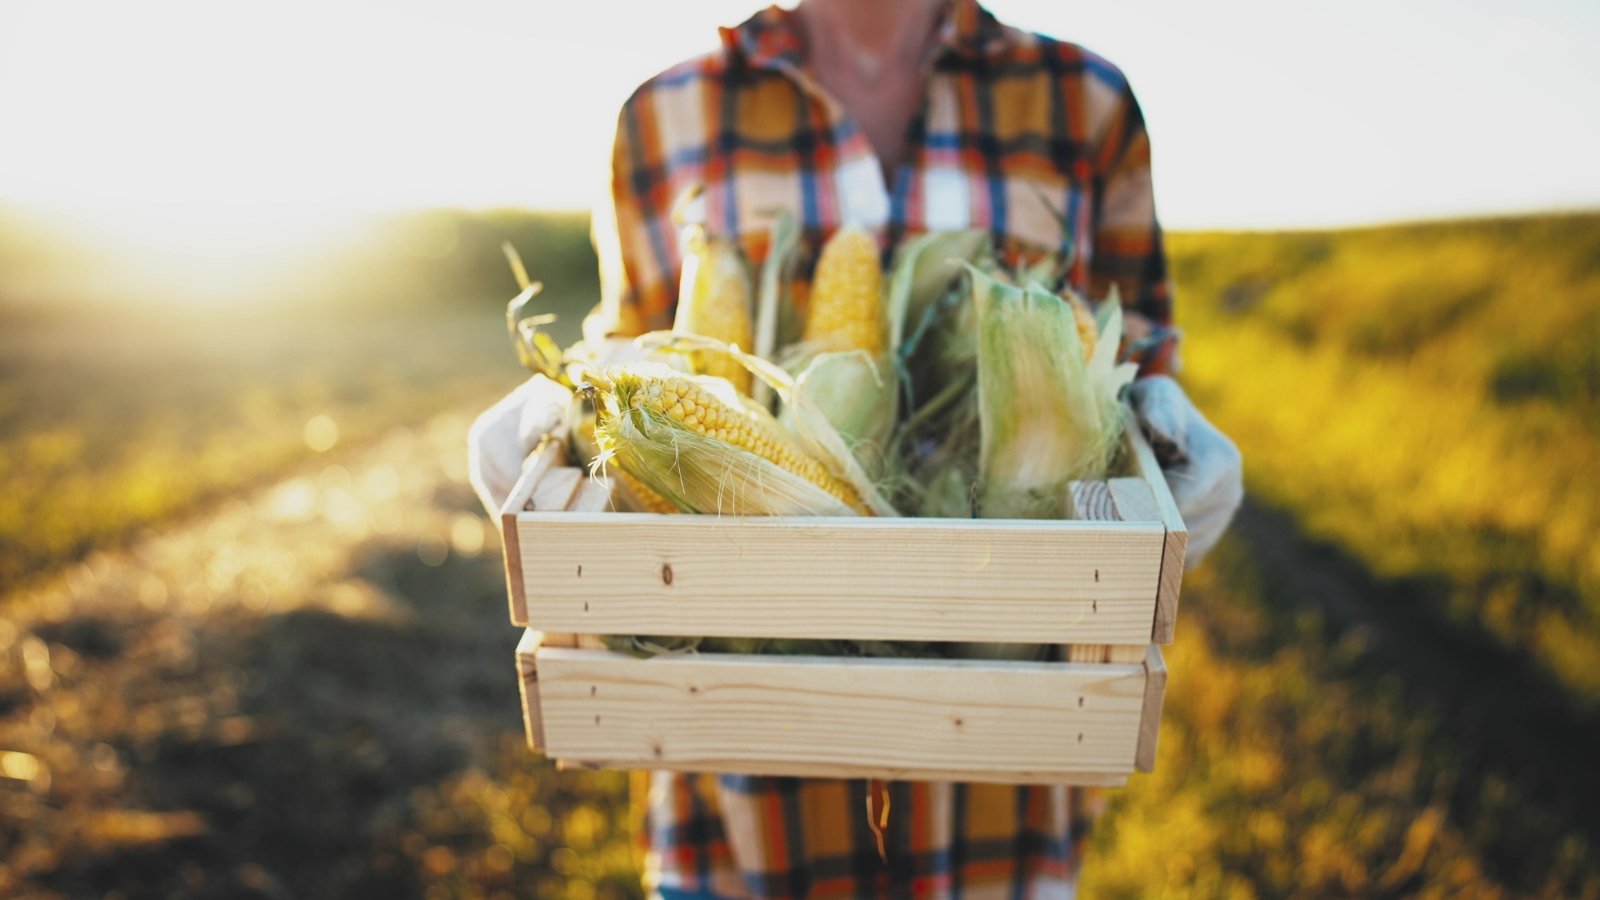
Checking and Harvesting
Peak ripeness for corn lasts only a day or two, and checking regularly close to time helps get the tastiest ears, hopefully with the least damage if earworms occur.
As silks turn brown, allow two to three weeks for the ears to fully mature. In hot weather, they’ll likely be ready at the low end of the range.
When to Harvest
Kernels go through progressive developmental stages as they ripen, with the perfect harvest in the milk stage. To check for readiness, peel back the husk slightly and poke a kernel. If the juice is milky white and the kernels are plump, the harvest is ready. The milk stage doesn’t last long and is weather-dependent. In temperatures above 85°F (29°C), the milk phase may last only a day or two.