Kale Growth Stages: How Fast Does Kale Grow?
Are you unsure how fast Kale will grow when planted in your garden? Kale has many different growth stages, and it's important to understand each before you harvest. In this article, gardening expert and former organic farmer Logan Hailey looks at the life cycle of kale from seed to harvest.


Contents
Unsure about how long it will take kale to grow in your garden? This popular brassica is like the gift that keeps giving—you plant it once in the spring or fall and harvest nutritious leaves all year.
Although kale is a biennial (2-year) plant, it’s usually grown as an annual. Kale has 4 distinct growth stages in the garden:
- Seedling Stage
- “Teenager” Stage
- Maturity Stage
- Bolting Stage
Let’s dig into how to care for kale at each stage of growth and how to stall bolting for as long as possible!
4 Kale Growth Stages
Most of us are used to seeing kale as large, blue-green leaves at the grocery store or farmer’s market. However, the kale plants that produced those gorgeous bundles were likely planted 2-3 months before we purchased the greens.
Like most garden crops, kale undergoes rapid transformations in a short time frame. It is the neediest as a seedling, then it gradually becomes more resilient and self-sufficient with time. This quick guide will prepare you for the 4 stages of kale growth and how to nurture your crop throughout its lifecycle.
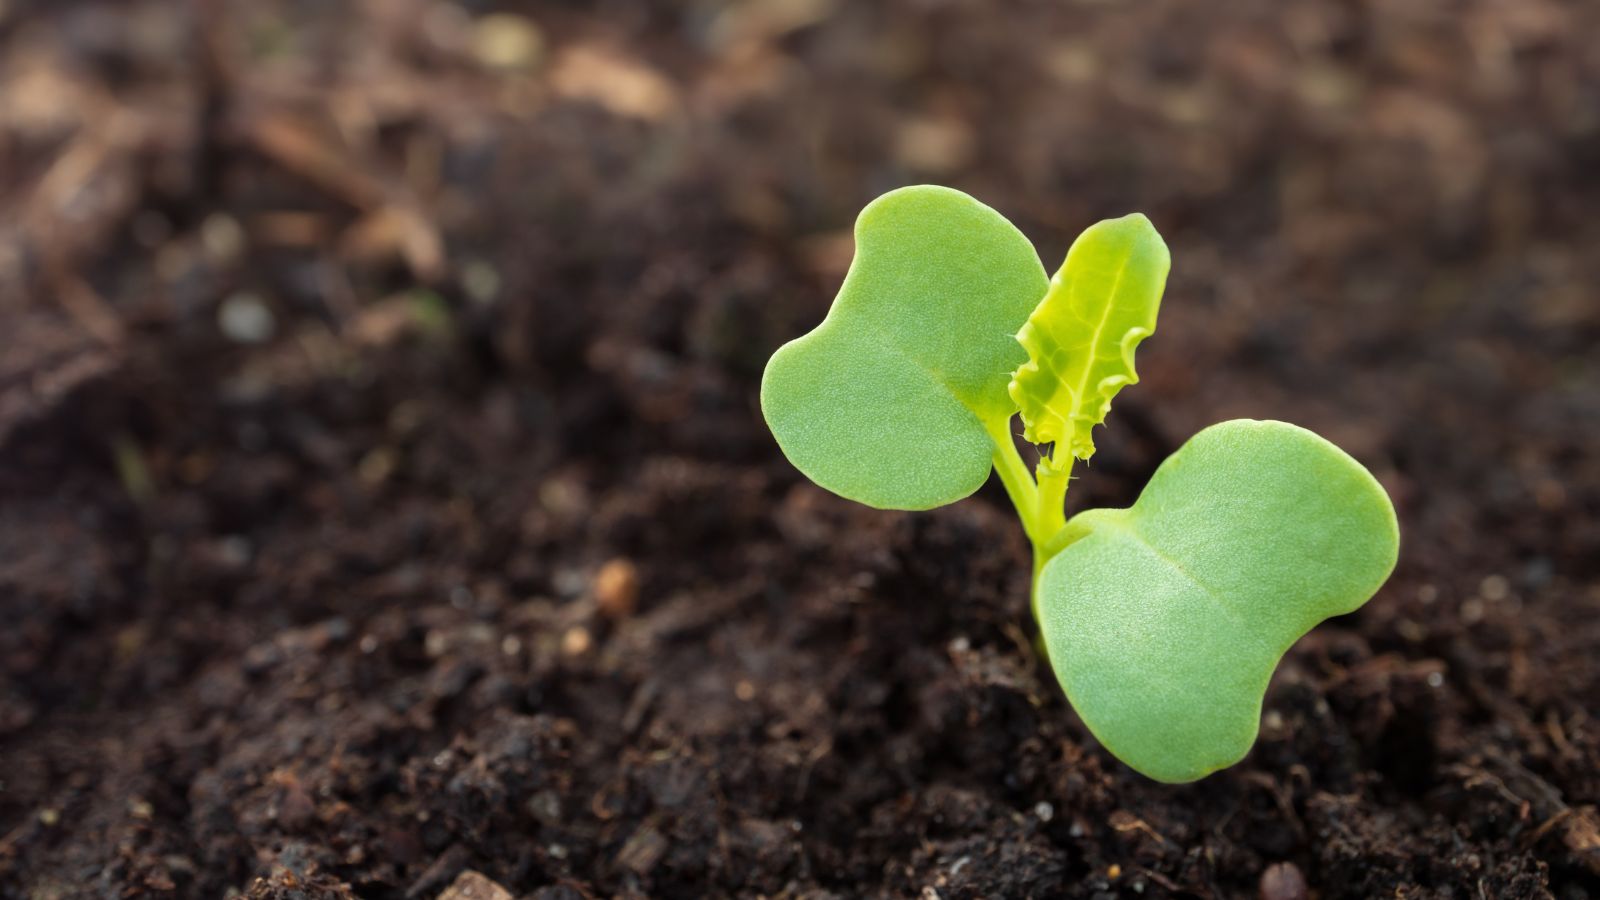
Stage 1: Seedling Stage

From germination to the time of transplanting, kale is considered a seedling or baby plant. This is the most fragile stage that requires frequent watering and careful monitoring of the plant’s environment.
- Phase Length: 4-6 weeks
- Appearance: Young seedlings with cotyledons and several sets of true leaves in cell trays or in the ground
- Plant Height: 1-6” tall
- Ideal Temperature: Over 75°F (24°C) soil temperature and 60-70°F (16-21°C) ambient temperature
- Key Care Requirements: Maintain continuous moisture during germination and shortly after. Seeds will not germinate if they dry out. However, kale seedlings should never sit in overly-soggy soil, or they may fall victim to damping off. Ensure proper drainage with large drainage holes, a perlite-rich seed starter mix, and plenty of compost for aeration.
Kale’s lifecycle starts as a small black rounded seed that looks strikingly similar to the seeds of its brassica cousins (broccoli, cauliflower, brussels sprouts, etc.) The seed needs to be planted at a depth of ½” in well-drained, loamy soil that is high in organic matter. The ideal pH is slightly alkaline, somewhere between 6.0 to 7.5. If your soil is acidic, consider amending with compost, wood ash, or dolomite lime.
Sowing

Kale seeds are usually sown in two major windows:
- Early Spring: A spring and summer kale crop must be planted in early spring around February through April in most zones. The best time to start kale indoors is 1-2 months before your last frost date. Outdoors, you may want to wait until 2 weeks before the expected last frost.
- Late Summer/Early Fall: Fall kale is typically sown approximately 3 weeks before the expected first fall frost. This allows the plant enough time to get established before the cold weather arrives.
Although kale is known for its cold hardiness, the seeds still require plenty of warmth to germinate evenly. The optimal soil temperature for most types of kale is between 70 and 90°F (21-32°C). For best results, use a soil probe thermometer to ensure the seed starter mix stays over 75°F (24°C) until germination. After that, the plant can handle cooler soils.
If the soil is still cold, the seeds may not germinate as quickly or evenly. This is why kale is most commonly started indoors in spring and transplanted out once it reaches the early teenager stage. For outdoor spring sowings, I’ve found that a layer of row cover can make a huge difference when establishing plants.
Seedling Stage Pro Tips
Kale plants are extra vulnerable to cold weather, dry soil, and pest pressure these kale growth stages. Row cover solves all three of these problems quickly and easily. As a professional vegetable farmer, I always covered baby kale plants with a layer of row fabric to create a cozy microclimate, retain moisture, and keep flea beetles out of the planting.
The row cover hides kale from the dreaded cabbage butterfly or cabbage white (those white butterflies you see flying around brassica plants), which lays the eggs for destructive cabbage looper caterpillars. I’ve seen farmers lose their entire spring kale crop to hungry pests emerging from hibernation, so you don’t want to skip the protective cover!
You can drape the row cover directly over your baby kale plants or create little hoop supports using bent wire or arched PVC. Secure the cover with sandbags, rocks, or landscape staples. A raised bed makes it extra easy to hold everything in place. Kale can grow under the row cover for the duration of spring until it starts to feel too steamy under the fabric.
Stage 2: “Teenager” Stage

While “teenager” isn’t a scientific term, it perfectly describes the kale growth stages between seedlings and mature plants. Plants in this phase will either be in cell trays or newly transplanted in the garden.
If you purchase kale starts from the store, they are typically entering the teenager phase. These kale plants are 4-8” tall and have several sets of medium-size true leaves. However, the leaves may not be large enough to harvest yet unless you prefer baby greens.
- Phase Length: 2-3 weeks
- Appearance: Plants are 4-12” tall and still in containers or newly transplanted. Their largest leaves may be 3-6” long but not quite ready to harvest. The central stem is still pliable and fragile.
- Plant Height: 8-18”
- Ideal Temperature: 55-75°F (13-24°C)
- Key Care Requirements: Harden off kale seedlings by slowly acclimating them to the tougher experience of the unsheltered outdoors. Direct-sown crops will already be prepared to rough the elements, but indoor seedlings require a period of adjustment. Begin to cut back on watering and slowly expose teenage kale plants to cold nights while still in their containers. Once teenage kale is in the ground, you do not need to water it as often as you did in the seedling phase.
After you harden off your plants, the most important thing to remember during the teenage phase is soil drainage. The plants work tirelessly to expand their roots and anchor into the soil to prepare for a long season of growth. If your soil is heavily compacted or high in clay content, it makes it much harder for kale plants to get established.
Teenager Stage Pro Tips

The best thing you can do before transplanting your kale is broadfork. A broadfork is a large garden tool that sends tines deep into the soil profile and gently aerates the soil without tilling it. It can be used to blend in compost without churning and disrupting the below-ground ecosystem. You can also use a pitchfork to loosen the lower soil. Just be sure you aren’t tossing and flipping the layers.
Broadforking creates lots of pore spaces and air holes so that kale’s roots can breathe and expand. If you are growing in a well-prepared raised bed, this may not be necessary because your soil layers have plenty of texture and aeration.
If teenage kale does not have proper drainage, the plant becomes prone to root rot or the dreaded (and incurable) Black Leg disease. Like all brassicas, kale hates to have “wet feet.” If these plants are sitting in water or soggy soil, they will grow very slowly or may die before they ever reach the maturity phase.
When you doubt your soil drainage, add more aerating materials (compost, vermiculite, perlite, peat moss, or coco coir) and cut back on watering teenage kale plants.
When is Kale Ready to Harvest?

You can technically pick kale at any growth stage, but it’s best to start picking outer leaves when they are at least the size of your palm or larger. You want to ensure there are at least 2 robust clusters of leaves left in the center to fuel continued growth.
Microgreens and baby kale salads are harvested in the seedling stage. However, harvesting at this stage significantly slows down plant growth. If you want to enjoy kale all season long, wait until the leaves are about the size of your palm.
The most tender, salad-worthy kale will come from young leaves about 6-8” long. You may need to use scissors or a knife to cut at this stage because snapping could damage the developing stem.
For steamed kale and larger bundles of greens, wait until kale leaves are 12” long and can easily be snapped from the robust central stalk. Harvest the largest bottom leaves first and leave the upper core to keep growing.
Stage 3: Maturity Stage

Once kale is at the mature growth stage, it becomes incredibly hardy and requires little to no care except for harvests. Most kale varieties take 50-70 days to mature from the time of seeding. You can find the estimated Days to Maturity on your seed packet or in a seed catalog.
When kale enters the maturity stage, its central stem begins to look more like a tough stalk. By the end of its lifetime, a kale stem can become a rugged 3” thick woody wand. This makes harvesting a breeze because you can easily snap the outer leaves off without worrying about damaging the stalk.
- Phase Length: 3-6+ months (depending on how long you want to keep your kale in the garden)
- Appearance: Large, bushy plants with elongated rosettes of bluish-green leaves that grow in abundance. The plant’s central stem is woody and strong. Depending on the variety, some plants may look like Dr. Seuss-style mini Truffula trees with leafy clusters on top a distinctly sectioned stalk.
- Plant Height: 18-36”
- Ideal Temperature: 50-75°F (10-24°C), many varieties can handle down to 15°F (-9°C) or up to 90°F (32°C)
- Key Care Requirements: The only continuous need for mature kale is harvesting and moderate amounts of water. Pick leaves regularly to prevent bolting. Keep the plant hydrated in warm weather.
Kale is notorious for its frost resilience but can’t quite handle extreme temperatures during the teenage and seedling stages. The maturity stage is when kale is the most cold-hardy. Regular snows and frosts are no longer an issue because the plant has established a robust root system and sturdy stalk.
As long as fall kale reaches maturity before the first hard frost, it can last throughout the winter in zones 5 and warmer. There are even reports of ‘White Russian’ kale surviving in the negative temperatures!
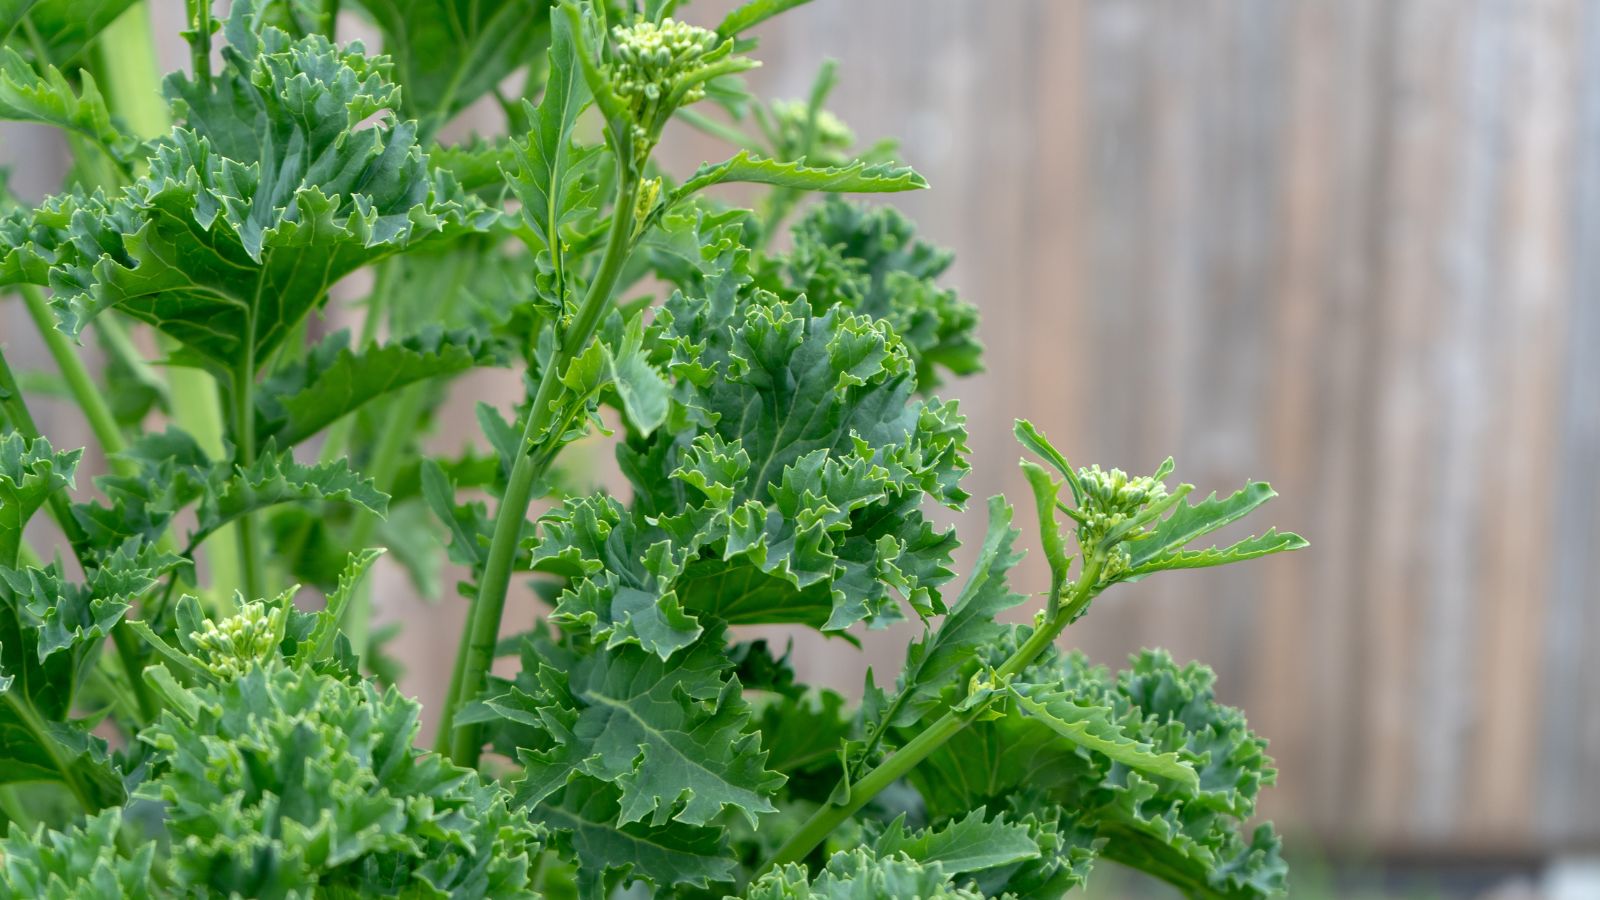
Stage 4: Bolting Stage
Because kale is most commonly grown as an annual and ripped out before it starts flowering, many gardeners never see kale in its reproductive stage. However, extra hot weather or certain stressors can trigger kale to bolt in its first year.
Preventing Bolting
Once kale starts to go to seed, it signals the end of the plant’s life. Here is how to prevent kale from bolting or make the most of it by enjoying kale’s raab flowers.
- Phase Length: 1-3 weeks
- Appearance: Plants lengthen upward and send up a central flower stalk.
- Plant Height: Flower stalks can extend up to 4+ feet tall!
- Temperature: Hot weather over 90°F (32°C) can trigger bolting
- Key Care Requirements: If you want to stop kale from bolting, cut off the flower stalk as soon as it appears and continuously harvest the central leaves. Keep the plant as cool as possible in summer, or avoid growing during the hottest months.
Kale is a biennial plant that technically takes two full growing seasons to complete its life cycle:
- Year 1: The first year is for vegetative growth, where the plant channels all of its energy into leaf, stem, and root production.
- Year 2: The second year is the reproductive or seeding stage, where the plant bolts (goes to flower) and develops seed pods. The fruits of the cabbage family are called siliques and look like long skinny bean pods that develop green and later turn brown.
Sometimes kale will bolt in the first year when it is exposed to large temperature fluctuations or water stress. To prevent bolting:
- If your climate tends to have spring cold snaps with warm weather in between, buffer the temperature with a row cover over your kale plants.
- Choose heat-tolerant varieties if you’re in a southern climate.
- Plant bolt-resistant varieties.
- Direct seed kale 6 weeks before the last frost date.
- Mulch the soil to keep kale roots cool during the summer.
- Use shade cloth or a row cover to protect kale from the harsh heat.
- Only grow kale in the cool seasons of spring and fall.
- Consistently water kale so the soil is always slightly moist but never bone-dry or soggy.
Stalling Bolting
If your kale has already started to send up a flower stalk, the leaves will start to get more bitter and less appetizing. This is a signal that the plant is shifting into the reproductive stage where it will go to seed and eventually die.
You can stall bolting and prolong leaf harvests with these quick fixes:
- “Top” the plant by cutting off the flower stalk and upper core of leaves. Keep removing the flower stalk for as long as you can.
- Use the methods to keep the microclimate around the plant cool.
- Bulk harvest the remaining leaves.
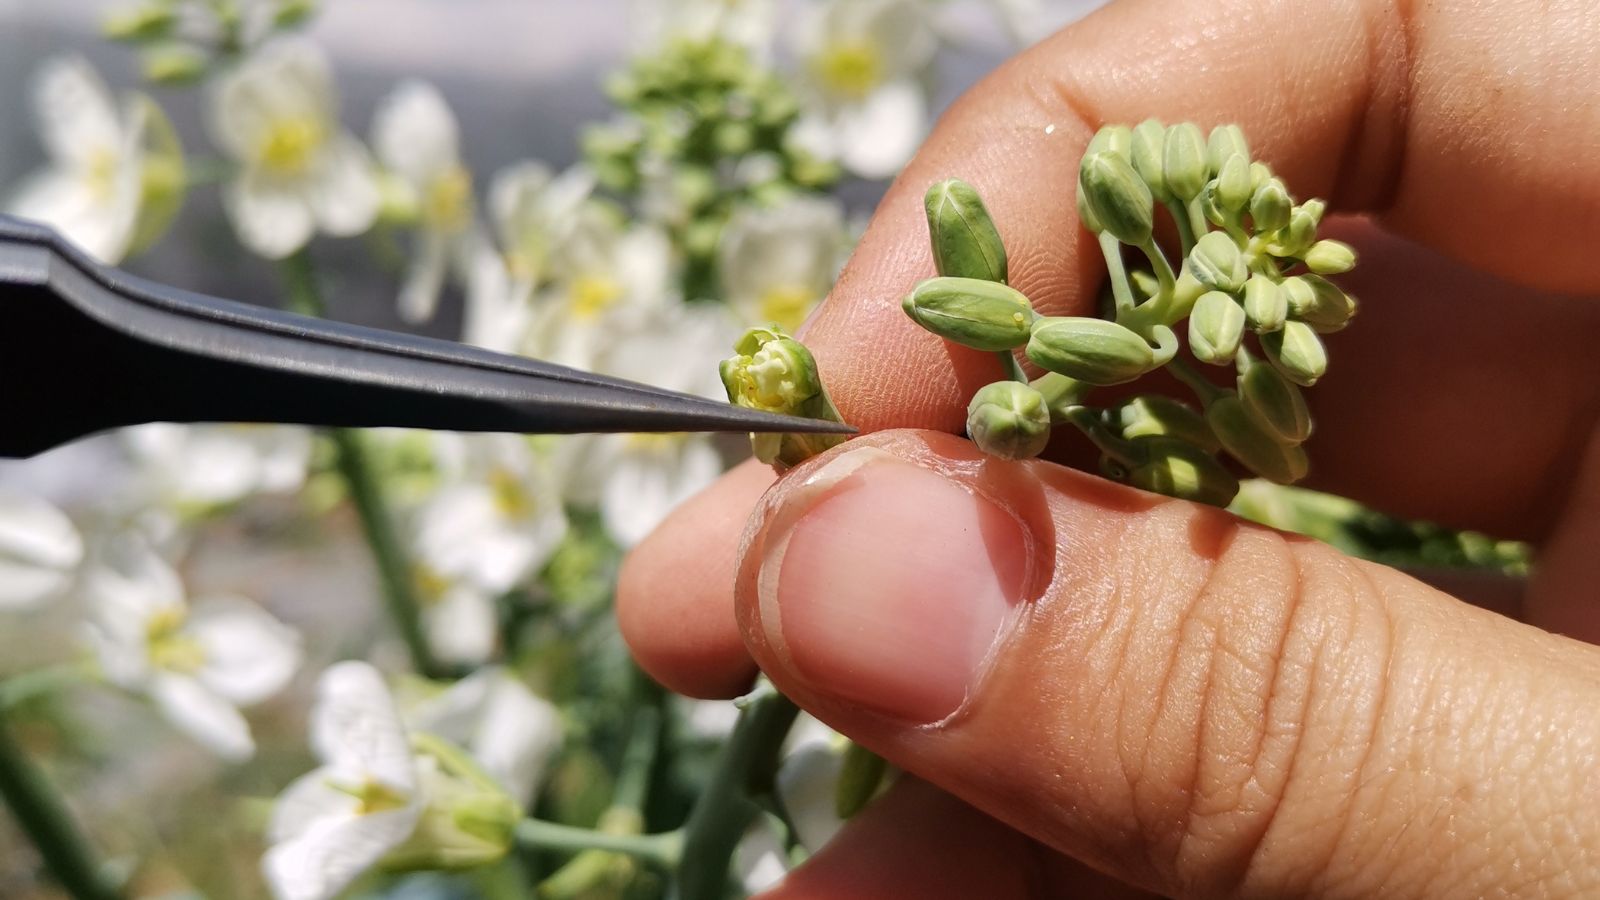
When your kale finally forms blossoms, there is no going back. But that’s alright because kale flowers are edible and delicious! These vibrant yellow blooms are similar to mustard flowers and make a beautiful summer garnish.
To enjoy kale flowers:
- Harvest stems of yellow flower buds just before they open.
- During this phase, they can be lightly sautéed for a delicious snack.
- Leave kale to flower in profusion so it can provide nectar for bees and local pollinators.
- Chop down kale just when the siliques (seed pods) start to form.
- This will prevent the plant from spreading kale seeds all over your garden.
Share This Post
How to Grow Spring Vegetables in Containers: 5 Tips
Lettuce, chard, endive, radishes, carrots, and potatoes are some of the many spring vegetables you can grow in containers! With a proper start and setup, these crops will mature without issue. Container gardener Jerad Bryant shares five expert tips for maximum yields.


9 Spinach Alternatives That Won’t Bolt in the Heat
Spinach is a supreme leafy green; its leaves are tender, nutritious, and slightly crunchy. Though they’re excellent to eat, they’re challenging to grow under the summer heat. Consider cultivating one of these nine heat-tolerant alternatives from seasoned grower Jerad Bryant.

Budget Vegetable Gardening: 9 Veggies That Are Worth Growing, and 7 to Skip
Are you looking to save on food costs this year with minimal effort? Budget vegetable gardening is the way. In this article, plant expert Matt Dursum covers which vegetables you should grow and which ones to skip.

This Gardener Grows Almost 100% of His Food: Here’s How He Does It
Permaculture, homesteading, and self-sufficiency are all the rage! Though they seem like difficult tasks, there’s a gardener who proves you can survive off of garden produce! Meet Mike Greenfield, the creator of Pro Home Cooks and the new YouTube channel, Life by Mike G.

How To Winter Sow Vegetables in 7 Easy Steps
Ready to start growing? Winter sowing is an easy and resourceful way to start spring vegetables early. It gives seedlings a headstart while working with natural conditions for germination. Gardening expert Katherine Rowe breaks down the steps to get winter sowing this month.

17 Tasty Salad Greens You Can Grow on Your Counter
With quick-growing leafy greens, we can enjoy salads fresh from our kitchen counter. Join gardening expert Katherine Rowe in exploring favorite selections to spice up the bowl for nutritive, flavorful salad greens to sow from seed indoors.

11 Vegetable Garden Layout Plans to Try This Year
As we dream up our spring gardens this season, it’s a great time to evaluate and create the layout plan. Gardening expert Katherine Rowe explores inspirations for designing our vegetable gardens now to get going with the growing season in sight.